Sick of those annoying leaking taps in your house? You’re not alone! We’ve put together this easy guide to help you tackle the problem head-on. Whether it’s fixing a leaky tap or swapping out washers and jumper valves, we’ve got the info you need.
Your tap might be dripping for a host of reasons, like a busted washer or a worn-out o-ring. The good news is it’s usually a quick fix! Just follow a few straightforward steps and pop down to your local hardware store.
Let’s explore the step-by-step process of fixing a leaking tap and troubleshooting common issues to eliminate those troublesome leaky taps!
Understanding Tap Leaks: Signs and Causes
Leaking taps can be a nuisance, causing water wastage, increased bills, and potential damage to your home. It’s essential to recognise the signs of a leaky tap and understand their underlying causes to address them promptly and prevent further complications.
Dripping Taps
A persistent drip is one of the most common signs of a tap leak. Even a slow, steady drip can waste significant water over time. Don’t ignore that rhythmic sound—your leaky tap needs attention.
Pooling Water
Spotting water pooling around the base of your tap or on the sink? That’s a clear sign you’ve got a leaky tap. The culprits could be worn-out washers, loose tap bonnets, or dodgy internal parts.
Water Stains
Look for water stains near the taps on walls, cabinets, or flooring. These discoloured patches or watermarks strongly indicate an ongoing leak.
Increased Water Bills
Have you noticed a sudden spike in your water bills without any change in usage? Leaking taps can silently contribute to excess water consumption, resulting in inflated bills. Monitoring your water usage and addressing tap leaks promptly can help you save money in the long run.
With those signs in mind, let’s dive into what usually causes tap leaks:
Worn-out Washers
Traditional taps with compression valves often develop leaks due to deteriorated tap washers. These rubber or silicone seals can degrade over time, leading to water seepage.
Faulty Cartridges
Cartridge-based taps can experience leaks when the cartridge, which houses the washer and jumper valves, becomes worn, damaged, or clogged with mineral deposits. Identifying the type of cartridge in your tap is crucial for effective repairs.
Damaged Ceramic Discs
Modern taps often utilise ceramic discs to control water flow. If these discs develop cracks, chips, or mineral build-up, they can cause leaks.
High Water Pressure
Excessive water pressure can strain tap components, leading to leaks and a dripping tap. Water hammer, caused by sudden pressure changes, can also contribute to tap leaks over time.
How To Repair A Leaking Tap: Step-by-Step Guide
Are you tired of the constant drip and wasted water from a leaking tap? You can tackle leaking tap repair independently with a few basic tools and a little know-how. Follow these step-by-step instructions:
Step 1: Gather Your Tools
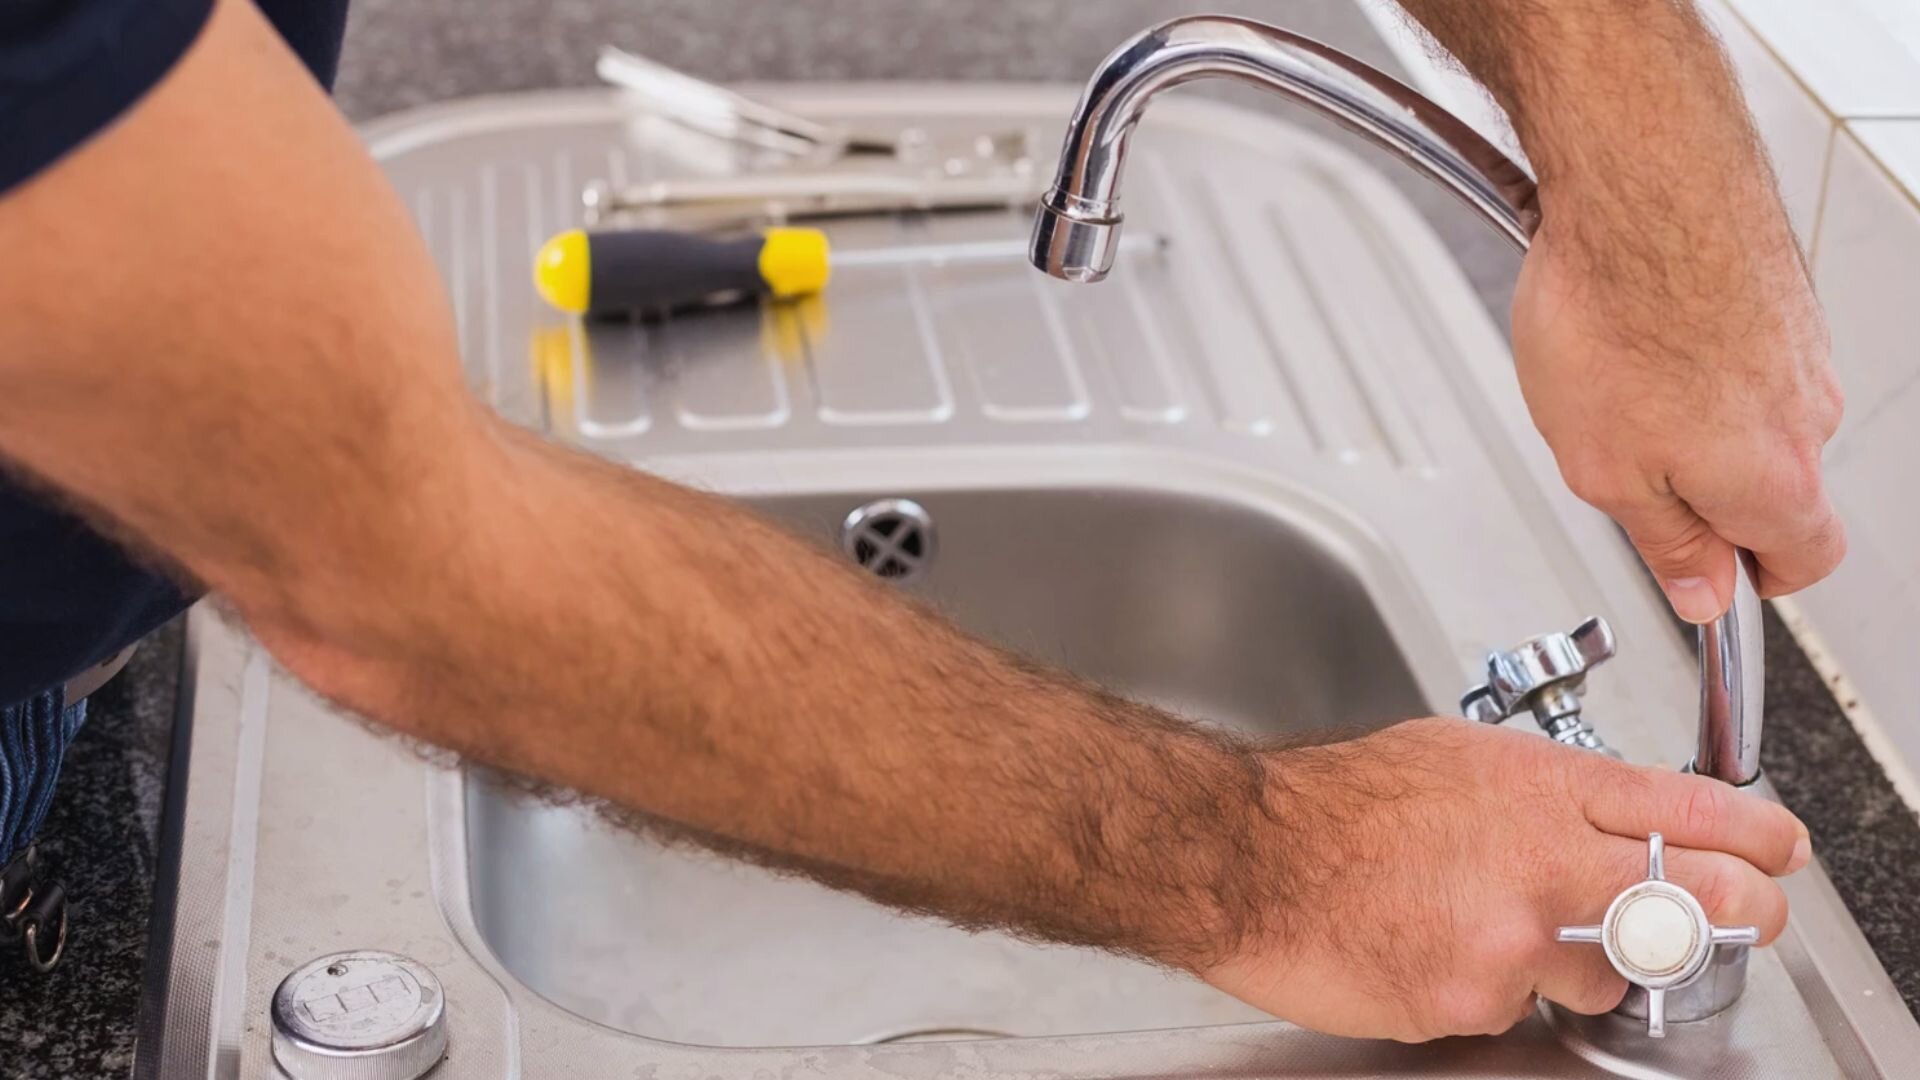
Before diving into the repair, gather the necessary tools and materials. You’ll need a shifting wrench, screwdriver, needle-nose pliers, tap lubricant, replacement washers and jumper valves, plumber’s tape, a clean cloth, and gaffer tape.
Step 2: Turn Off the Water Supply
To prevent accidents and ensure a dry working area, locate the isolation valve beneath the sink and turn off the water supply. It is essential to cut off the water flow before proceeding with the repair.
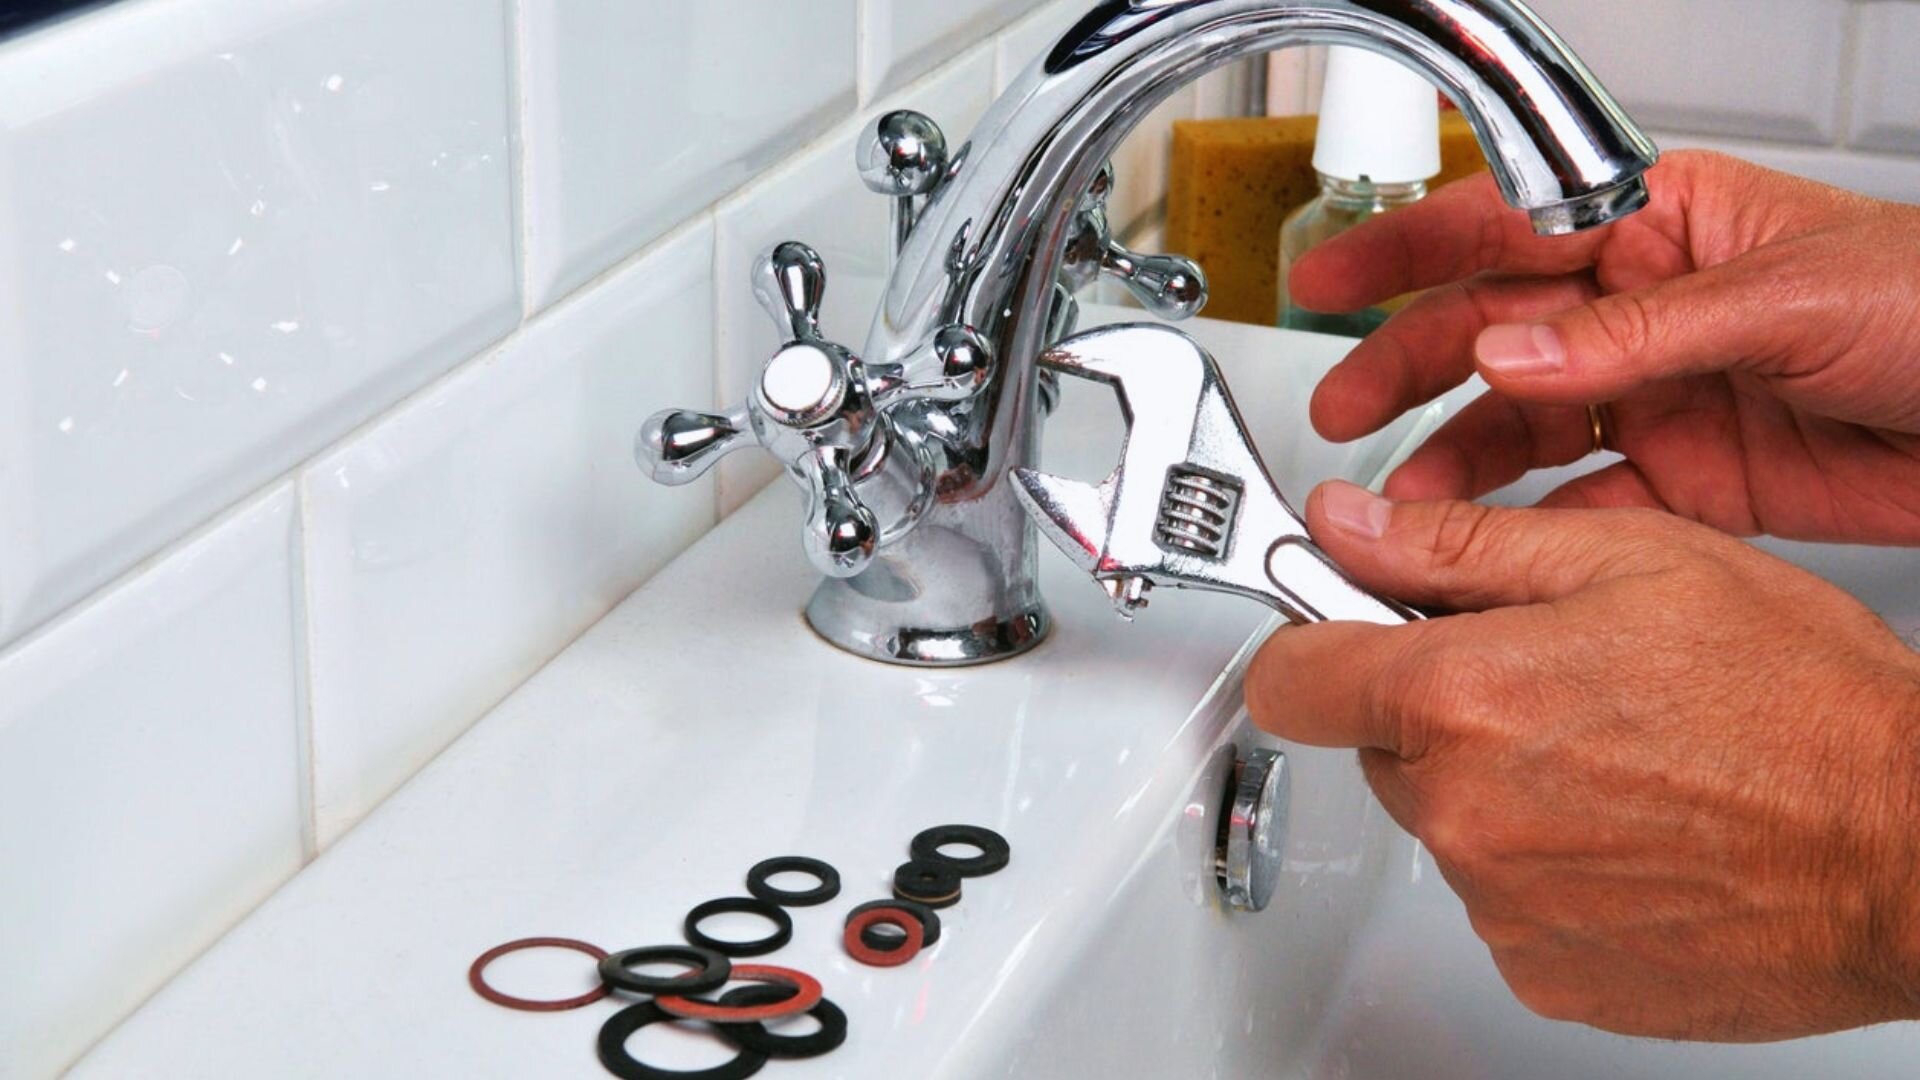
Step 3: Disassemble the Tap
Using your shifting wrench or screwdriver, carefully remove the tap handle by loosening the tap button, screws, or retaining nuts. Once the handle is removed, you can access the tap bonnet and internal components.

Step 4: Inspect and Replace the Washer and Jumper Valve
For taps with compression valves, inspect the tap washer for signs of wear or damage. If the washer is worn out or broken, remove it using needle-nose pliers and replace it with a new tap washer of the correct size and type. In cartridge-based taps, carefully remove the old jumper valve and replace it with a compatible replacement cartridge.
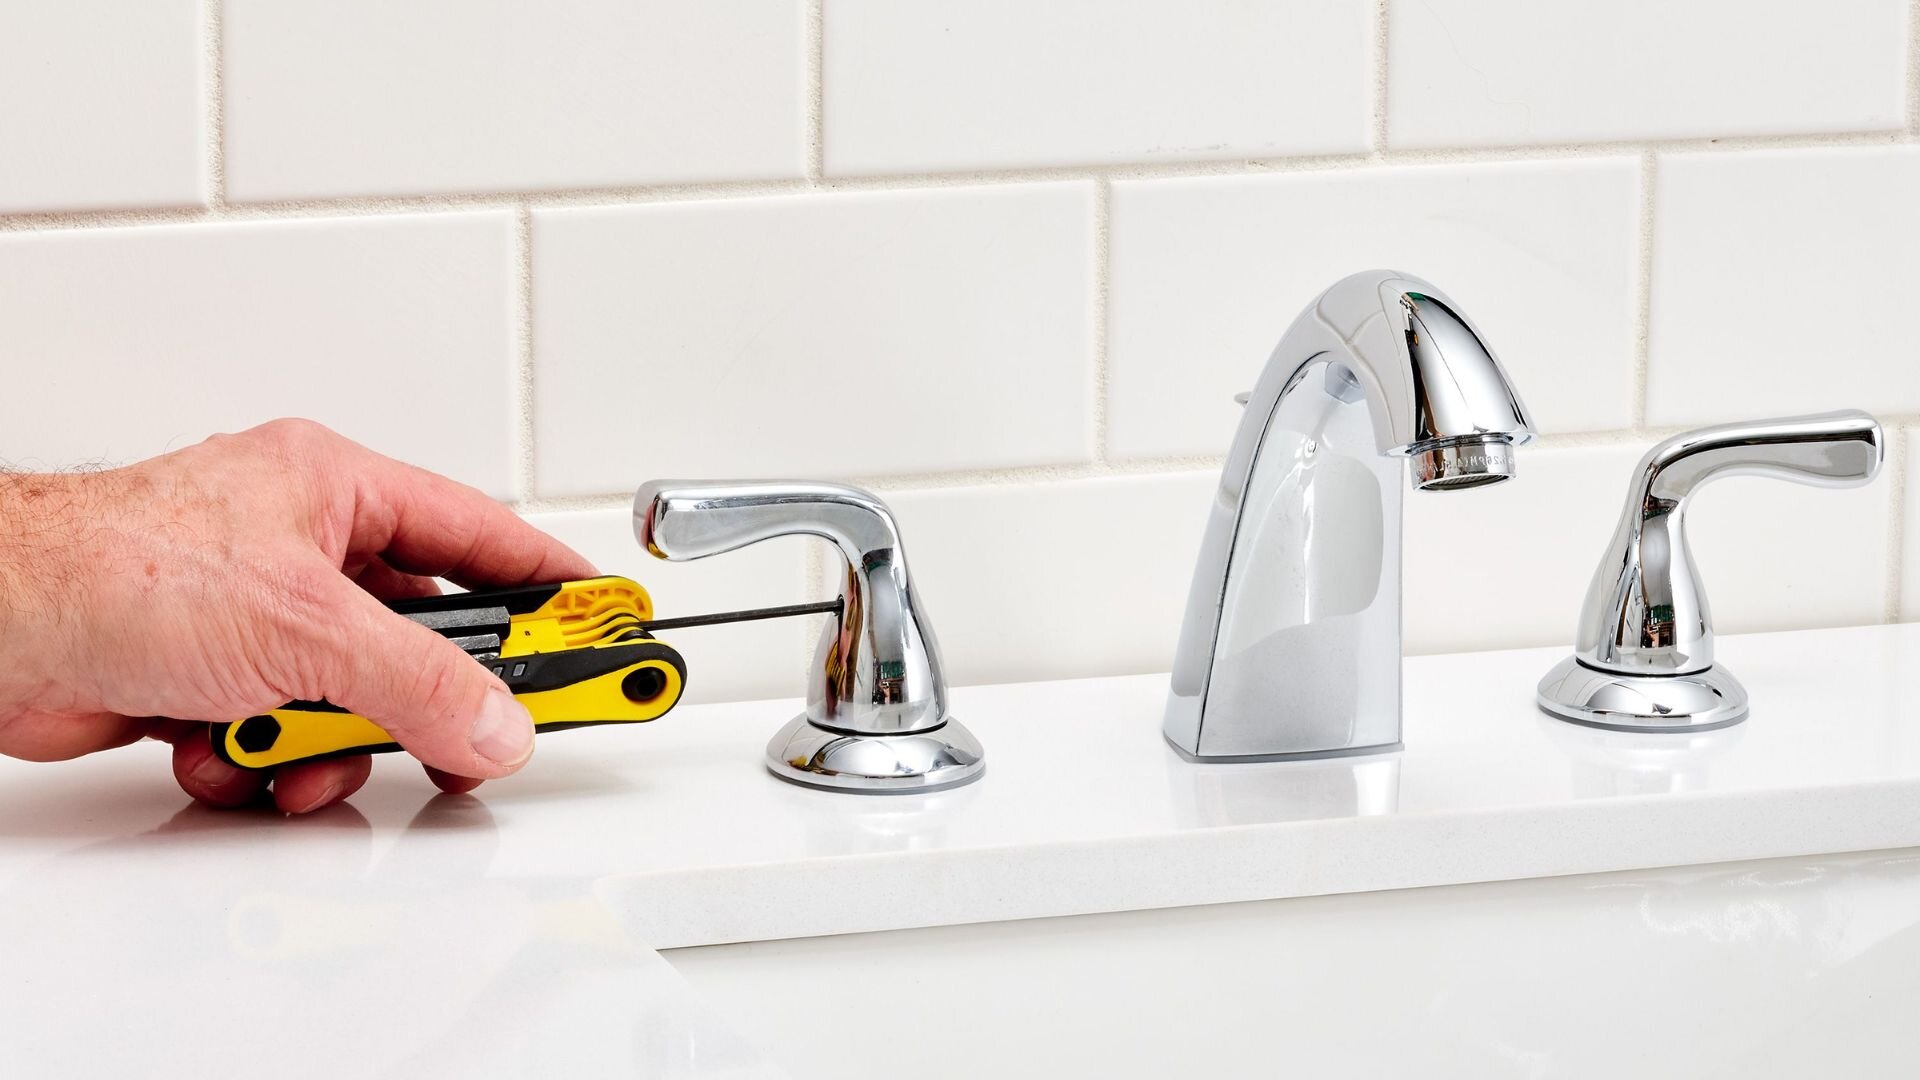
Step 5: Check the Tap Body and Valve Seating
While you have the tap disassembled, inspect the tap body and valve seating for any signs of damage or wear. If you notice a worn tap seat or damaged tap body, it may be necessary to replace these components.
Step 6: Apply Tap Lubricant and Reassemble
Apply a small amount of tap lubricant to the tap body, valve seating, and rubber washer before reassembling the tap. This will ensure smooth operation and a watertight seal. Reassemble the tap in the reverse order of disassembly, using the shifting wrench or tap spanner to tighten the tap bonnet securely.
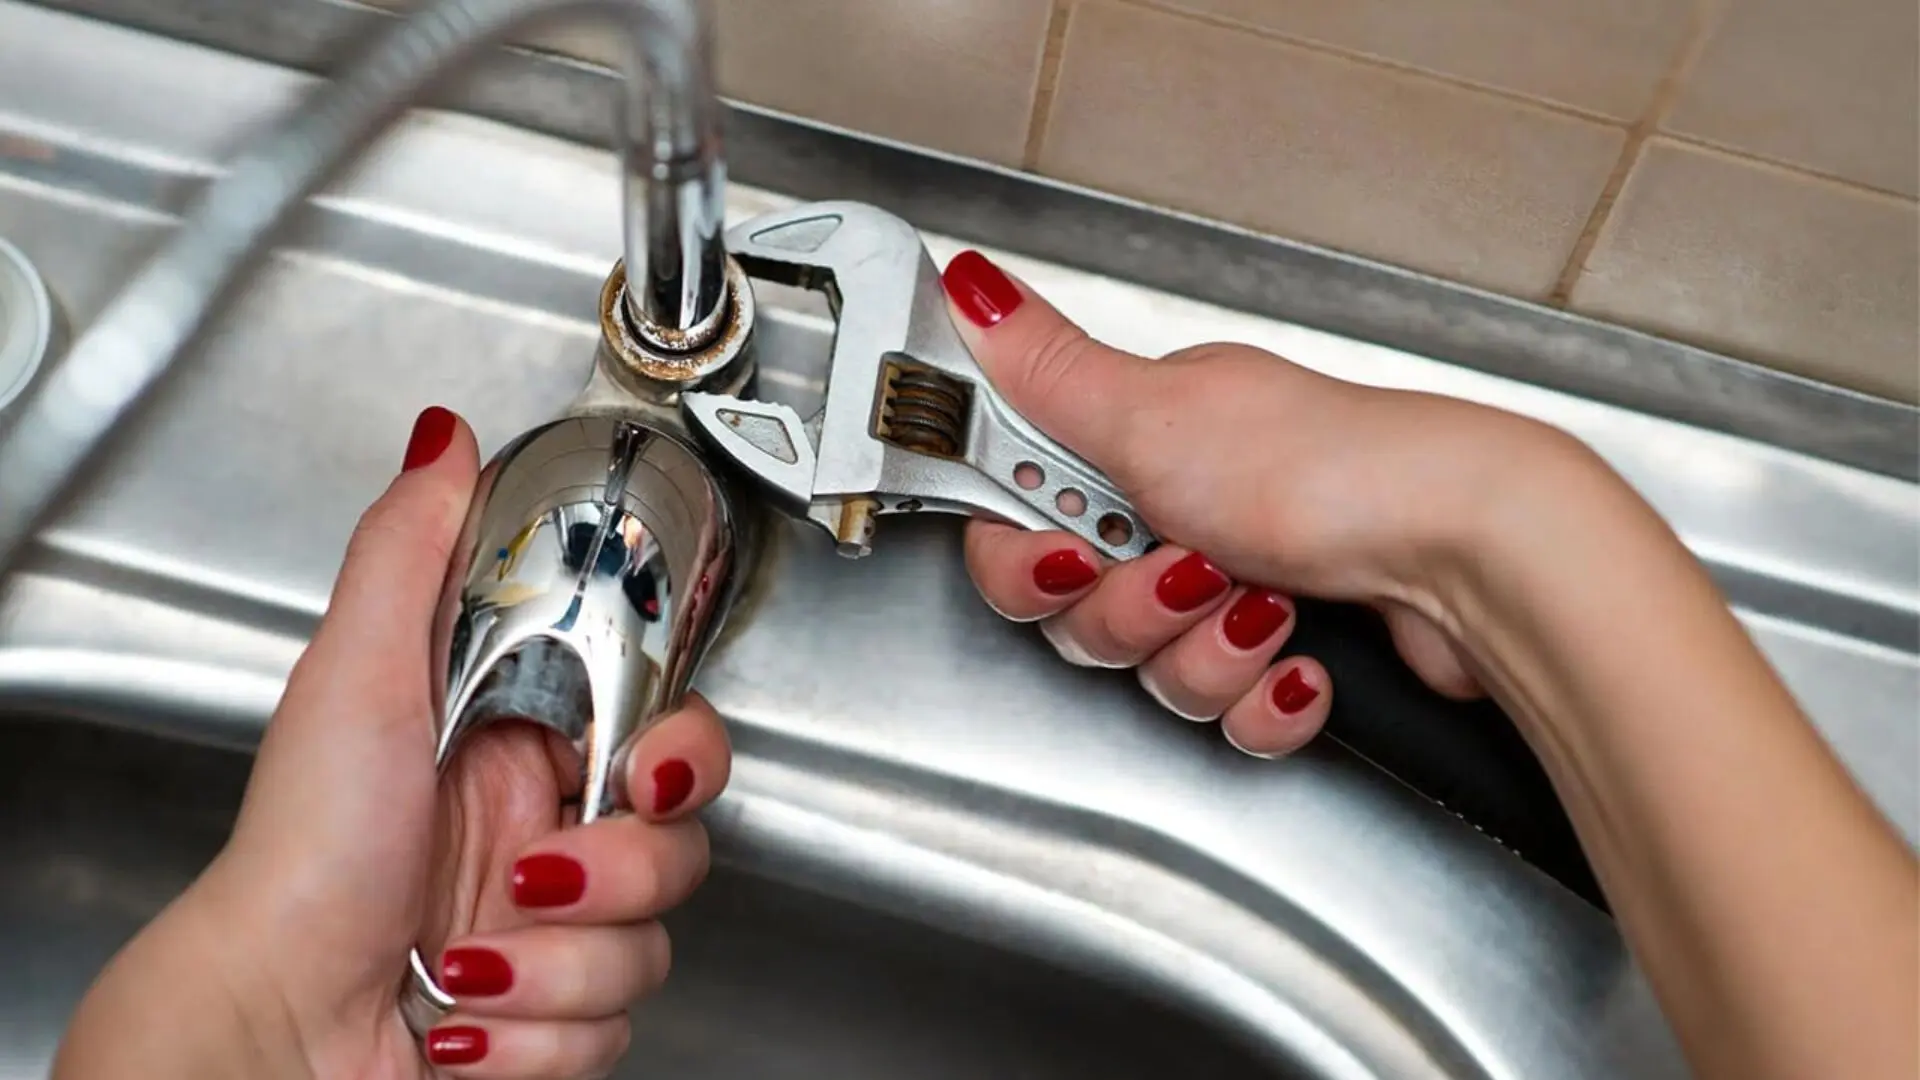
Step 7: Turn On the Water Supply and Check for Leaks
With the tap all put back together, you can open the isolation valve to get the water flowing again. Gently turn the tap handle and check for any leaks around your work area. If everything’s dry, well done! You’ve successfully fixed your leaking tap.
Preventive Measures for Avoiding A Leaky Tap
Tap leaks can be a nuisance and cause unnecessary water wastage. By taking preventive measures, you can reduce the chances of tap leaks occurring in the first place. Here are some helpful tips to avoid tap leaks and keep your plumbing system in top condition:
Regular Inspection: Inspect your taps for signs of wear or damage. Look for dripping or leaking taps, loose handles, or unusual sounds. Catching potential issues early can prevent them from turning into significant leaks.
Proper Installation: Ensure that taps are installed correctly by a professional plumber. Improper installation can lead to leaks and other plumbing problems. Hiring a qualified plumber to install or repair taps can help ensure proper fittings, connections, and sealing.
Mindful Water Pressure: High water pressure can stress taps and increase the likelihood of leaks. Consider installing a pressure regulator to maintain a moderate water pressure level throughout your plumbing system. This can help prolong the lifespan of taps and reduce the risk of leaks.
Replace Worn-out O-rings and Seals: O-rings and seals inside taps can wear out, leading to leaks. If you notice a tap starting to drip, it’s a good indication that the O-rings or seals need to be replaced. Regularly inspect and replace these components to maintain a watertight seal.
Avoid Excessive Force: Avoid using excessive force when operating taps. Applying too much pressure can damage internal components and cause leaks. Turn the taps gently but firmly to prevent undue stress on the mechanisms.
Regular Maintenance: Implement a routine maintenance schedule for your taps and plumbing system. This includes cleaning aerators, removing mineral deposits, and promptly addressing issues. Regular maintenance can prevent build-up and deterioration that could lead to leaks.
Fixing Tap Leaks Made Easy
Fixing tap leaks isn’t as tough as it sounds. With the right tools and a clear step-by-step guide, you can handle it. Understanding the signs and causes of leaks gives you the confidence to tackle repairs like a pro.
It begins with gathering the necessary tools, followed by crucial steps such as turning off the water supply, carefully disassembling the tap, inspecting and replacing any faulty parts, applying plumber’s tape for a secure seal, reassembling the tap, and diligently checking for leaks.
By prioritising preventive measures and maintaining your taps, you can proactively avoid tap leaks, ensuring a smoothly functioning plumbing system for your peace of mind.
Remember, if you prefer professional assistance or the leak persists, don’t hesitate to contact a licensed plumber for expert guidance. At Fixed Today in Sydney, our plumbers have years of experience with leak detection and tap repair and can fix a leaking tap with ease and precision. So whether you have a dripping garden tap or an annoying leaking kitchen faucet, don’t hesitate to contact us!
FAQs
What is a tap skirt?
A tap skirt is a term used to refer to a decorative or protective cover that is sometimes installed around the base or collar of a tap (faucet). It serves as an aesthetic feature, often used to enhance the overall appearance of the tap and blend it with the surrounding decor. Tap skirts can come in various materials and designs, such as metal, plastic, or ceramic, and may be used in residential and commercial settings.
Is the repair process the same for most taps?
The repair process for taps can vary depending on the specific type and design of the tap. However, common steps can be followed for many tap repairs. These steps typically involve turning off the water supply, disassembling the tap to access the internal components, inspecting and replacing worn-out parts such as washers or cartridges, applying plumber’s tape for a secure seal, reassembling the tap, and checking for leaks.
It’s important to note that some taps may have unique features or mechanisms that require specialised knowledge or tools for repair. If you need clarification on the repair process for a specific tap, it is recommended to consult the manufacturer’s instructions or seek professional assistance from a licensed plumber.
How do I remove the tap bonnet?
To remove the tap bonnet, follow these simplified steps:
- Turn off the water supply.
- Remove any cover plates or tap handles.
- Use a tap spanner or shifting wrench to loosen the bonnet.
- Unscrew and remove the bonnet.
- Inspect and replace any faulty components.
- Reassemble the tap.
- Turn on the water supply and check for leaks.
If you encounter difficulties, consider contacting a licensed plumber for assistance.


