Tap leaks can be frustrating! And if you don’t fix your leaking taps at the right time, they can cause water damage around your home.
Many Australian residents face tap leaks throughout the year. However, most are not aware of the real causes of their tap leaks.
Believe it or not, even a minor leak can waste up to 18 litres daily and rampup your water bills. That is why it’s imperative to know the causes of a leaking tap and learn how to fix it.
This article has compiled a list of some of the leading causes of a leaking tap. We have also included a step-by-step guide on fixing leaky taps so that you don’t have to hire a professional and spend hundreds of dollars to get them fixed. You can even get your materials from your local hardware store.
Now, let’s get straight to the good stuff without further delay.
Top 6 Causes Why Your New Tap Is Leaking
Here is a list of the main causes that are making your new tap leak:
1. Damaged Valve Seat
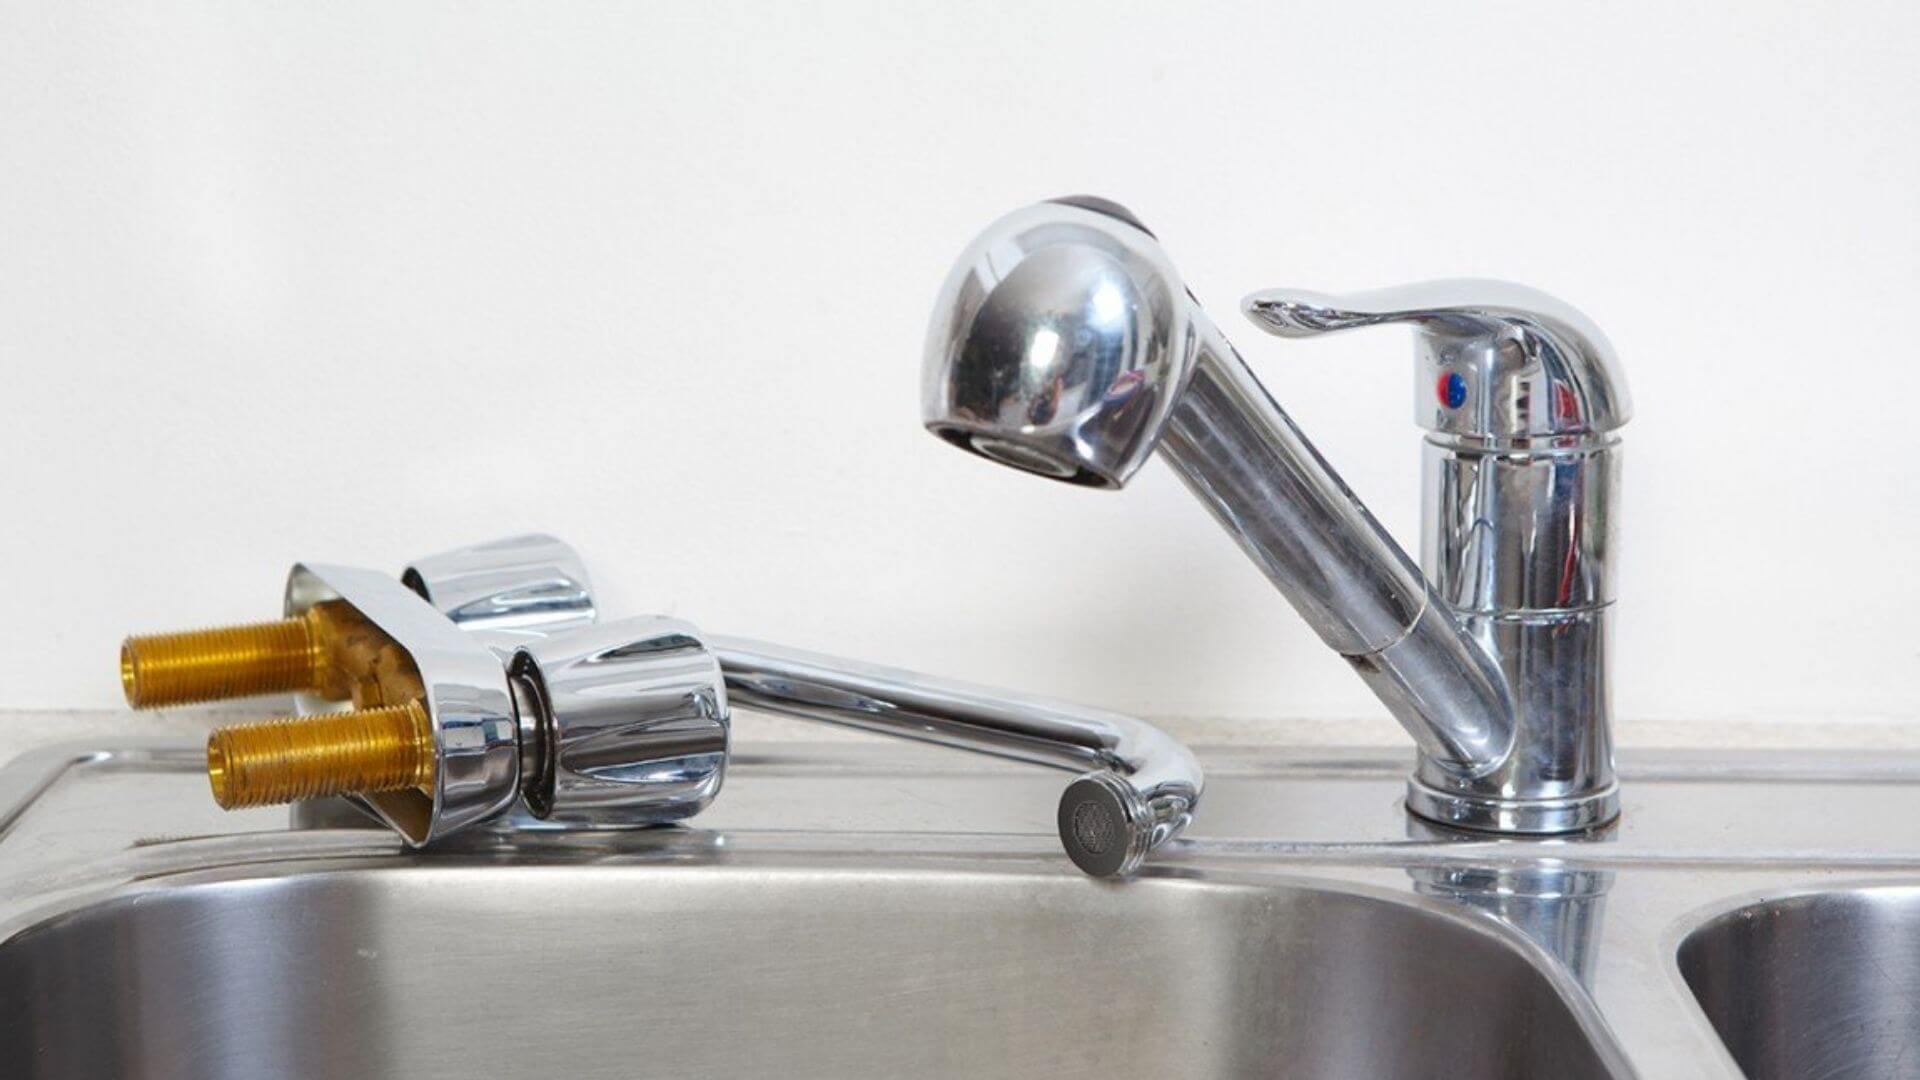
A damaged valve seat is one of the most common causes of a leaking tap. If you notice the water leaking from the spout, it indicates something wrong with the valve seat.
With time, the valve seat becomes weak due to corrosion caused by the build-up of sediments. To avoid a leaky faucet, ensure you clean the valve seat regularly.
2. Worn-Out O-Ring
When water seeps out between the tap body and spindle, or from under the cover plate when the tap is on, it might be time to change the O-ring.
The O-ring is the small disc attached to the stem screw, holding the tap’s handle. Over time, it can loosen or wear out. If the leak seems to be from the tap’s grip, the O-ring could be the culprit.
3. Water Pressure
When the tap drips only when the handle’s at a certain position, it likely indicates variable water pressure in your home. Excessively high pressure, in particular, can cause persistent leaks.
4. Damaged Washers
Another common cause of a leaking tap that many people don’t know about is damaged washers. The washer rests against the valve seat, and with time, the constant friction between the tap washer and your valve can wear it out and eventually damage it. Also, a washer that is not installed correctly can lead to leakage in the tap.
5. Broken Cartridge
If you have opted for a cartridge-style tap, ensure the cartridge is not broken or worn out. You’ve been sold a damaged cartridge if you notice leaky taps within the first few weeks of buying it. Hence, you must contact the seller and replace it with a matching cartridge.
How To Fix Your Leaking Tap
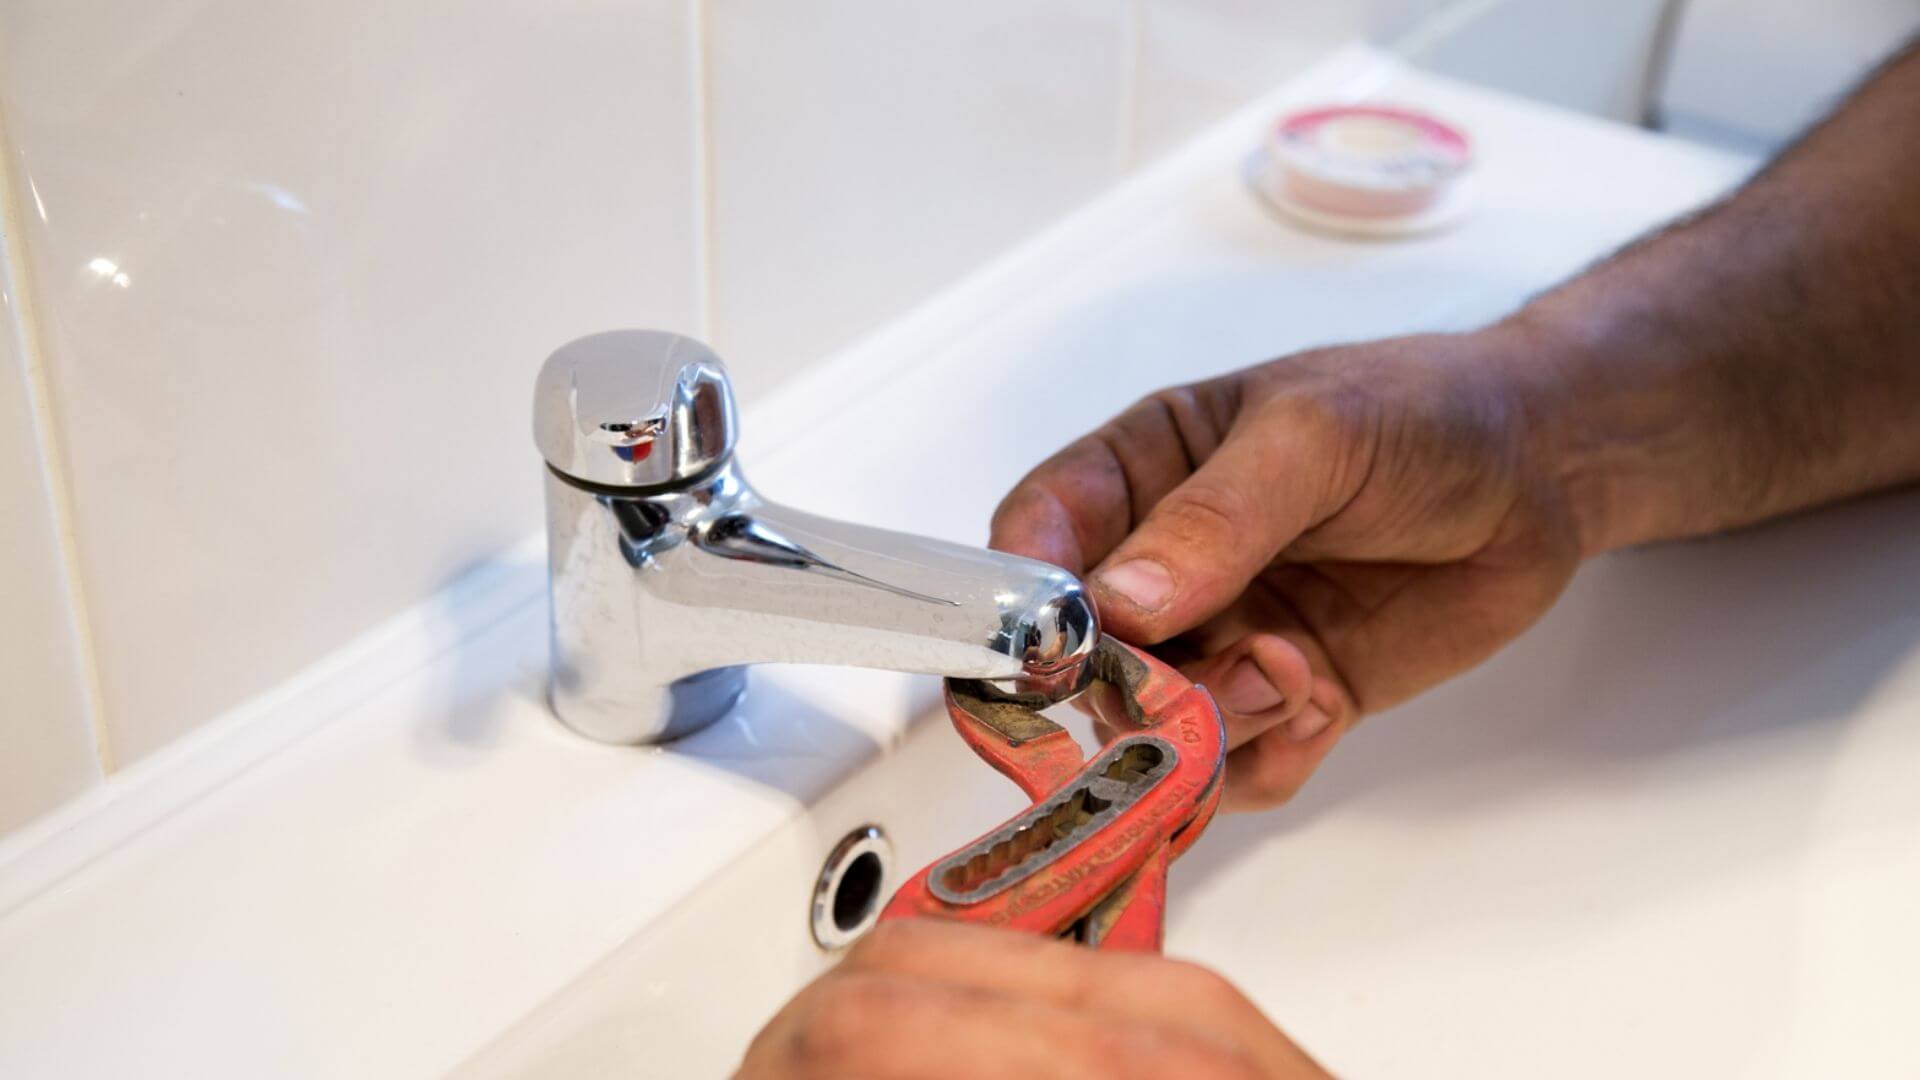
Why spend hundreds of dollars hiring a professional when you can fix a leaky tap yourself? This section explains how to fix your new leaking tap in just a few steps.
1. Shut Off The Water Supply
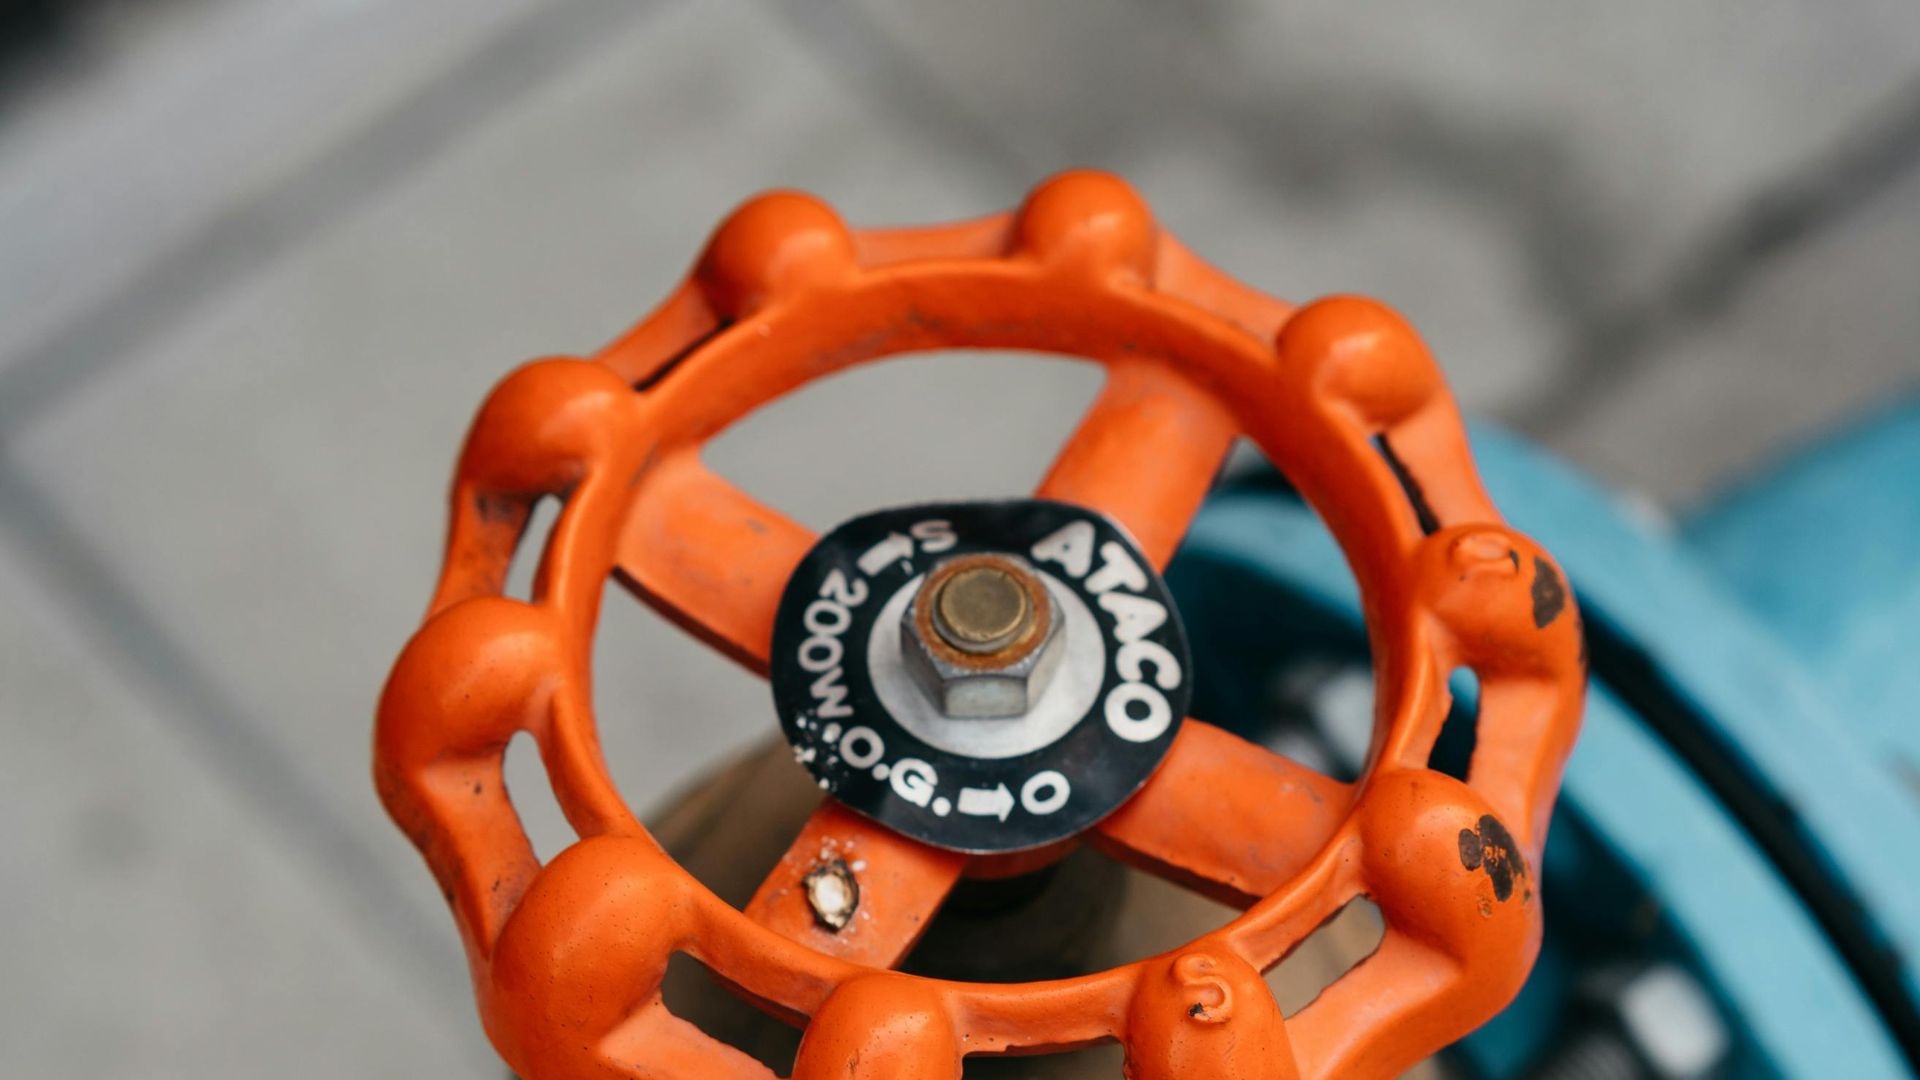
First, you must shut off the water supply; otherwise, you may flood the entire house. Look for the shutoff valves under the sink, and make sure you turn its handle clockwise.
If your tap lacks a shutoff valve, you’ll need to turn off the main water supply. Twist the tap clockwise to confirm cessation. Let any remaining water drain. If no water flows, you’ve successfully shut off the supply, so you’re ready to tackle that pesky leak.
2. Remove The Tap Handle
Next, you have to disassemble the handles of your leaking tap. To do so, consider using a flathead screwdriver to detach the caps on the handle. This will reveal the handle screws, which you must unscrew to remove the handles.
3. Unscrew The Valve Stem
After removing the tap handle of your dripping taps, you can see the cartridge or the inner valve stem. Now, you have to remove these as well. While cartridge taps can be easily pulled out, compression taps feature a brass valve stem that you need to unscrew.
If you have trouble removing it, we highly suggest looking at the manual or searching for instructions online. Taps can come in various types, such as traditional, ball-type, compression, and cartridge taps.
4. Check All The Parts Carefully
Now, you need to carefully check all the parts (tap handles, jumper valve, washer attached to its base, metal ball, etc.) to find out what you need to replace to fix the leaking tap. You may need to place a new body washer.
5. Replace The Broken Parts
If you see any parts broken or worn out, replace them. You will find all the essential parts in your local hardware shop.
To ensure you get the right parts, take your old ones to the hardware store and ask for duplicates.
6. Clean The Valves
You must clean the valves after removing the cartridge or the stem. Even if your tap is new, there is some mineral build-up. So, make sure that you clean it.
We strongly recommend pouring white vinegar on the valve and allowing it to soak for at least 5 minutes. Once it has completely soaked, scrub it away. Also, remember to clean the other parts of the sink to restore their shine.
7. Reassemble The Tap
After cleaning and replacing the parts, assemble the tap and switch on the water supply to check for leaks. If you don’t see any leaks, you have repaired the leaking tap. Otherwise, you might need to contact a professional.
4 Common Types Of Taps
Having a basic understanding of common taps means you’ll handle their repairs more effortlessly.
1. Cartridge Taps
Cartridge taps are one of the most common types of taps. They are called cartridge taps because they have cartridges that allow you to control the temperature and water flow. They sport two handles placed on the side of the spout and are used mainly in bathrooms.
2. Ball Taps
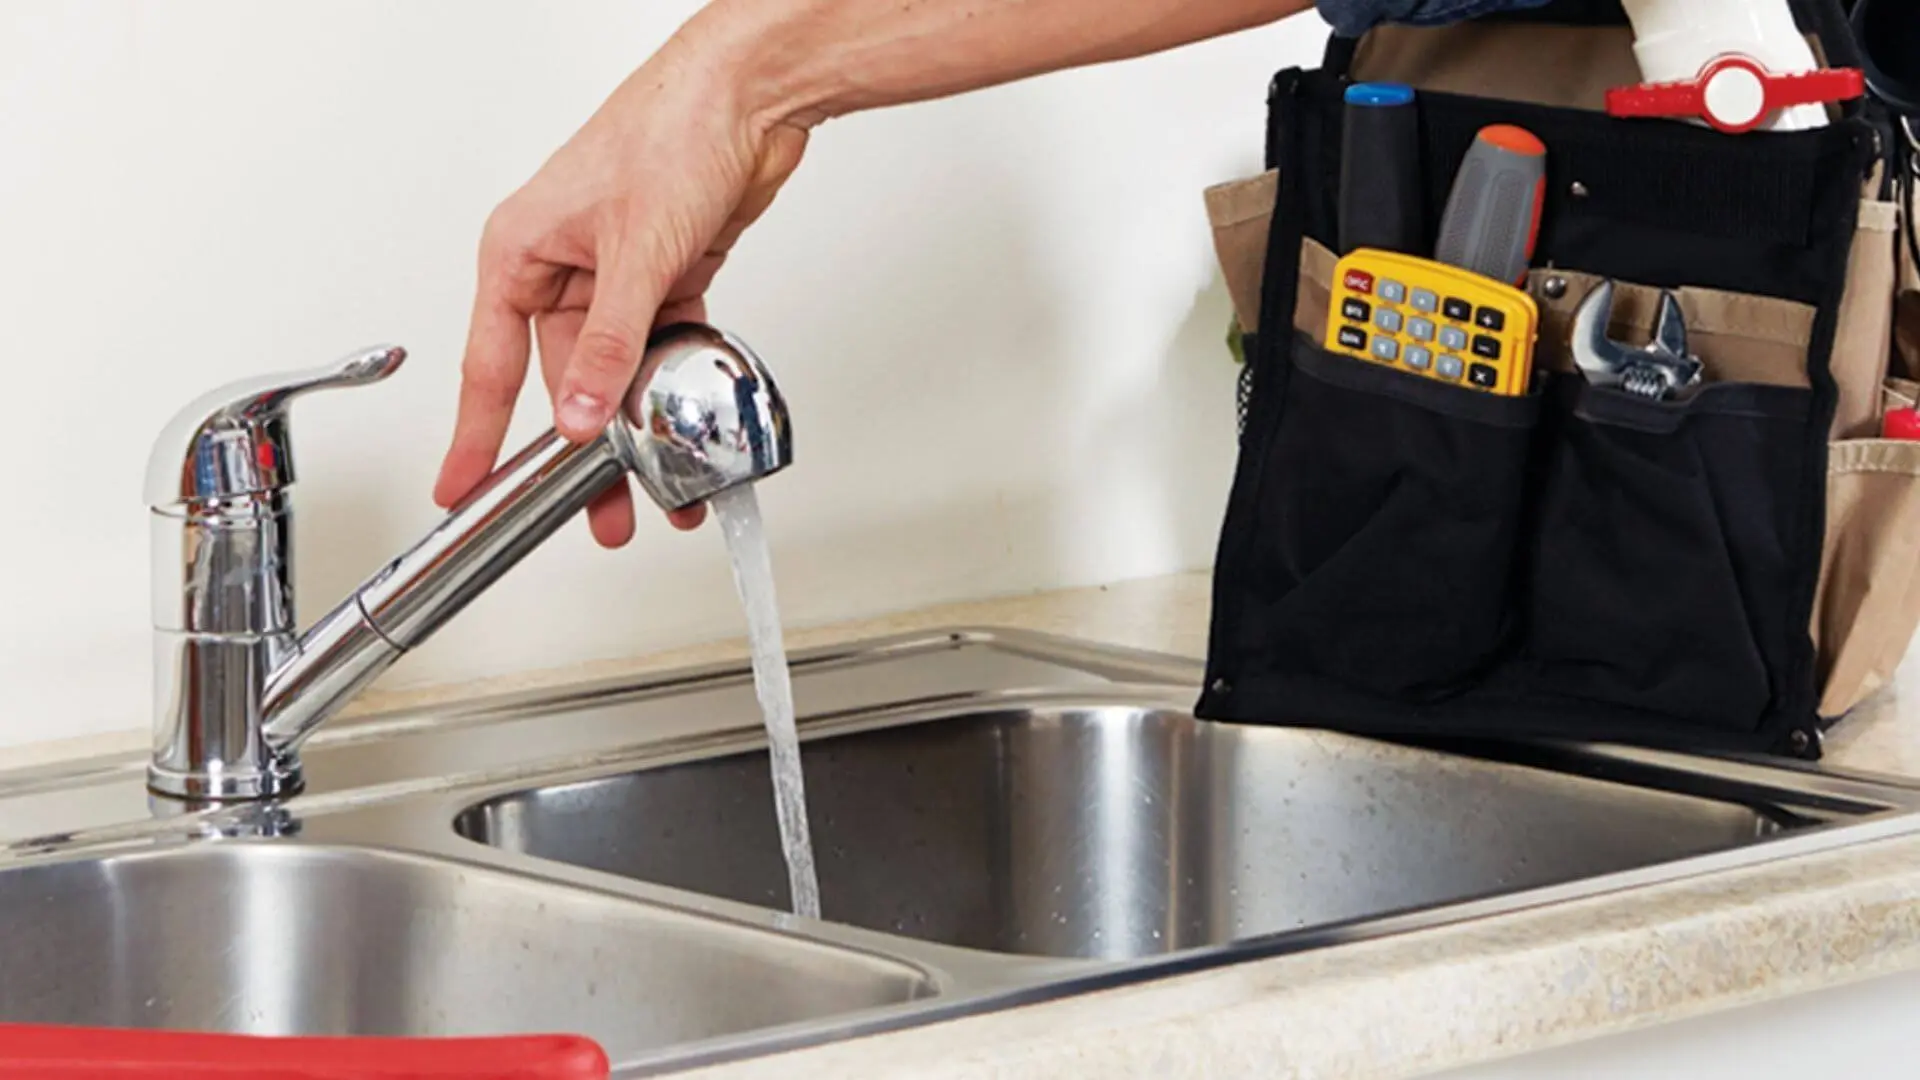
Ball taps, often found in kitchens, have a single handle on the spout. You adjust the water’s temperature and pressure by moving the handle side to side or up and down.
3. Disc Taps
Disc taps are relatively new on the market and a tad more expensive than the other options on this list. They are highly durable and long-lasting.
4. Washer Taps
Even though washer taps are one of the oldest types on the market, they are still used today.
These taps come with two handles that move only from one side to the other. With a washer tap, you can feel its handle getting tighter when you turn it off.
Frequently Asked Questions (FAQs)
Now, let us look at some of the frequently asked questions.
1. Can limescale cause leakage in a tap?
Limescale can stop a tap from fully shutting off, and when it wedges between the tap body and seal, leaks can happen. If you’ve got limescale around your tap, scrub it with a stiff brush and limescale remover to avoid leaks.
2. How much water can a leaking tap waste?
On average, a leaking tap can waste up to 5 gallons of water daily and a whopping 2,082 gallons yearly.
3. What are some of the best brands for taps in Australia?
Some of the most popular tapware brands in Australia are:
- Rossto
- Novelli
- Methven
- Flexispray
- Dorf
- Caroma
- Bastow
Fixing Your New Leaking Tap
Taps can drip, even newly installed ones, if not installed correctly. A broken washer and jumper valve can also cause a leaking tap (garden taps, shower taps, kitchen taps, etc.). Whatever the cause, no homeowner wants to deal with a leaking tap. Despite its harmless presence, it can lead to severe water damage in a home.
On that note, we have reached the end of this informative guide. Hopefully, you can now understand why your new tap is leaking and take the necessary fixations.
Before we sign off, we have one last piece of advice: if the leak is severe, don’t try to fix it yourself; hire a professional and licensed plumber. Call your trusted local plumber to perform a proper job. They can handle this and other pipe issues better and provide you with excellent service and with the right tools.
Contact a licensed plumber if you need help with more than a new leaking tap, like a leaking hot water tank. We provide hot water system services and can get your hot water systems working as they should. Please request a quote or book a service call for our professional service.
With that, let’s call it a day. Until next time, bye!

