Plink... plink... plink... There’s nothing quite as irritating as a dripping tap. The sound bounces around the house day and night, keeping you awake or spoiling your peace. Those tiny drips nag away at you, don’t they?
And then comes the worry.
Water is precious, and we’ve got to save it. A leaky tap left unchecked can really be a headache. As the issue grows, you’ll not only be wasting water but also seeing your bills shoot up.
In most cases, you only need to change a tap washer with a few tools required, even with zero plumbing experience.
Wondering how to change a tap washer? It might sound simple, but it’s not always a breeze.
By the end of this guide, if replacing a tap washer seems harder than you thought, don’t just assume it’ll be a cinch. Leaky tap fixes aren’t always straightforward. You might want to give a plumber a ring to handle it.
What is a Tap Washer?
A tap washer is a small disk that sits inside the tap to seal when turned off. They do wear over time, resulting in leaking taps. Your fixtures may be washerless, but these taps are far less likely to leak.
Tap washers suffer from wear and tear, so it’s wise to replace them every couple of years. If your taps are looking a bit ancient, swapping them out for new ones can cut your water bill significantly!
Learning to change a water tap washer is fantastic, so let’s go through the steps.
Step 1. Grab your tools
Have you got a toolkit in the shed with a few essential tools like spanners, pliers, a flathead screwdriver and a rag? You’re ready to go!
Step 2. Turn off the water supply
Don’t even think about touching the pipes before you shut off the water at the mains. Just turning off the isolation valve under the sink won’t cut it. To avoid a flood, find the mains with the water meter at the front of your property, and get that turned off.
Step 3. Empty the pipes
But even when the mains are off, you should still open that dripping tap to empty the pipes that feed into it. If it stops quickly, you’ve turned the mains off and are ready to rumble. And if you’re handling a boiling water tap, you’ll also need to turn the supply off at the hot water system. You can now continue changing the old washer without causing damage.
Step 4. Remove the tap button
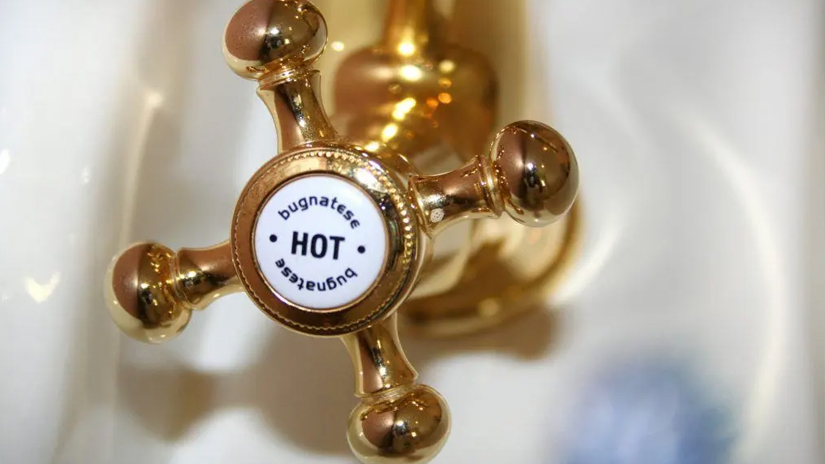
Get the tap off so you can access that busted tap washer. The faucet might have a button on the top that holds the handle on - it might be the part that identifies the 'hot’ or 'cold’ water. If it is round or inset, pop it off gently with a screwdriver. Otherwise, you may need a spanner.
Be gentle when removing this to prevent damage to your kitchen or bathroom sink.
Step 5. Remove the handle
Take the tap handle off. Depending on the type of tap, it’ll be as simple as sliding or screwing it off to reveal the inner workings of the tap lying beneath. There are many types of taps often used in Sydney homes. The washer may be different depending on your tap.
Step 6. Remove the tap skirt
If you see a metallic skirt or shroud on the tap, that will also come off. This could be where you need the pliers because some plumbers will have secured them with a sealant.
Step 7. Remove the tap bonnet
Unscrew the tap’s body (or headgear) to reveal the plastic or brass jumper inside. You’ll need a spanner or shifter for this.
Step 8. Remove the washer
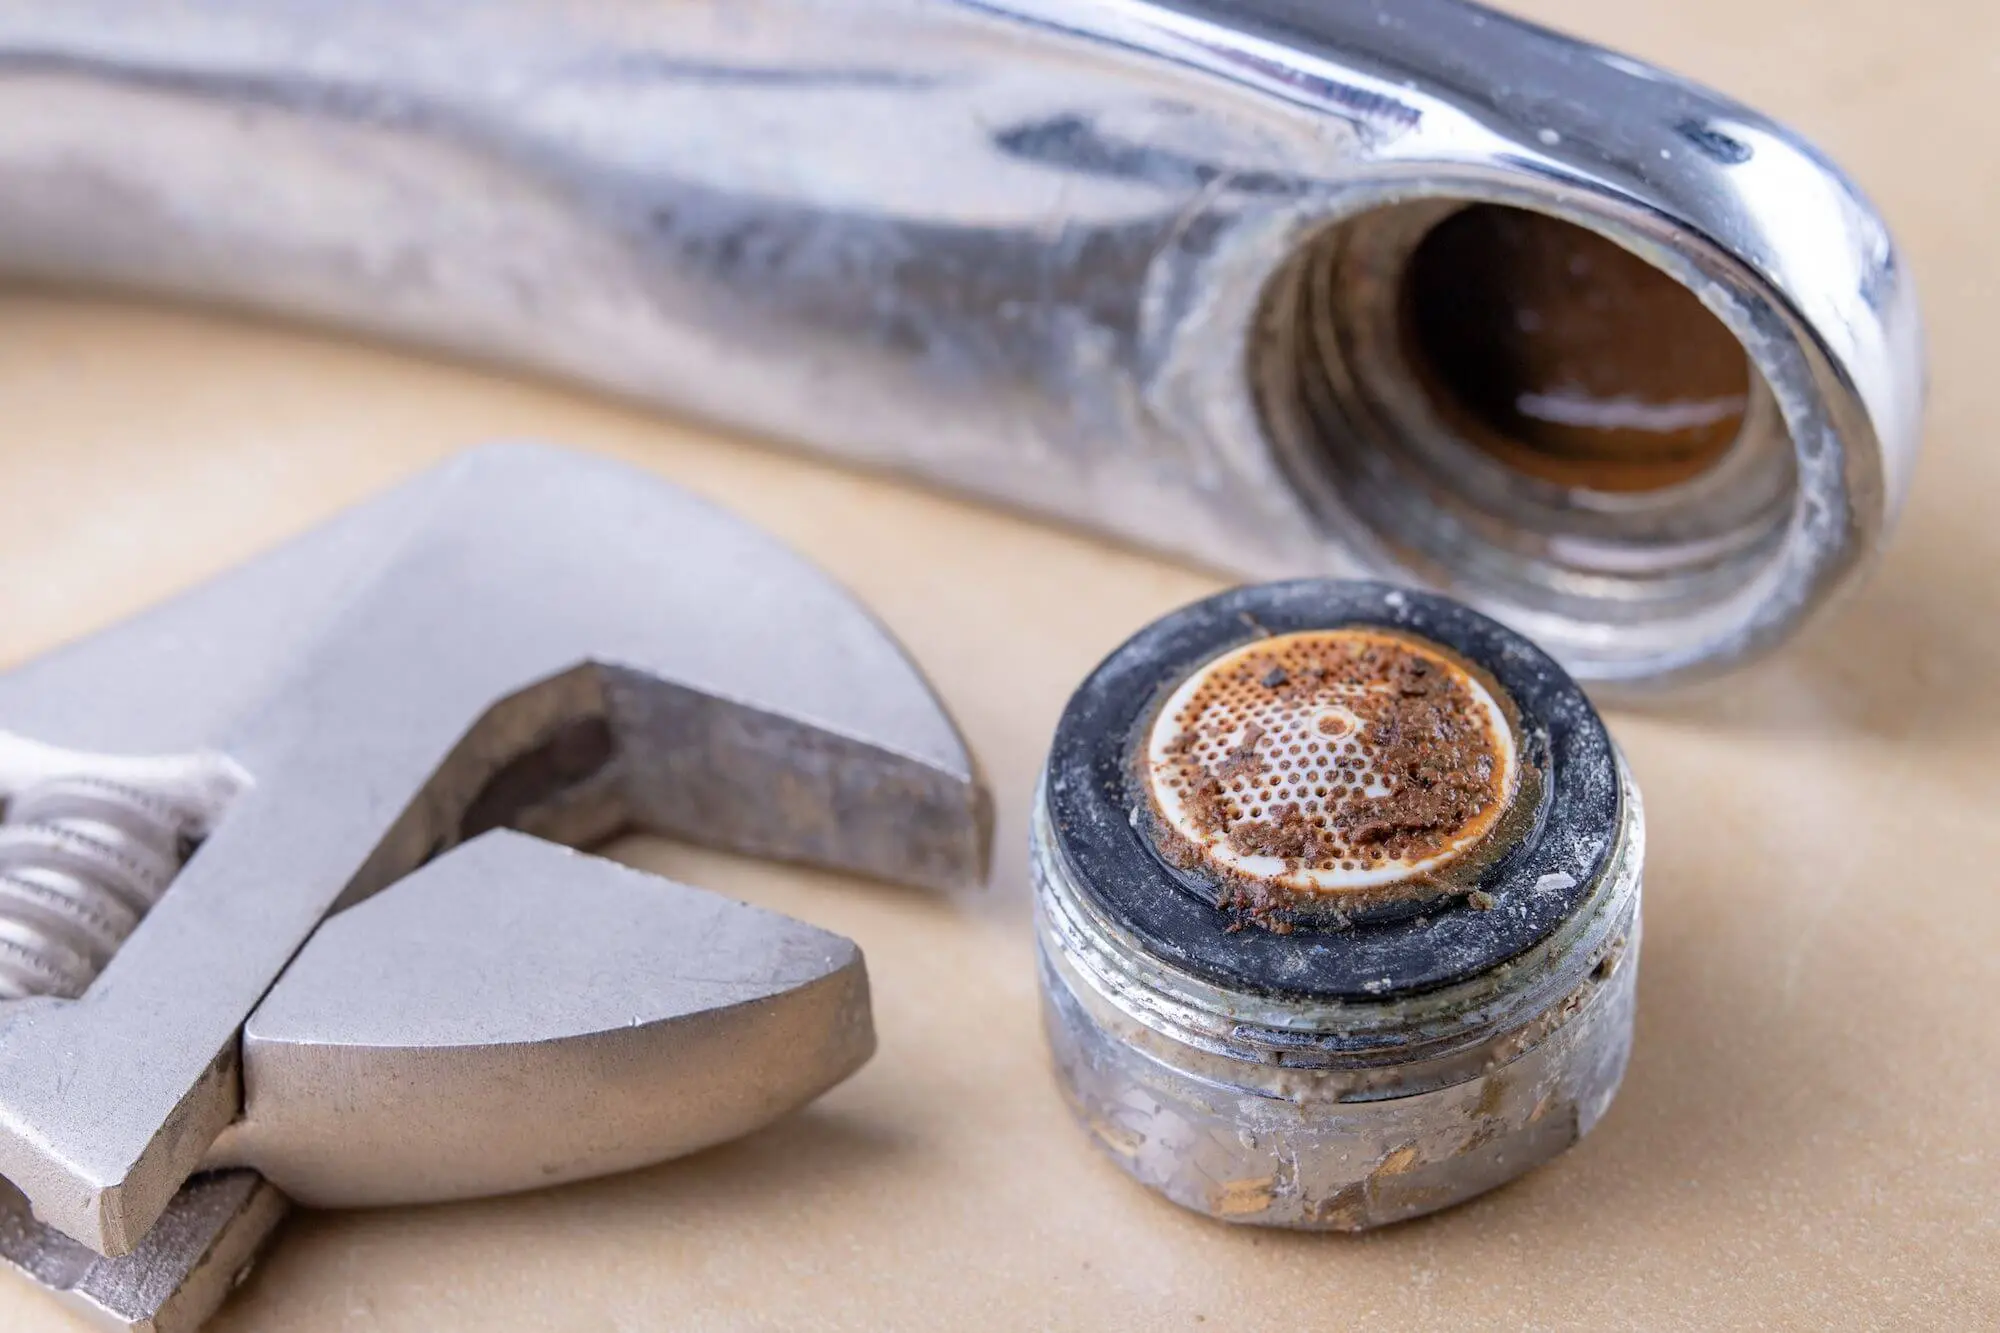
It’s important to know your tap. Modern tapware tends to have ceramic cartridges instead of rubber washers. Once this valve is removed, you can remove that pesky rubber tap washer. Some pliers with a handy needle nose will work like a pair of tweezers if it’s out of reach. If it’s a typical washer problem, you might see a split.
Step 9. Replace the washer
Now you’ve got that worn tap washer in your hot little hands; it’s time to go to the hardware store for a new tap washer. If the jumper valve looks undamaged, you could only get away with replacing the broken washer. But make sure you take both parts to the shop for the new and suitable replacement washer.
Step 10. Put it back together
With the new washer and jumper valve, it’s time to return everything together again! Slide the new washer into place on the tap stem using needle nose pliers. Screw the tap bonnet on, tighten it with that spanner, and then put the rest of the tap back together in the reverse order of how you took it apart.
Step 11. Get that water flowing
When back together, close the tap entirely before turning the main water back on. When the mains are back on, test the tap a few times to ensure that the leak is completely fixed. Turn the tap on for a few minutes to clear any unwanted debris.
Step 12. Celebrate wildly
If everything has gone to plan, you’ve changed the tap washers and stopped the tap from leaking. Well done-you’re a pretty handy DIY plumber, after all!
Not only can you replace tap washers now, but you can also replace the sink drain.
This may be a different issue if you are experiencing no hot water.
Need a Plumbing Service?
Your Days of Dripping Taps Are Over!
If you tried to change a tap washer and it hasn’t gone smoothly, don’t beat yourself up - help is on the way.
Fixed Today is an absolute expert in leaking tap repairs and replacements. We can also help with leaky showers, clogged shower drains, and noisy or hard-to-turn-on or off-taps.
If your laundry taps aren’t too damaged, we can repair them by replacing washers, cleaning the spindles, replacing the cartridge in mixer taps, and completing a full service. However, any taps that are too old, rusted, or damaged must be replaced, which we can also do. Our tap experts can easily access various popular laundry taps of all types and brands, so we can install whatever you want.
Fixed Today can fix all your Sydney plumbing problems! Get in touch with our professional plumber on 1800 349 338 or send us an email today.