Hiring a professional is ideal when replacing a malfunctioning toilet or upgrading a toilet suite.
Installing your toilet suite on your own is possible. Surprisingly, replacing a toilet isn’t as complicated as it seems. In fact, a professional can do it in just about an hour.
So follow the steps below to tackle this DIY plumbing project of replacing a toilet.
Supplies and tools you will need
- new toilet
- new bolts
- new water tubing
- wax ring (buy an extra just in case)
- measuring tape
- utility knife
- pry bar
- bucket
- large sponge
- water solidifier
- putty knife
- hacksaw
- screwdriver
- adjustable wrench
- old rag
- garbage bag
- plumber’s tape
- silicone caulk
- gloves
- flange reinforcement kit (optional)
- flange height adjustment kit (optional)
1. Select a toilet
A toilet suite comes in two installation parts. A toilet tank (toilet cistern) and bowl. Each of these has its respective components.
Toilets come in two shapes: oval (long) or round. And they also have different flushing mechanisms. If you prefer a new model, make sure your measurements are correct.
Measure the distance of your space from the wall to the closet bolts holding your toilet to the finished floor. Consider the distance between the centre of the waste pipe and the finished wall by selecting a toilet with matching dimensions.
Purchasing a system, a replacement cistern or toilet tanks that fit perfectly in the existing space you are working with is essential. You want to leave enough room for other fittings such as bath, shower, vanity and toilet roll holders.
The standard rule of thumb is to buy a bowl that is the same shape as your old toilet.
2. Remove the water
Shut off the water supply. The connection is either on the wall or on the floor. Turn the valve to stem the flow of water. Flush your toilet and keep the handle down to empty it of water. Use a large sponge and bucket to remove the remaining water in the tank and the bowl.
3. Remove the old toilet
Unthread the toilet tank bolts and coupling nuts using channel pliers. This is the nut that connects the toilet to its water supply. Unscrew the water inlet pipe located at the bottom of your cistern. Remove the toilet bolts and discard the old cistern. Older toilets may use regular nuts or, worse, recessed ones.
To remove the cistern, grab each tank bolt with pliers or box wrenches. Then, take off the toilet bolts and get rid of the old cistern. To make things easier, use a slotted screwdriver to stabilise the bolts.
To remove the toilet pan and bowl from the floor, start by prying off the bolt covers with a screwdriver. You can also use a socket wrench, channel pliers, or locking pliers.
If the nuts are stubborn, they might be stuck. Try a bit of oil to loosen them up, and if that fails, you can always cut them off with your hacksaw.
You should then be able to see your existing toilet drain opening or the closet flange. This leads to your sewer pipe.
4. Prepare the floor
You will need to remove the old wax ring. This step can be pretty messy.
With your putty knife, scrape the old wax from the wax ring flange and discard it immediately. Toilet waste can make it sticky and dirty.
When the wax is gone, and the area is clean, stuff the rag into the drain opening to block sewer odours from escaping. You don’t want to drop anything down the pipe.
Remove the rag from the drain opening to insert the new wax seal and place new floor bolts into the flange holes at 9 and 3 o’clock.
Rotate each bolt at a 1/4 turn to ensure the heads won’t be withdrawn. Secure the bolts with washers or plastic keepers and put the nuts onto the bolts to secure the floor flange. Position your new wax ring onto the flange.
5. Install the new bowl
Carefully lower and position the new toilet bowl over the floor ring. Ensure the bolts enter the bolt holes on the stool and press the toilet seat securely in the ring. Use a level to ensure it is laid down straight. Remember that the wax ring is fragile; if it cracks or is crushed, you’ll have a leak.
Then, thread the washers and toilet nuts on the floor bolts. Tighten the nuts, but don’t overtighten. Cap the bolts and remove any exposed sections with a saw.
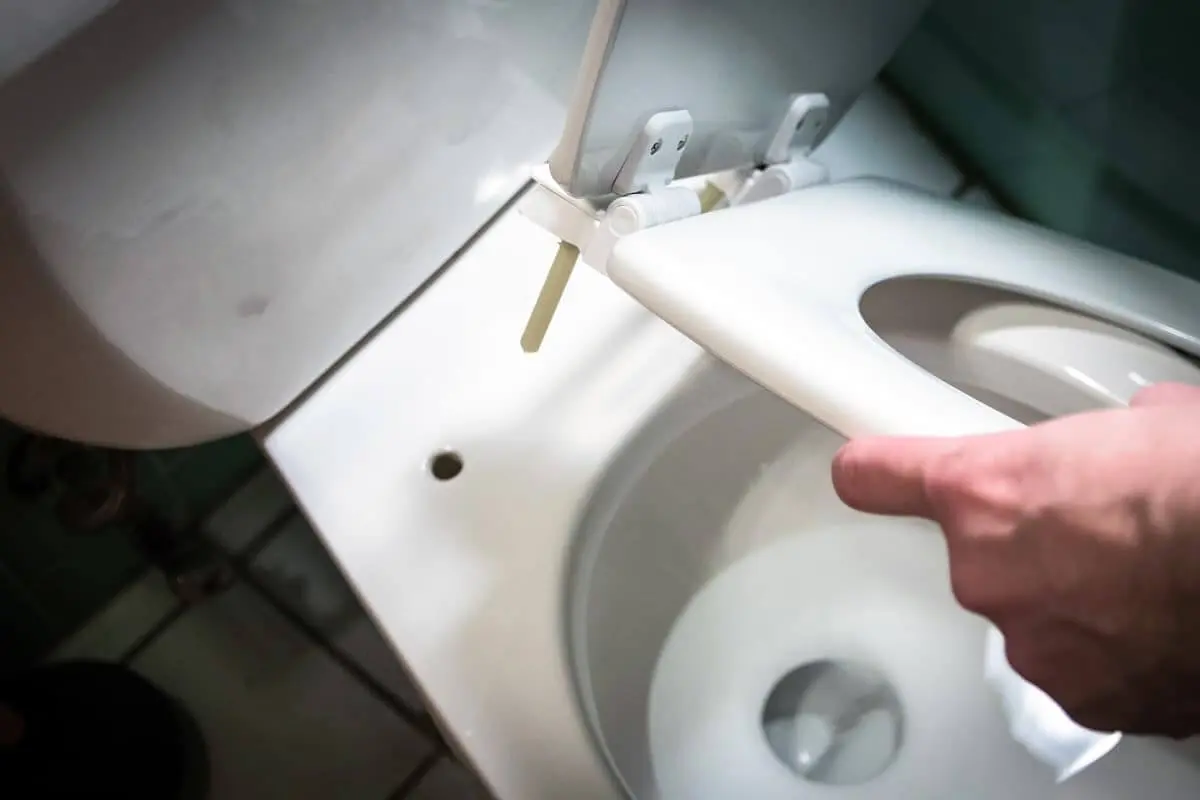
Your new toilet bolts, whether they’re brass or plastic, should have come with the toilet seat. Simply thread them through the rim’s holes.
Attach the nuts to the bolts and tighten them firmly to secure them in place.
6. Attach the water tank
If your new cistern does not have preinstalled fill and flush valves, you must install them yourself. This can be done through the cistern opening.
You will have two parts: the spud nut and the spud washer. Tighten the spud on the side of the flush valve and insert the washer over the nut.
You can then adjust the toilet fill valve if need be.
Position the toilet valve inside the toilet tank. Push the valve shank downwards from the bottom while tightening the locknut.
Once you lay the tank on its backside, you can thread a rubber washer on each bolt within the water tank. Thread a brass washer below and thread a hex nut on the bolt. Finish off by tightening at a 1/4 turn.
It’s time to attach the water tank.
Place the rubber gasket between the tank and the bowl, and then attach the bowl using the two bolts provided. Hand-tighten the bolts. Alternate from one side to the other until both are secured in place.
Use an adjustable wrench to give each bolt another complete turn and a half. Over-tightening the nuts could crack the porcelain, so be careful when completing this step.
7. Reconnect the water supply
This is the time to fix the tank’s main water supply. The new tubing should be connected to the fill valve with the coupling nut.
After turning on the water supply line, check for leaks and puddles. Then, give your toilet a flush to ensure everything’s working smoothly.
8. Seal the Base
You can apply tile caulk around the new toilet base and leave some space in the back area to allow water to escape and check for leaks.
Use your toilet for a day or two before applying the caulk. You want to be extra sure there are no leaks from the base. Once you’re confident everything is installed correctly, run a bead of silicone caulk around the toilet’s base.
Need a Plumbing Service?
There are indicators to tell you if you need to replace or install a toilet. Some common signs are a sewer gas smell coming from it, overflowing water in the toilet bowl, water around the toilet base, toilet flush not functioning, etc.
This shouldn’t put you off from tackling this DIY toilet installation. Yet, be aware that toilet installation or replacement isn’t for the faint-hearted. And, truth be told, many plumbing tasks are like that.
While you can certainly tackle a toilet replacement on your own, if you want a top-notch job that’ll last, it’s wise to call in a pro. Let the experts handle your plumbing woes. It’s a surefire way to save time, money, and enjoy peace of mind.
Call Fixed Today. We can replace your toilet and even perform an entire bathroom renovation.