What is a sink p-trap?
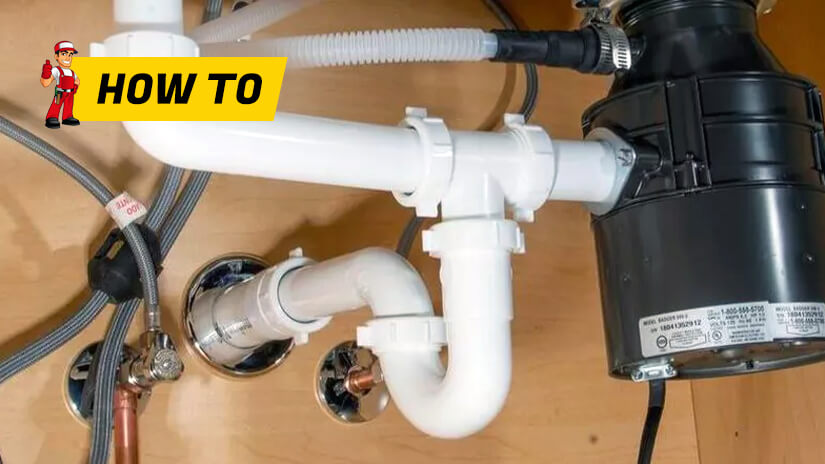
A p-trap, often called a sink drain trap, is situated beneath the sink. This is the part of the plumbing that curves, forming a shape similar to the letter P.
Its primary role is to connect the sink drain to the main wall-mounted drainpipe, allowing water to flow smoothly.

The P-trap plays a crucial role in plumbing by retaining a small water pool at its base. This water acts as a barrier, preventing sewer gases from escaping through the sink. Curious about plumbing vents and their function? Have a look. These traps can be constructed from materials like copper, PVC, brass, or chrome.
The components of a p-trap are connected with slip fittings that are easy to assemble and take apart.
Need a Plumbing Service?
If you are experiencing a clog in your sink that is affecting your pipe, you may need to disassemble a P-trap.
Parts of a Drain P-Trap
Your sink P trap comes in two parts. These are called the trap bend and the waste arm.
Trap Bend—This component is shaped like a ’U’. One end is connected to the trap arm, and the other to the tailpiece.
Waste Arm—This is also known as a trap arm or S-Bend. It is connected to the trap bend and the main drain on the other end.
Tools and Equipment Needed
When swapping out a sink, the trap might need to be replaced, especially if the setup of the new sink is different from what you have now.
You can grab a P-Trap kit from any big homemaker or hardware store. Check that the parts in your kit match your current P trap’s size and layout. For example, if you’ve got a double sink, make sure to get the right equipment.
It would be best if you had these tools and equipment readily available.
- Slip-joint type pliers
- Bucket
- P-Trap kit
- PVC cutter or hacksaw

How do you replace a P trap under a sink?
Step 1
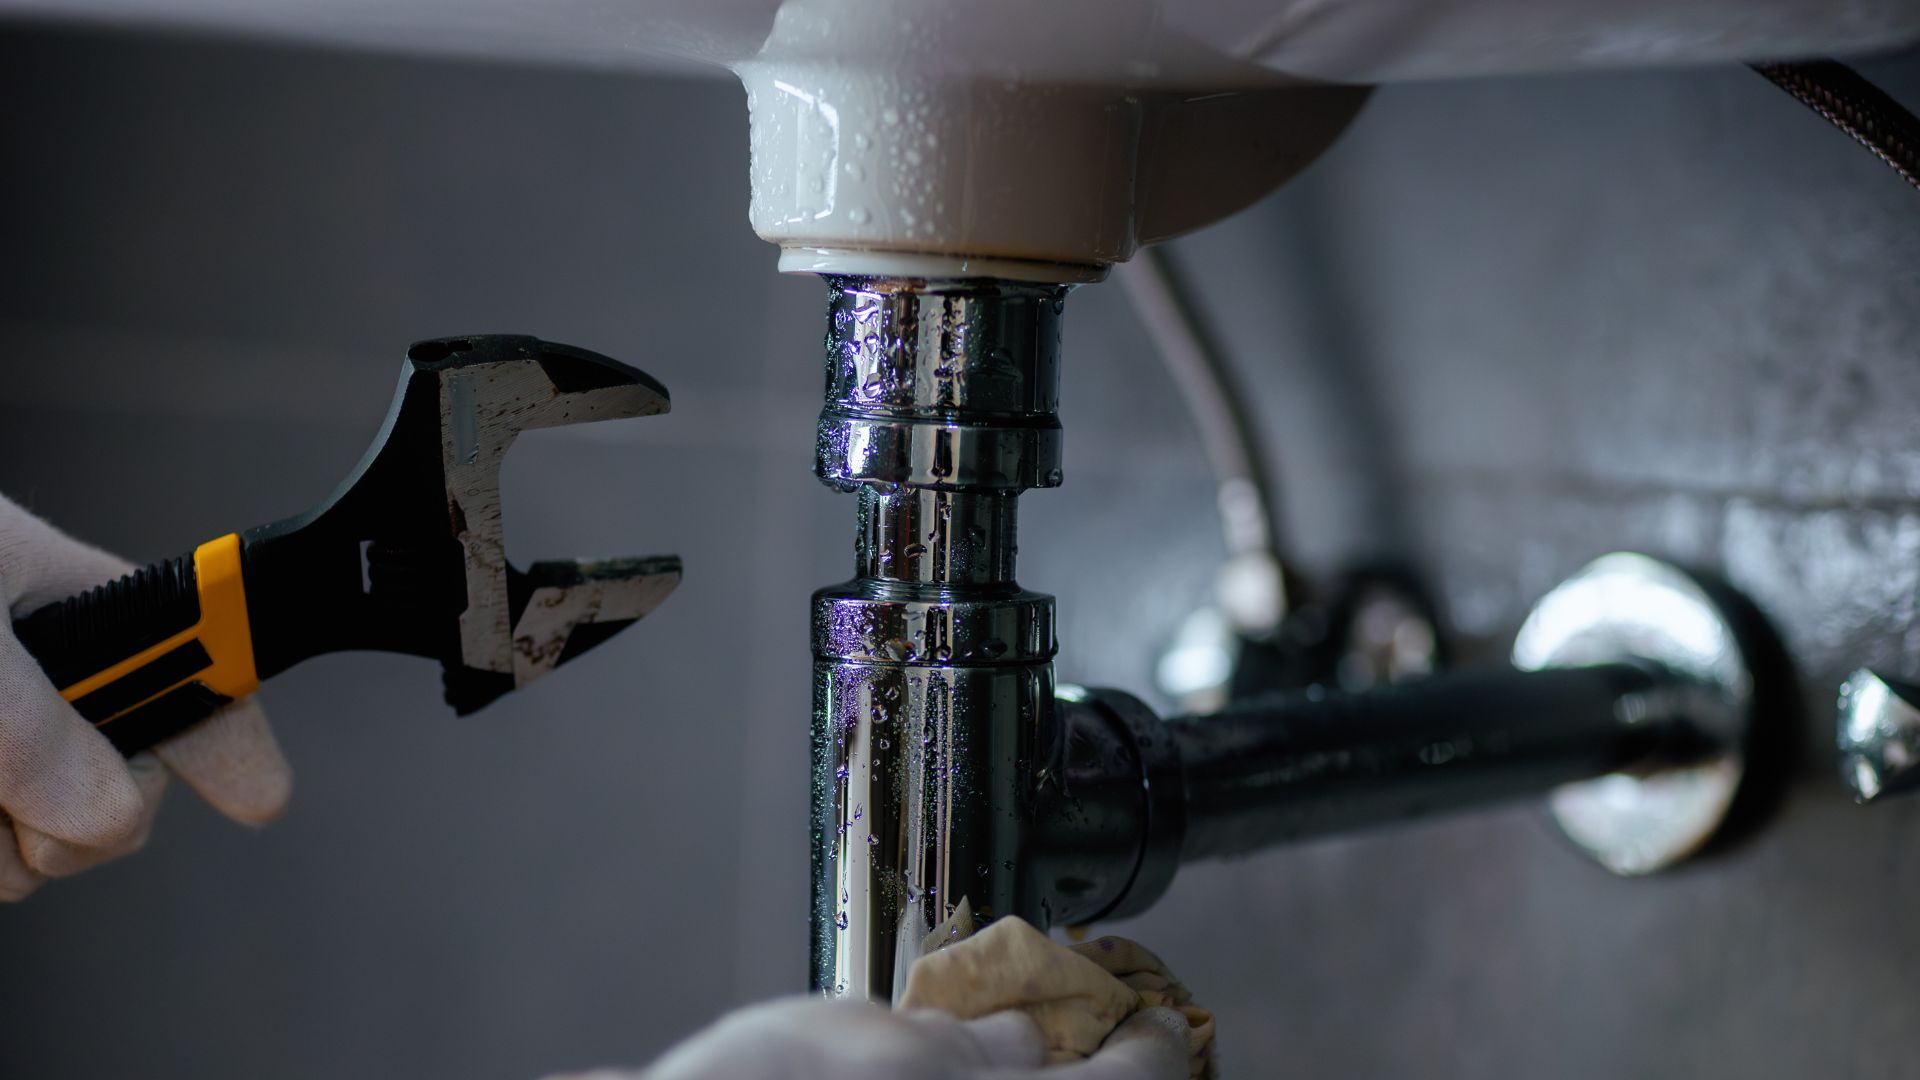
Put your bucket under the trap to catch any water spillage. Next, use your pliers to loosen the nuts that hold the trap in place.
Slide off the bend. If you are having trouble, slightly wiggle it off until you have removed it.
You will then remove the nut holding the trap arm in place. Slide off the trap arm from the opening of the drain. Keep all parts aside.
Step 2
Lay out all the pieces from your new trap kit. Start by sliding the new slip nut over the trap arm, ending with the curve. Place another slip nut on the straight side of the peninsula. Ensure the open threads are oriented outward.
The next step is to slide the straight end of the trap arm into the drain opening. Allow some room for the arm to move easily in and out.
Slide the nut over the threaded end of the drain opening. Leave some room available in case you need to make adjustments.
Step 3
Slide the nut over the tailpiece above the sink drain. Pop the washer on top with the bevelled edge facing down. Now, slide the drain trap bend onto the tailpiece. Position the bend to connect smoothly with the arm trap’s curve.
Adjust as needed and tighten the slip nuts on both the tailpiece and the trap bend.
If the new trap arm is extended, you can cut to size using your hacksaw or PVC cutter. Check your p-trap kit for different trap arm sizes that are already available.
Step 4
Once you have completed these steps, all trap fittings are in place. Start by tightening the slip nuts using your hand and giving them another turn using your pliers. Do not overtighten; doing so can crack or burst your pipe or damage nuts and bolts. It can also be challenging to remove if you need to do so later on.
The final steps involve testing for leaks. Turn on your bathroom sink taps to full blast. Check all around the fittings. Spot any drips? You might need to tighten or readjust the nuts and bolts.
Need a Plumbing Service?


