Water conservation is important, particularly during the summer!
When replacing old fixtures and toilets, low-flow options are a great choice. These efficient fixtures effectively tackle water wastage and can significantly cut down your water bills. Learn more about replacing old fixtures here or explore ways to save on water bills.
Additionally, low-flow fixtures and toilets can help you reduce water heating costs, which take up a large chunk of your electricity bills. Needless to say, there are several benefits of low-flow shower heads and toilets that make them superior to their traditional versions.
So, let’s look at how these fixtures work and how to install them. By doing so, you can take control of your excessive expenditure and reduce the wastage of a precious natural resource in the process.
Low-Flow Toilets And Showerheads
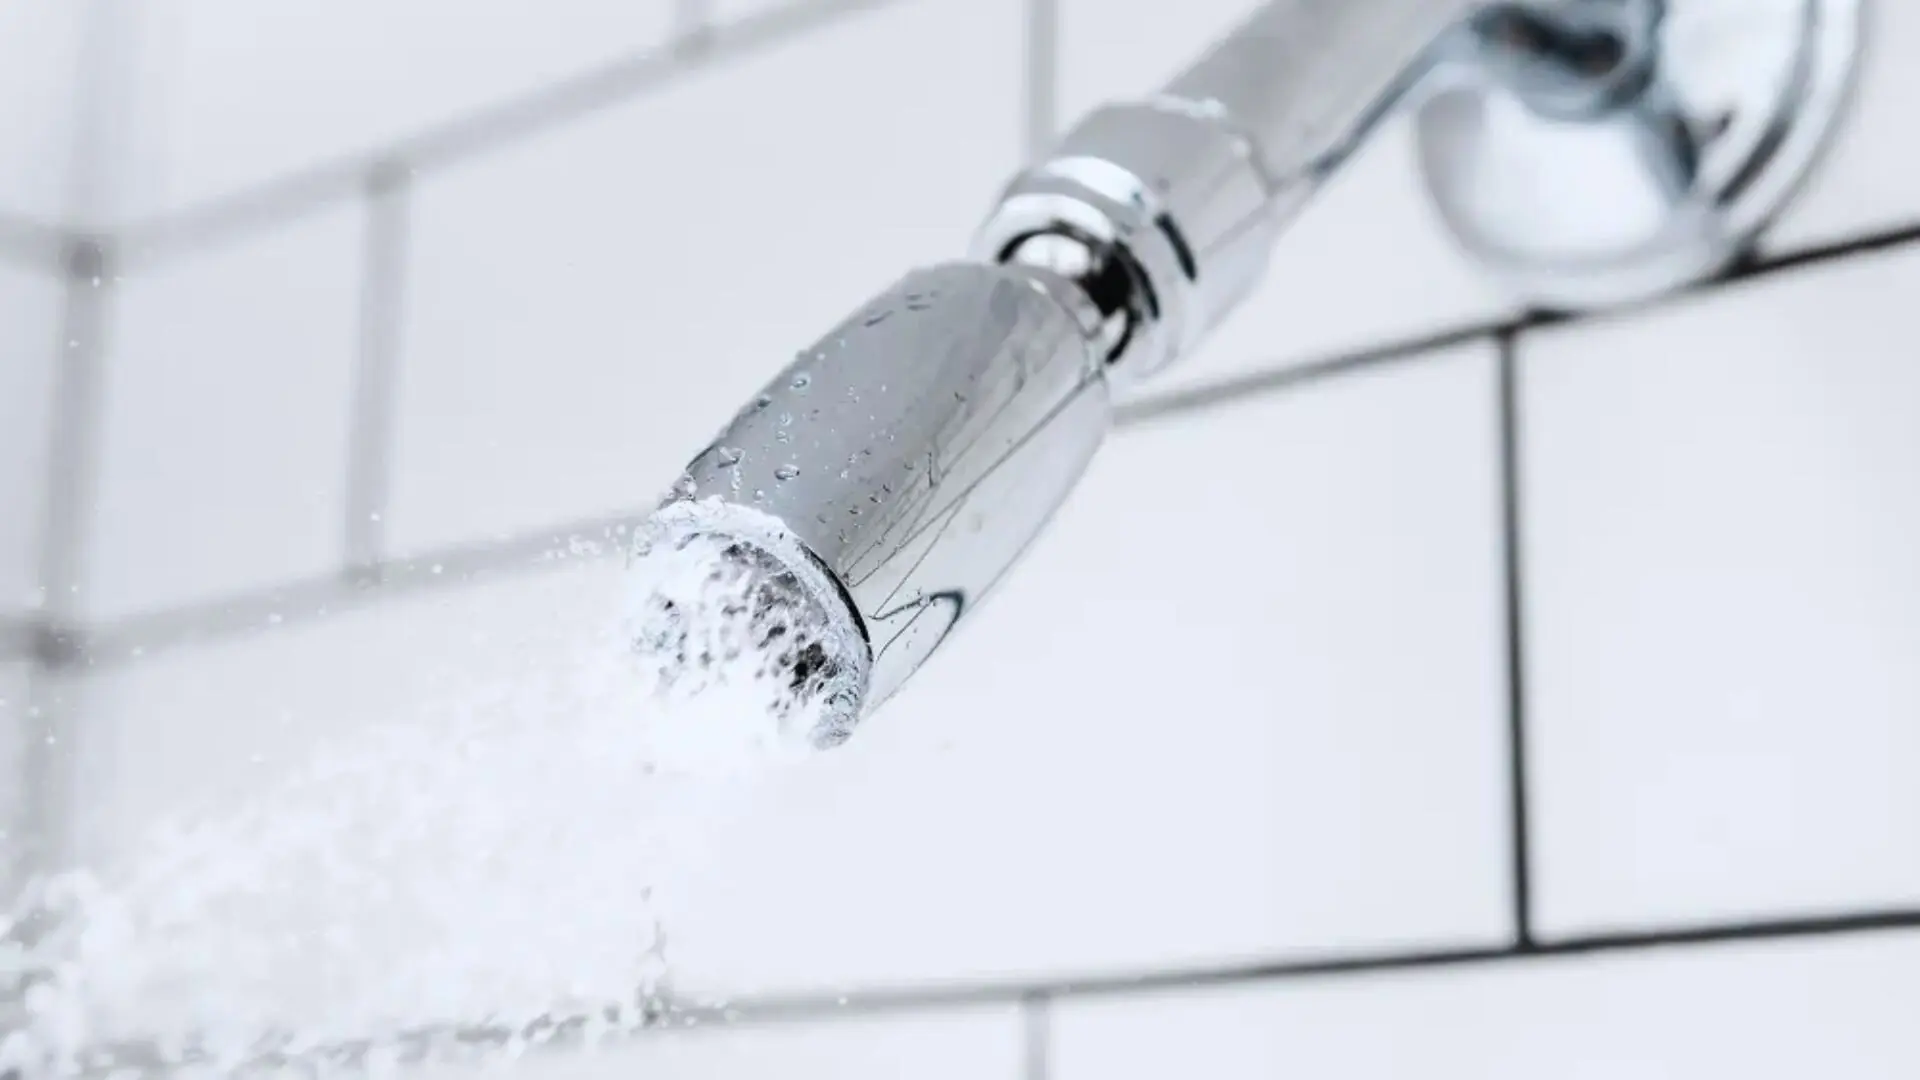
Low-flow fixtures save water by having a lower water flow rate per use. So, every time you turn on a low-flow showerhead, the amount of water that flows from it will be noticeably lower than a regular one.
Don’t worry about your water flow being too low to enjoy a long shower. Low-flow fixtures strike a balance, offering just enough water flow for a satisfying shower without the waste. It’s about saving water while keeping your shower enjoyable.
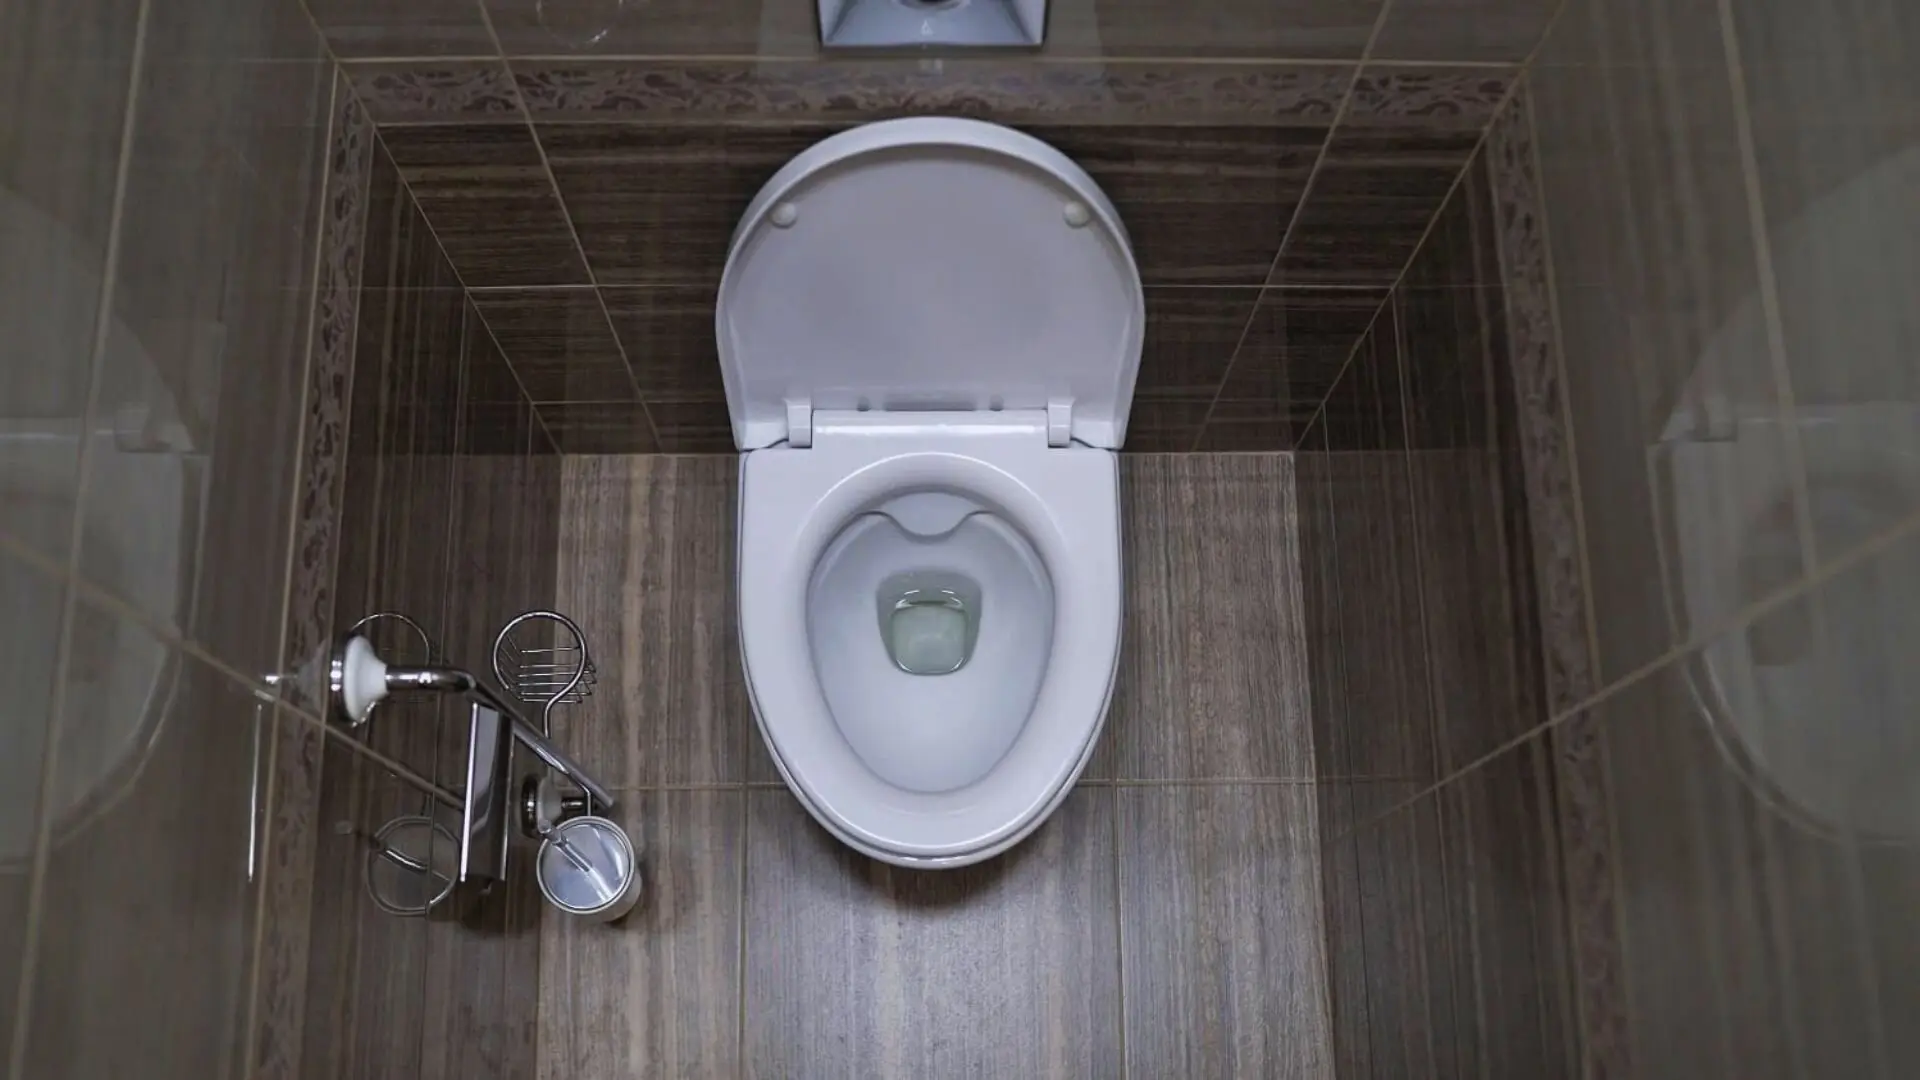
Low-flow toilets use dual flush systems that carry 6 litres of water for solid waste and 4 litres for liquid waste. In contrast, the tank capacity of conventional toilets ranged from 19 to 26 litres of water, nearly five times the amount consumed by low-flow versions.
Low-flow shower heads consume about 6 litres of water per minute, while conventional models use up to 9 litres. In both instances, low-flow counterparts are simply the better option for daily usage
Choosing Low-Flow Fixtures
1. How To Pick A Low-Flow Showerhead
When picking a low-flow showerhead, consider its water usage and features. You’ll want to decide between an aerating showerhead, which creates a mist-like spray, and a laminar-flow one, which produces distinct water streams. Choose what suits your preference best.
Lastly, check if the fixture has a flow restrictor. A flow restrictor can allow you to control how much water comes out of the shower head based on your needs.
2. How To Pick A Low-Flow Toilet
The following factors determine if they are the right option or not:
- Look for high-efficiency dual-flush models
- Check the water efficiency rating
- Check the flush tank capacity
Water-consuming toilets shouldn’t use more than 5.5 to 6 litres per flush. Ideally, that number should be around 4.5 to 4.8 litres of water each time you turn the flush knob.
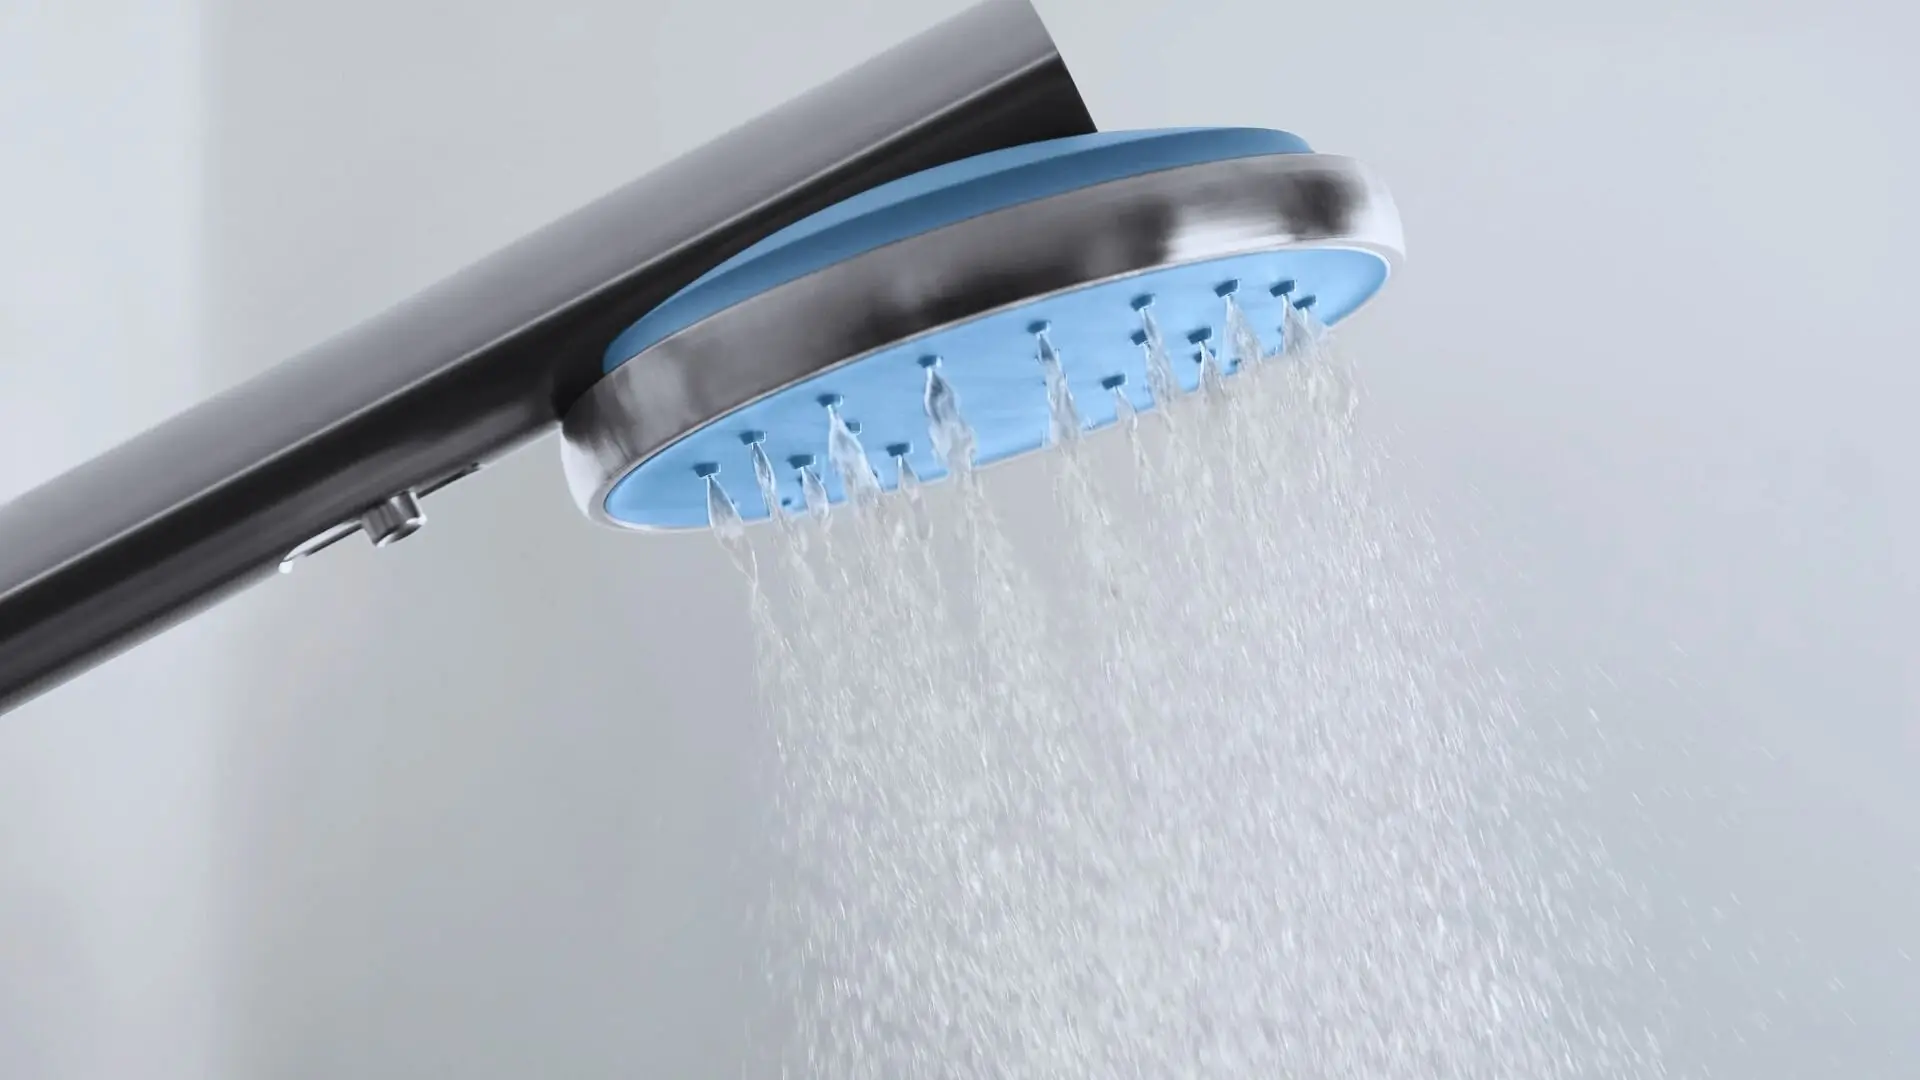
How To Install Low-Flow Showerheads
Installing a low-flow shower head is generally a straightforward task you can handle yourself. However, if any hiccups occur, don’t hesitate to reach out to a professional for assistance.
Step 1: Take Off The Old Shower Head
You can use channel-lock pliers or an adjustable wrench to unscrew and remove the existing shower head. Take care not to chip or break the shower head threading with any rough or sudden motions, and unscrew it slowly and smoothly.
Once you’ve removed the showerhead, you can safely set it aside and move on to the next step.
Step 2: Apply Pipe Tape Around Fixture Pipe
Wrap a strip of pipe tape around the fixture pipe threading, creating a waterproof seal once you affix the new showerhead.
Step 3: Screw In The Replacement
You can screw on the brand-new shower head by hand until you can’t anymore. At this point, a wrench is used to tighten the fixture completely, but not so much that it cracks open. Ensure that it’s tight enough one last time, and then move on to the next step.
Step 4: Check The Water Flow
Now, it’s time to test the new showerhead. Watch out for leaks between the pipe and the showerhead. If you spot any, simply tighten the shower head a little.
If this doesn’t stop the leak, you may need to remove the new shower head and perform steps 2 and 3 again.
How To Install Low-Flow Toilets
Installing low-flow toilets is a more involved process than showerheads. Follow these steps to safely remove the existing toilet and replace it with a low-flow version.
Step 1: Drain The Old Toilet
Start by shutting off the water supply to your old toilet and emptying it out. Flush a few times to make sure the bowl and tank are completely drained. With that done, you’re ready for the next step.
Step 2: Disconnect Water Supply Tube
Next, disconnect the water supply tube from the angle stop to the flush tank. You can do this by simply unscrewing it from the toilet tank.
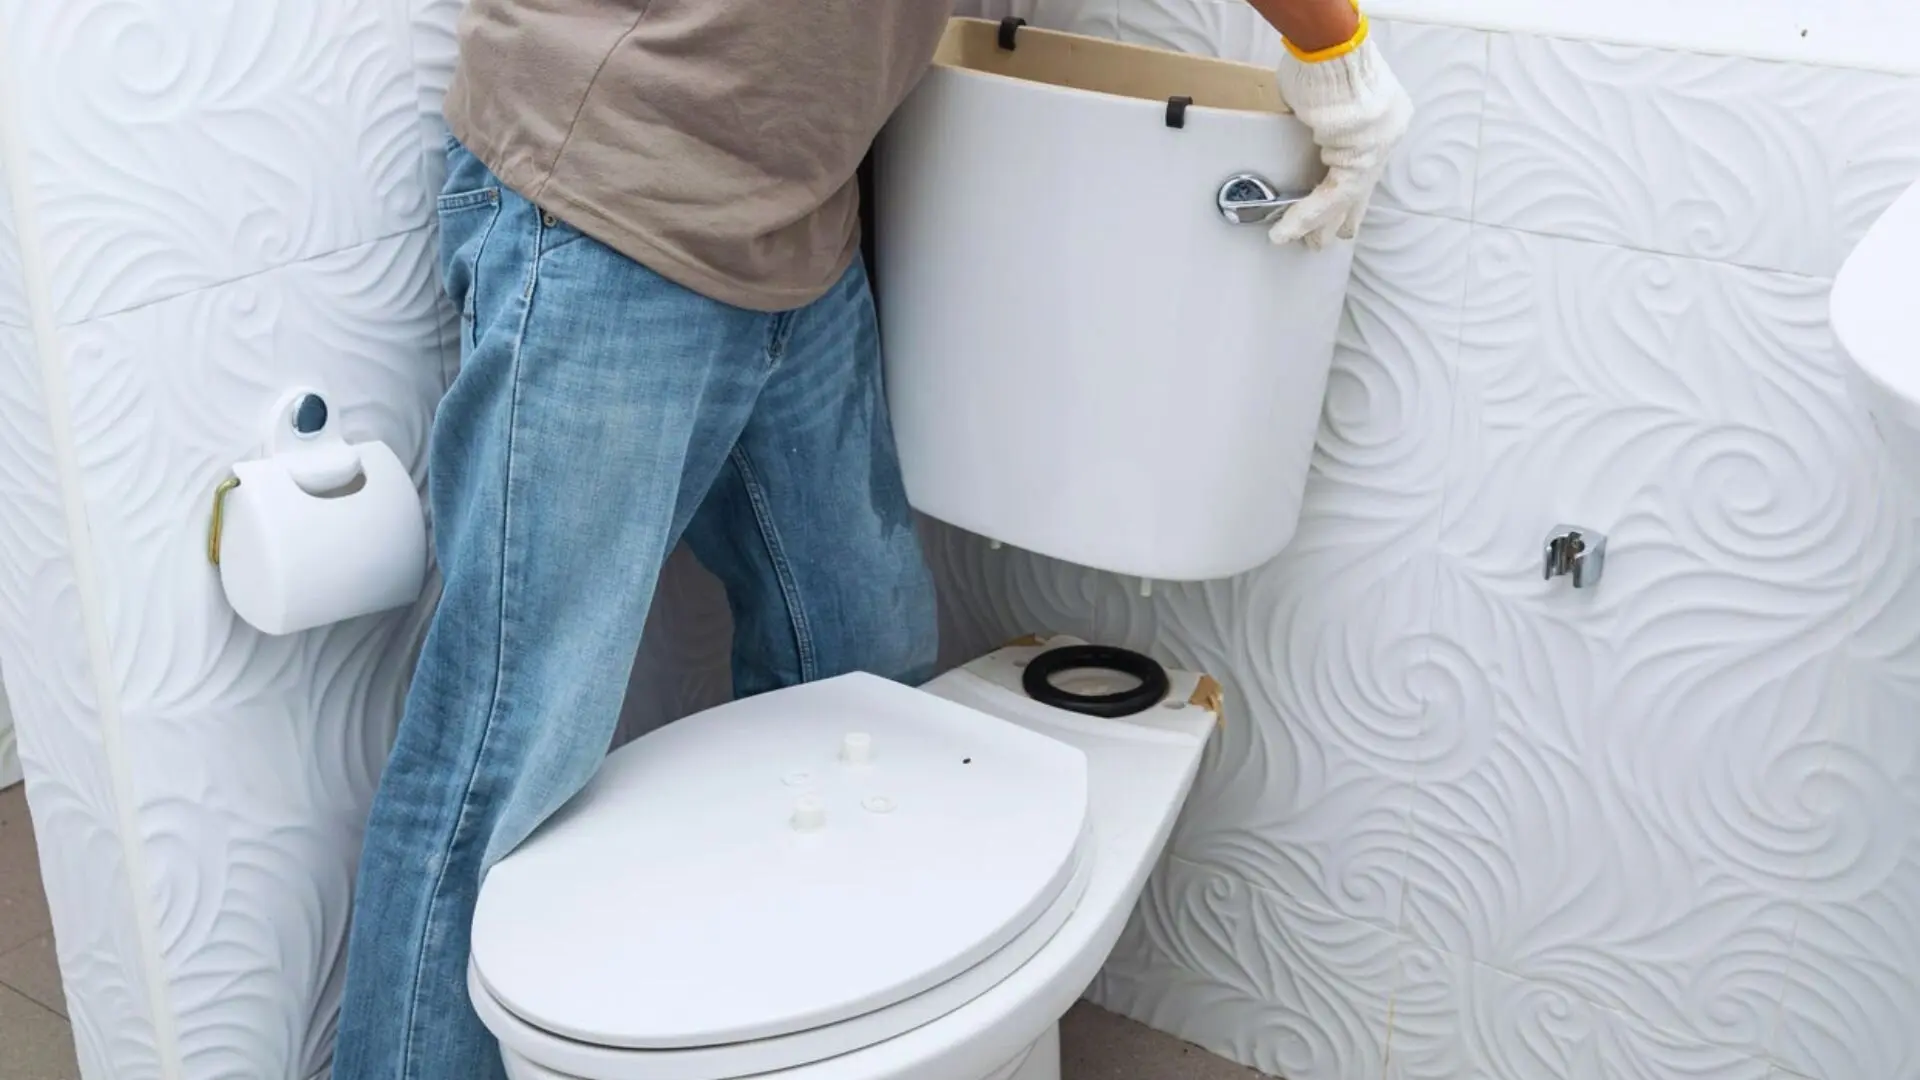
Step 3: Take The Tank Off
Follow this step only if you own a two-piece toilet. First, reach into the tank to undo the bolts that attach it to the toilet with an 8-inch wrench. And as for the washer, use the wrench to take hold of the washer underneath and use a flathead screwdriver to unscrew the bolt.
Now, you can lift the tank and place it aside.
Step 4: Remove The Toilet Bowl
This step can be pretty messy. Your toilet is connected to the floor through bolts that need removal.
Start by removing the cap and unscrewing the nuts with an 8-inch wrench. Next, lift the toilet bowl off the floor and place it aside. A handy tip to reduce unwanted spillage is to tilt the bowl forward.
Quickly place a rag over the pipe left exposed after you removed the bowl to stop sewer gases from entering the bathroom.
Step 5: Replace The Wax Seal
A wax seal must be replaced on the floor and surrounding the pipe before you install the new toilet bowl. Use a putty knife to pry it open, after which you can remove the existing bolts from the floor. These bolts will be replaced by those included with the new toilet.
Turn over the replacement bowl and attach a new wax seal around the hole. After this, you can finish attaching the seal by applying the plumber’s putty to the bottom of the new bowl.
Step 6: Install The New Toilet
Position the new toilet bowl over the pipe, making sure it’s level. Press down to compress the seal and ensure it’s watertight, then bolt it to the floor. To help secure the seal, you may even want to take a seat on the bowl.
It will take the new bowl some time to settle, so tighten its bolts as necessary until they can’t be tightened anymore. Additionally, you should not overtighten the bowl, as it can crack the porcelain and create a mess post-installation.
Step 7: Installing Flush Tank And Finishing Up
You can install the flush tank by following the reverse disassembly process. Attach the flush handle, valve and ballcock to the toilet, after which you can affix the tank to the toilet bowl.
Finish the installation process by reconnecting the water supply to the new tank. After this, you can turn the water supply back on to test for leaks.
Should you spot any leaks, look for the source of the leak and tighten the wax seals or the bolts accordingly. And that’s it; your low-flow toilet is now ready!
Effortlessly Saving Water: Choosing & Installing Low-Flow Fixtures
For good reasons, low-flow fixtures have been made mandatory in several places. After all, sources of freshwater are extremely limited, and it is paramount to save water as much of it as possible.
Installing low-flow fixtures may seem like a small step at first glance, but over time, any amount of water they save adds up. The money you save up by installing them becomes significant enough, in the long run, to truly impact you positively.
While installing low-flow shower heads is simple enough, the same is not the case for toilets. Installing toilets can be pretty complex, so you should contact a professional to avoid problems.
And for this, you should contact Fixed Today Plumbing in Sydney. We offer all kinds of installation, repair and maintenance services for all types of fixtures. Call us today for quick, efficient and affordable services!


