When the temperatures drop, your plumbing system is at greater risk for issues that might disrupt its functionality or even cause expensive damage. Let’s delve into the most common winter problems and why it’s vital to get your plumbing system ready for these seasonal challenges.
The Risks of Winter
Winter brings a unique set of risks to your plumbing system, and being aware of them is the first step towards protecting your home. Here are some of the key risks you should be mindful of:
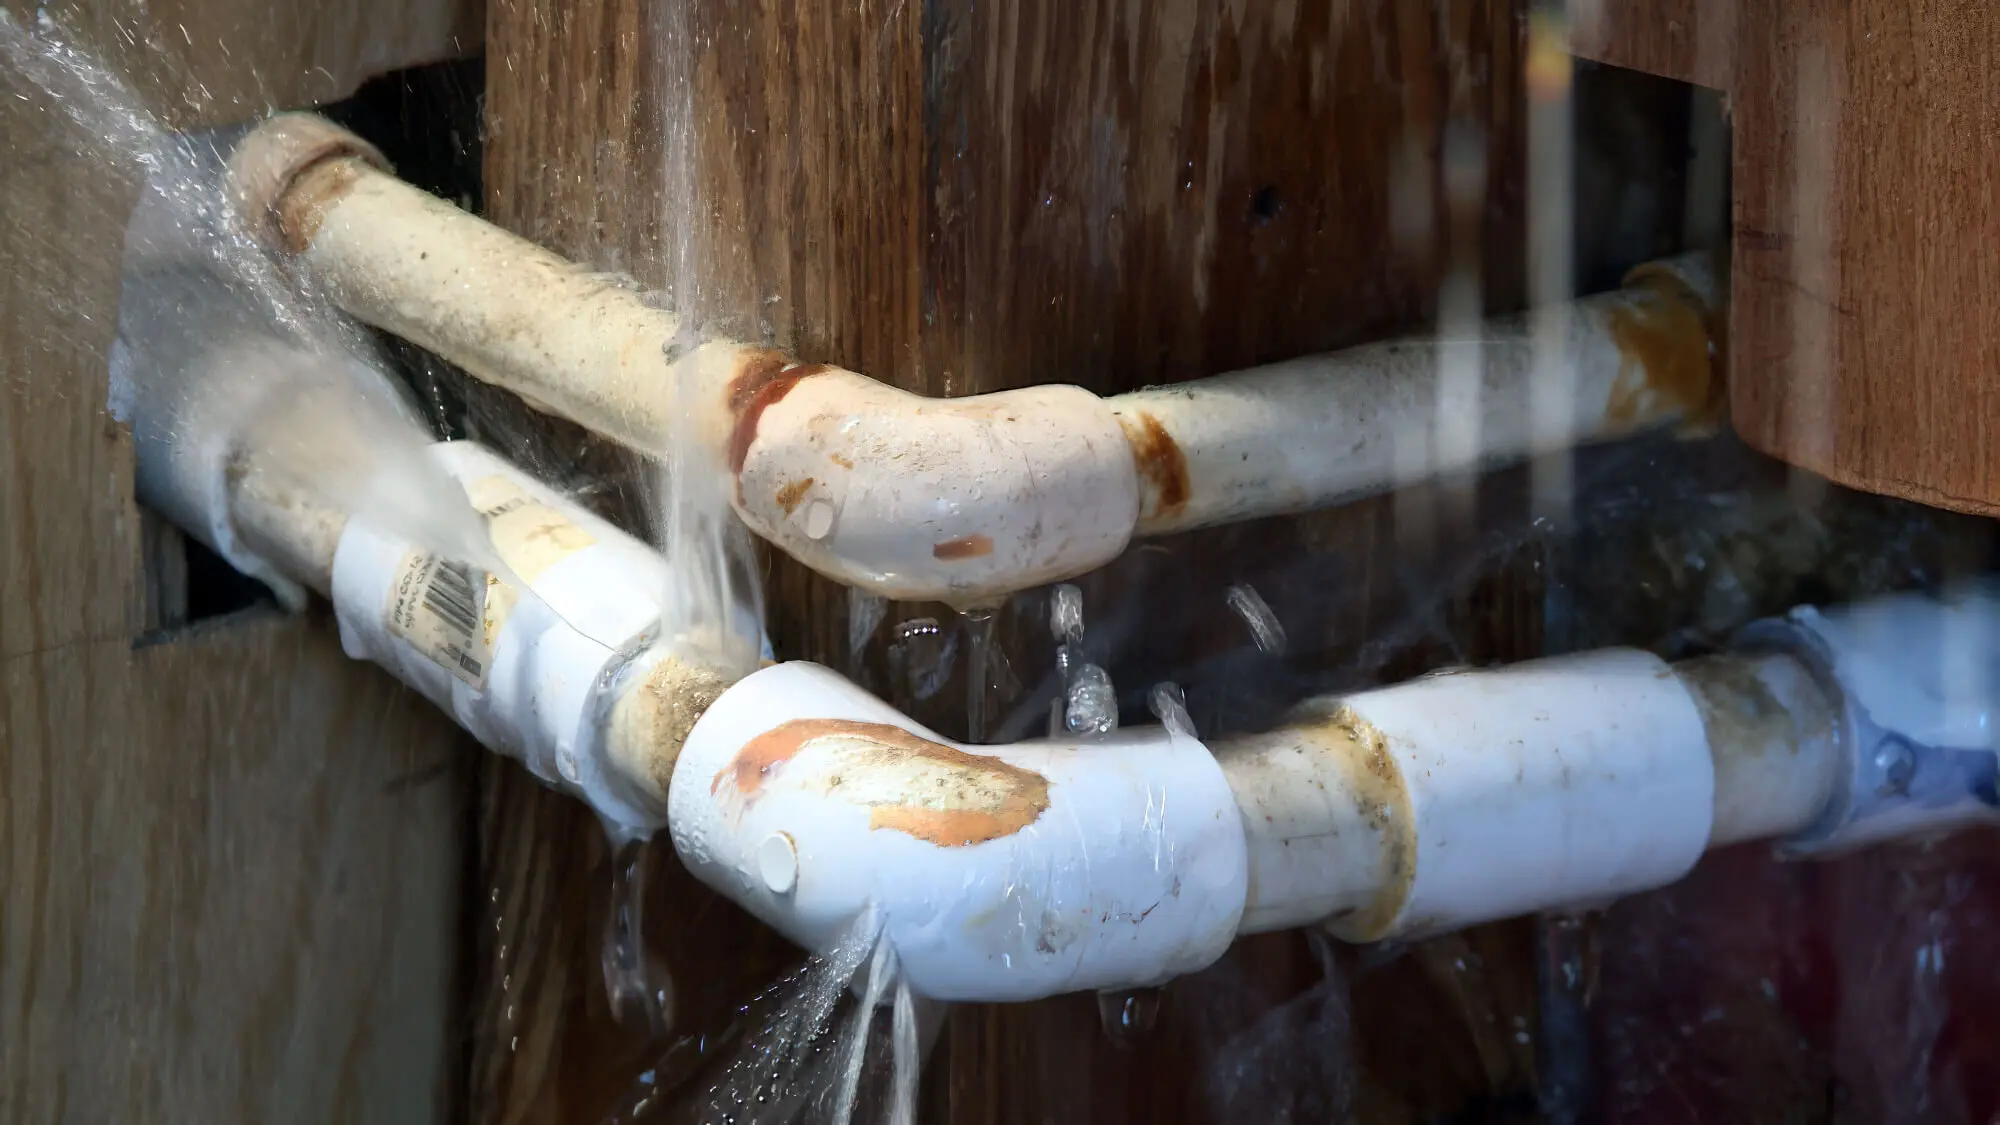
Burst Pipes
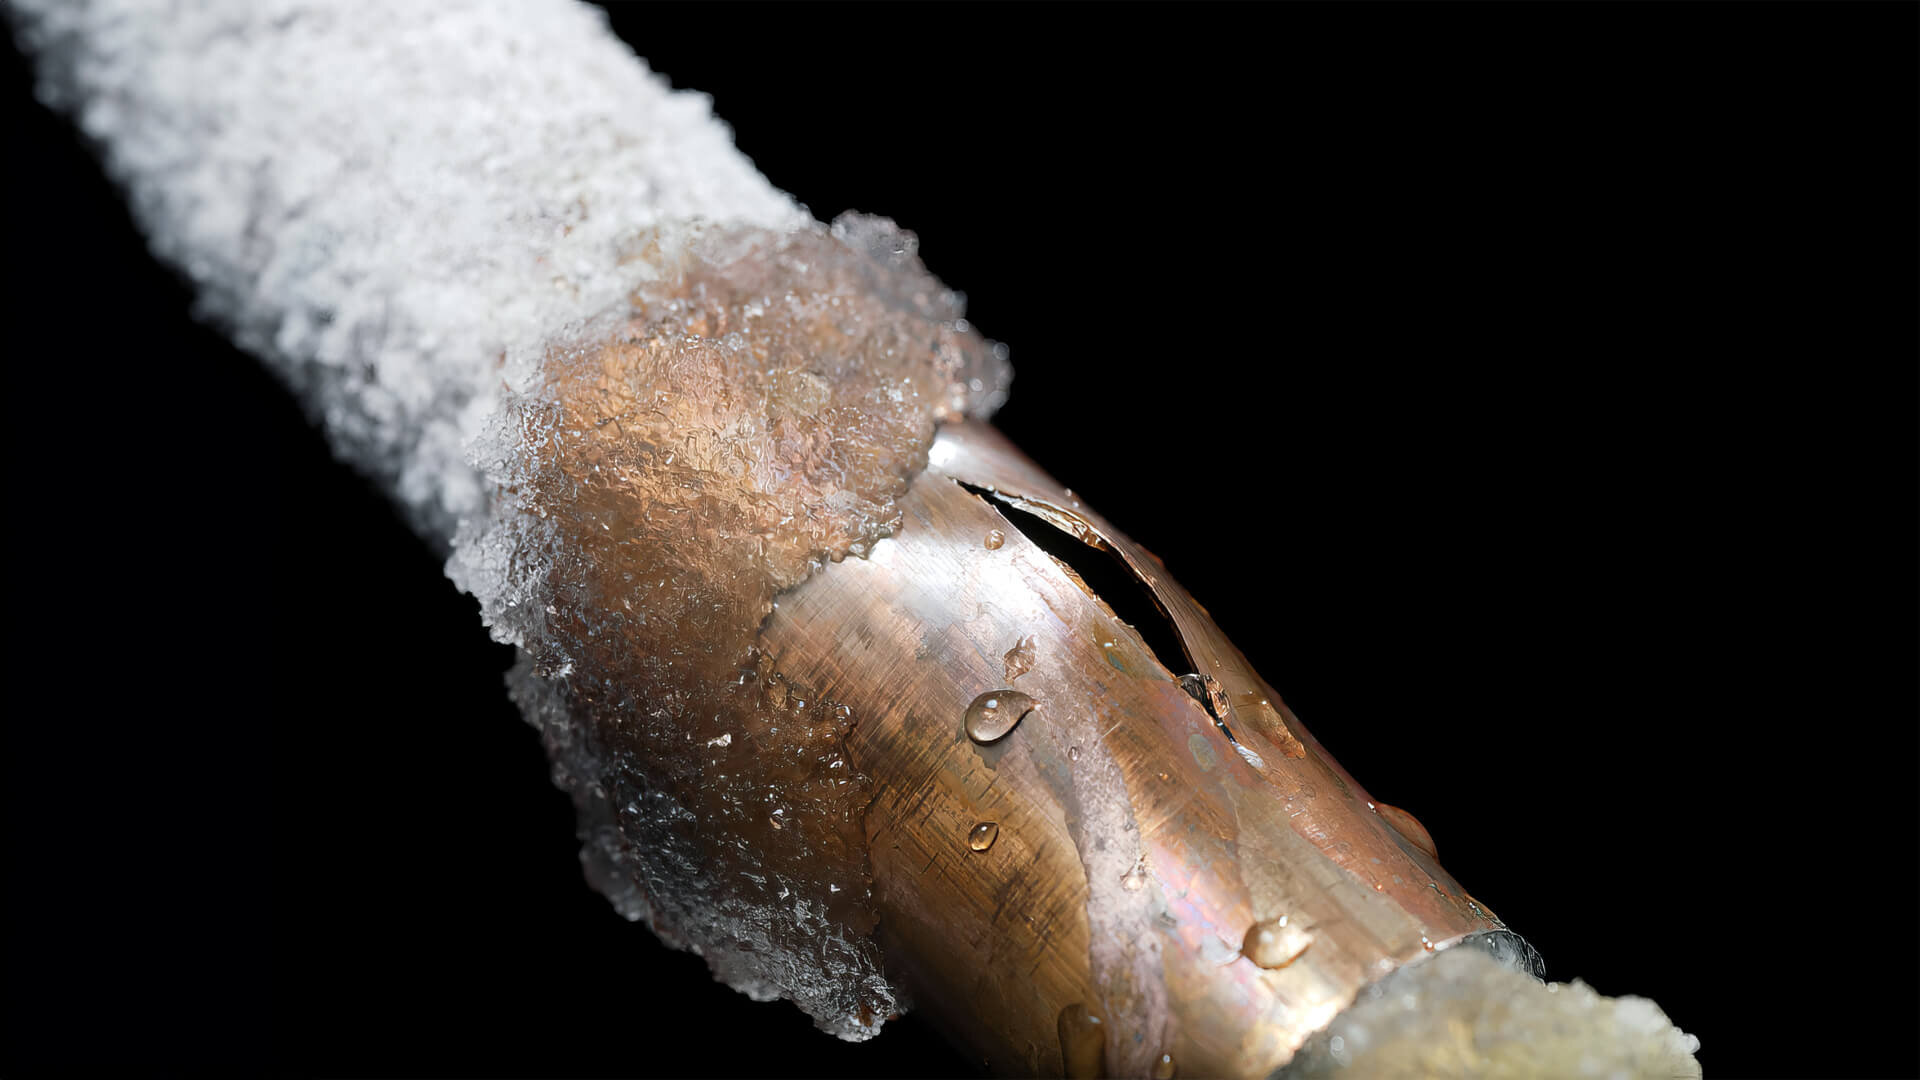
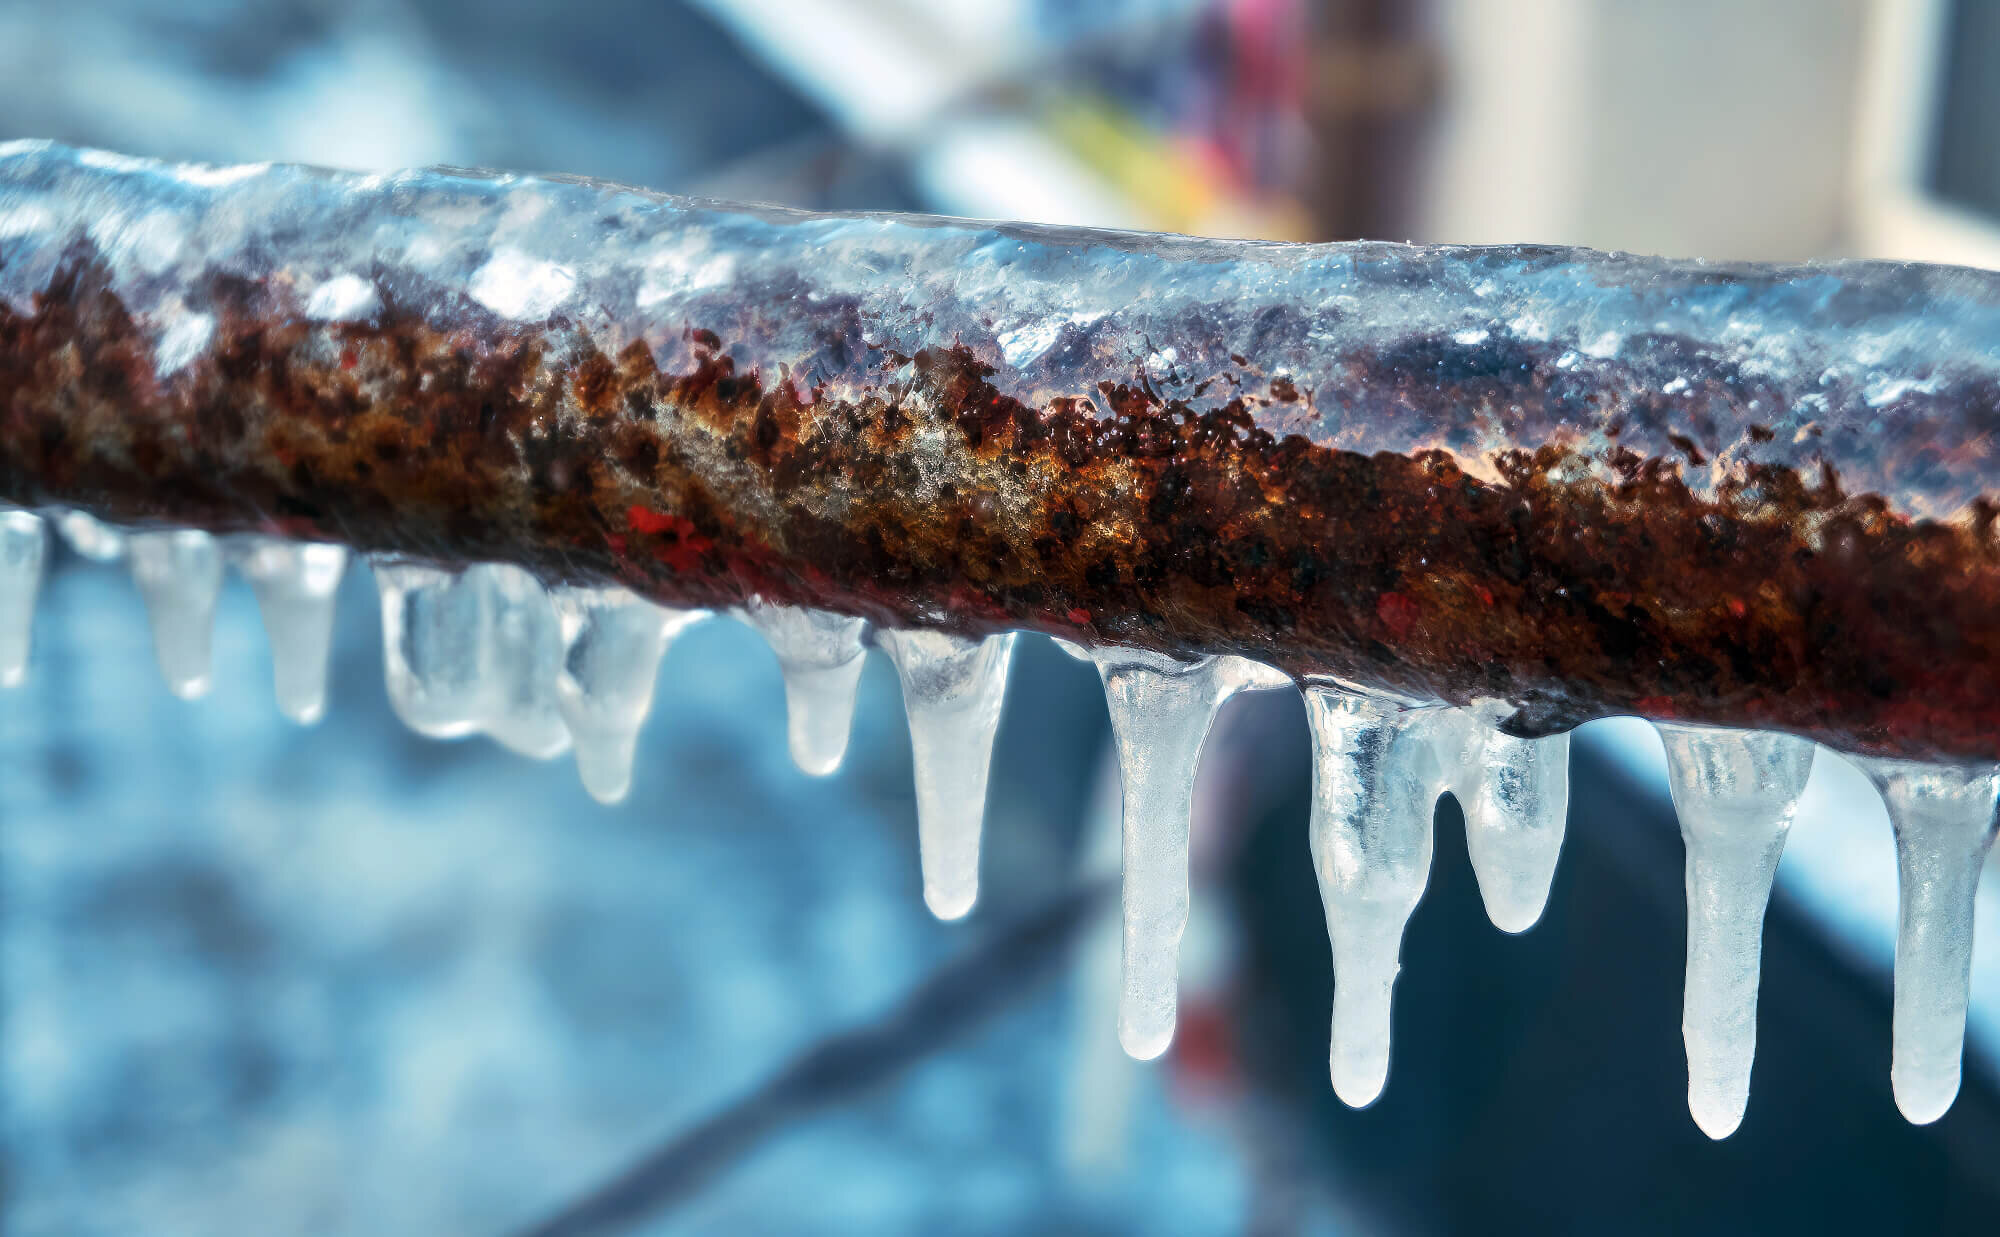
If the water inside your pipes freezes and expands, it exerts immense pressure on the pipe walls, leading to cracks or bursts. Burst pipes can cause significant water damage and require immediate attention.
Reduced Water Pressure
In chilly weather, you might notice the water trickling from your taps or showerheads. That’s because freezing can constrict the pipes and cause the water pressure to drop.
Damage to Water Heaters
Water heaters are also at risk during winter. Cold temperatures can affect their efficiency and cause malfunctions, leading to insufficient hot water supply.
Plumbing Leaks
Fluctuating temperatures and freezing conditions can cause pipes to expand and contract, weakening their structure and resulting in leaks.
Why Winter-Proofing Your Plumbing is Essential
Now that we’ve got a grasp on winter’s risks, it’s time to take proactive steps and winter-proof your plumbing. Doing so can help you:
- Prevent Costly Damages: Winter-related plumbing issues can lead to extensive water damage, mould growth, and structural problems, resulting in costly repairs. Winter-proofing helps you avoid these expenses.
- Ensure Continuous Water Supply: By safeguarding your pipes from freezing and bursting, you can maintain a steady water supply throughout the winter, ensuring your household’s convenience and comfort.
- Preserve Water Heater Efficiency: Proper winter maintenance ensures that your water heater operates optimally, providing sufficient hot water when needed most.
- Extend Lifespan of Plumbing System: Protecting your plumbing system from winter risks can prolong its lifespan and avoid premature replacements or repairs.
Preventative Measures for Water Heaters in Winter
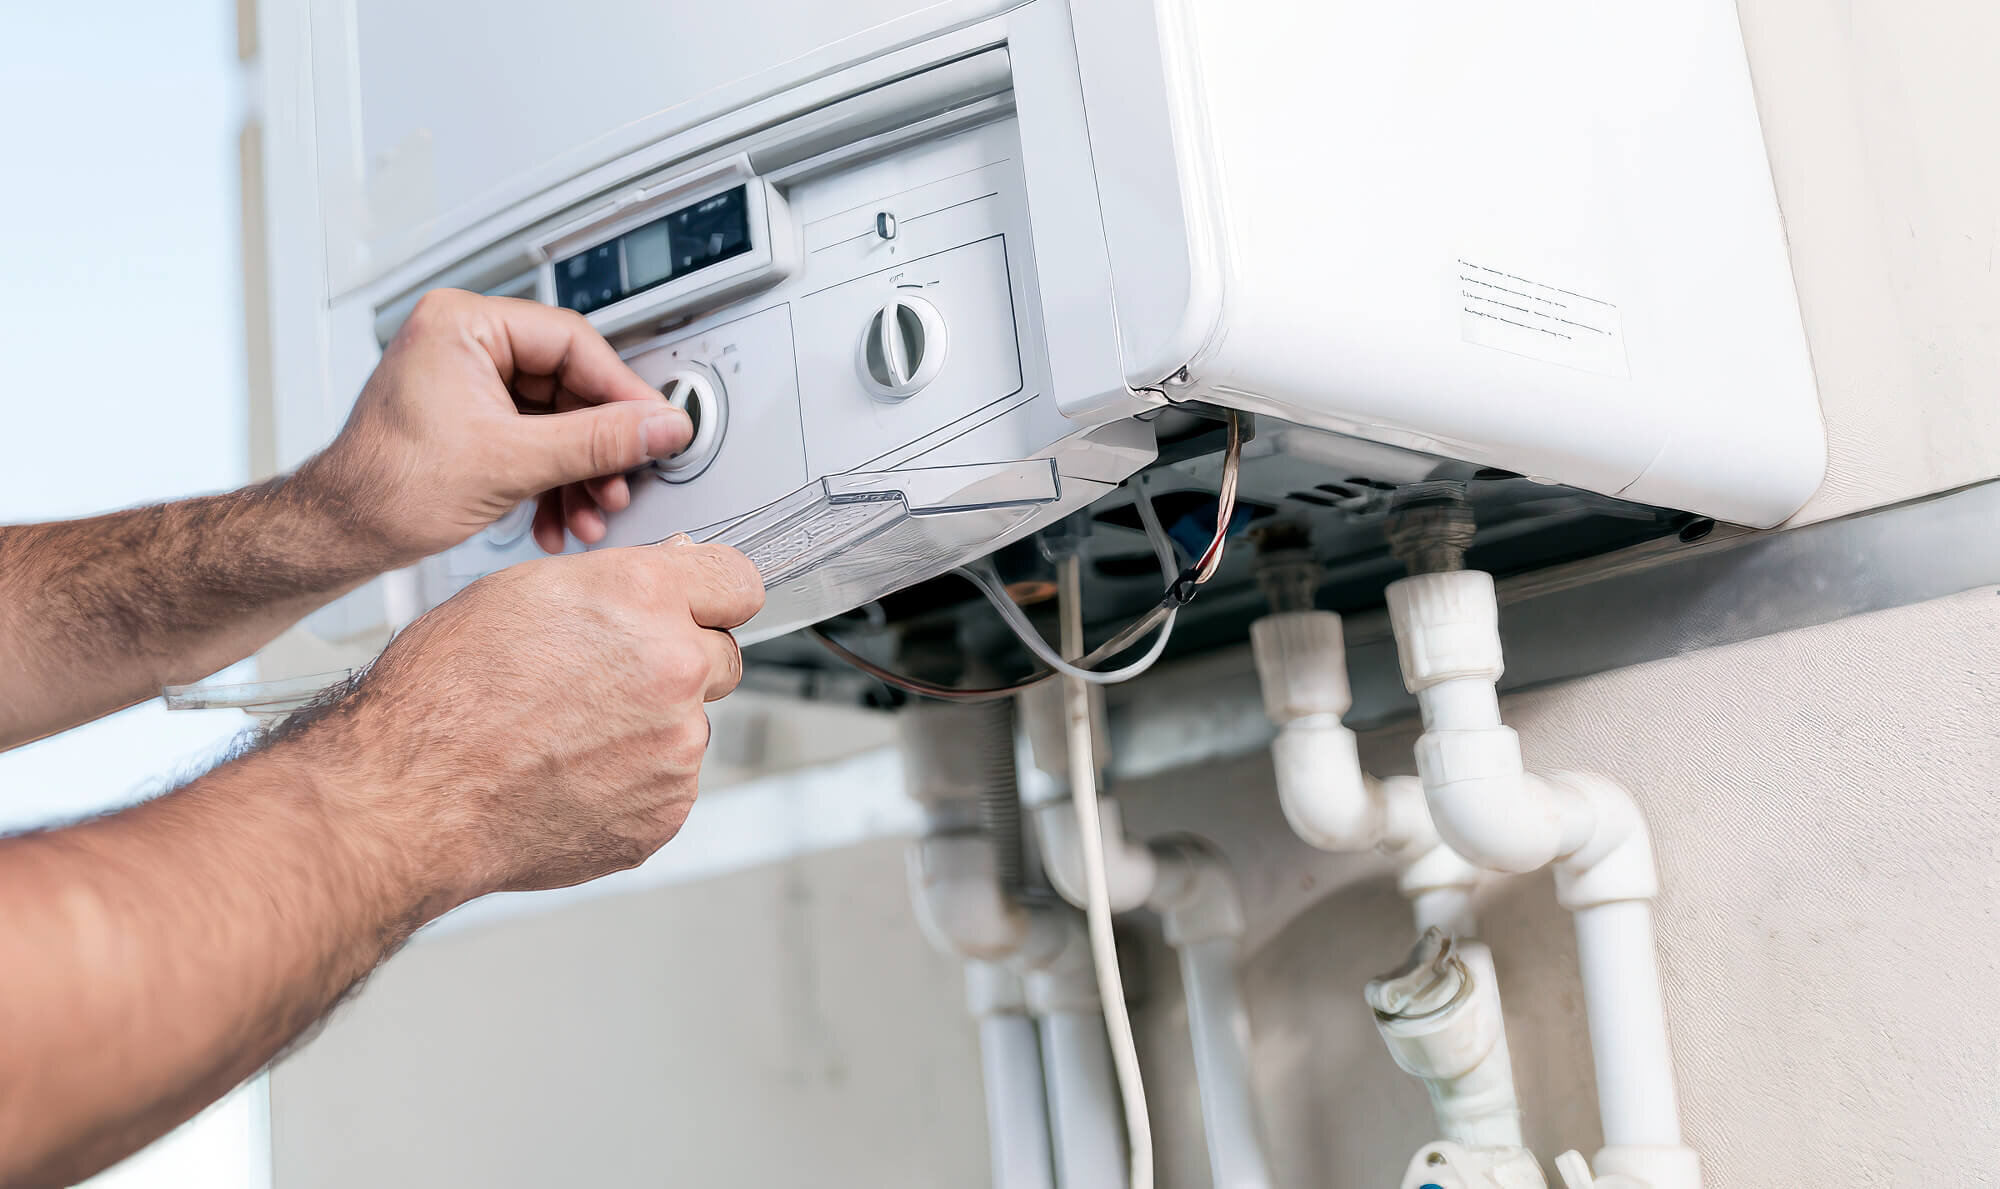
Winter can put extra strain on your water heater, so it’s key to take preventive steps to keep it running smoothly through the chillier months. By following a few tips, you can fend off issues and ensure you have reliable hot water all winter long.
Firstly, check the temperature settings on your water heater. For efficient performance, it is recommended that you set the temperature between 48 and 54 degrees Celsius.
This range ensures hot water while also preventing excessive energy consumption. Insulating your water heater and its pipes can also help retain heat and avoid heat loss.
Consider using an insulation blanket or jacket specifically designed for water heaters. Additionally, insulate the hot water pipes connected to the heater, especially those in unheated areas or exposed to cold drafts. This insulation minimises heat loss during transit and reduces the workload on your water heater.
Regular maintenance is crucial to keep your water heater functioning optimally. Drain and flush the tank annually to remove the sediment build-up, affecting efficiency and lifespan.
This process involves turning off the power or gas supply, connecting a hose to the drain valve, and emptying the tank. Flushing the tank helps prevent corrosion and improves heating efficiency.
Keep an eye out for any signs of leaks or water heater malfunctions.
Check for water puddles around the unit, dampness on the floor, or unusual noises coming from the tank. If you notice any issues, contact a professional plumber, like Fixed Today Plumbing, to diagnose and repair the problem promptly. Ignoring leaks or malfunctions can lead to further damage and higher utility bills.
Dealing with Burst Pipes: Emergency Response and Repairs
Finding a burst pipe can be a real headache, especially in extremely cold weather when things are riskier. When water freezes inside the pipes, it expands, putting immense pressure on your home’s plumbing system, which can lead to cracks or even full pipe bursts. It’s crucial to act quickly and effectively to avoid costly repairs and minimise damage.
Here’s how you can respond to a burst pipe and the best repair approach.
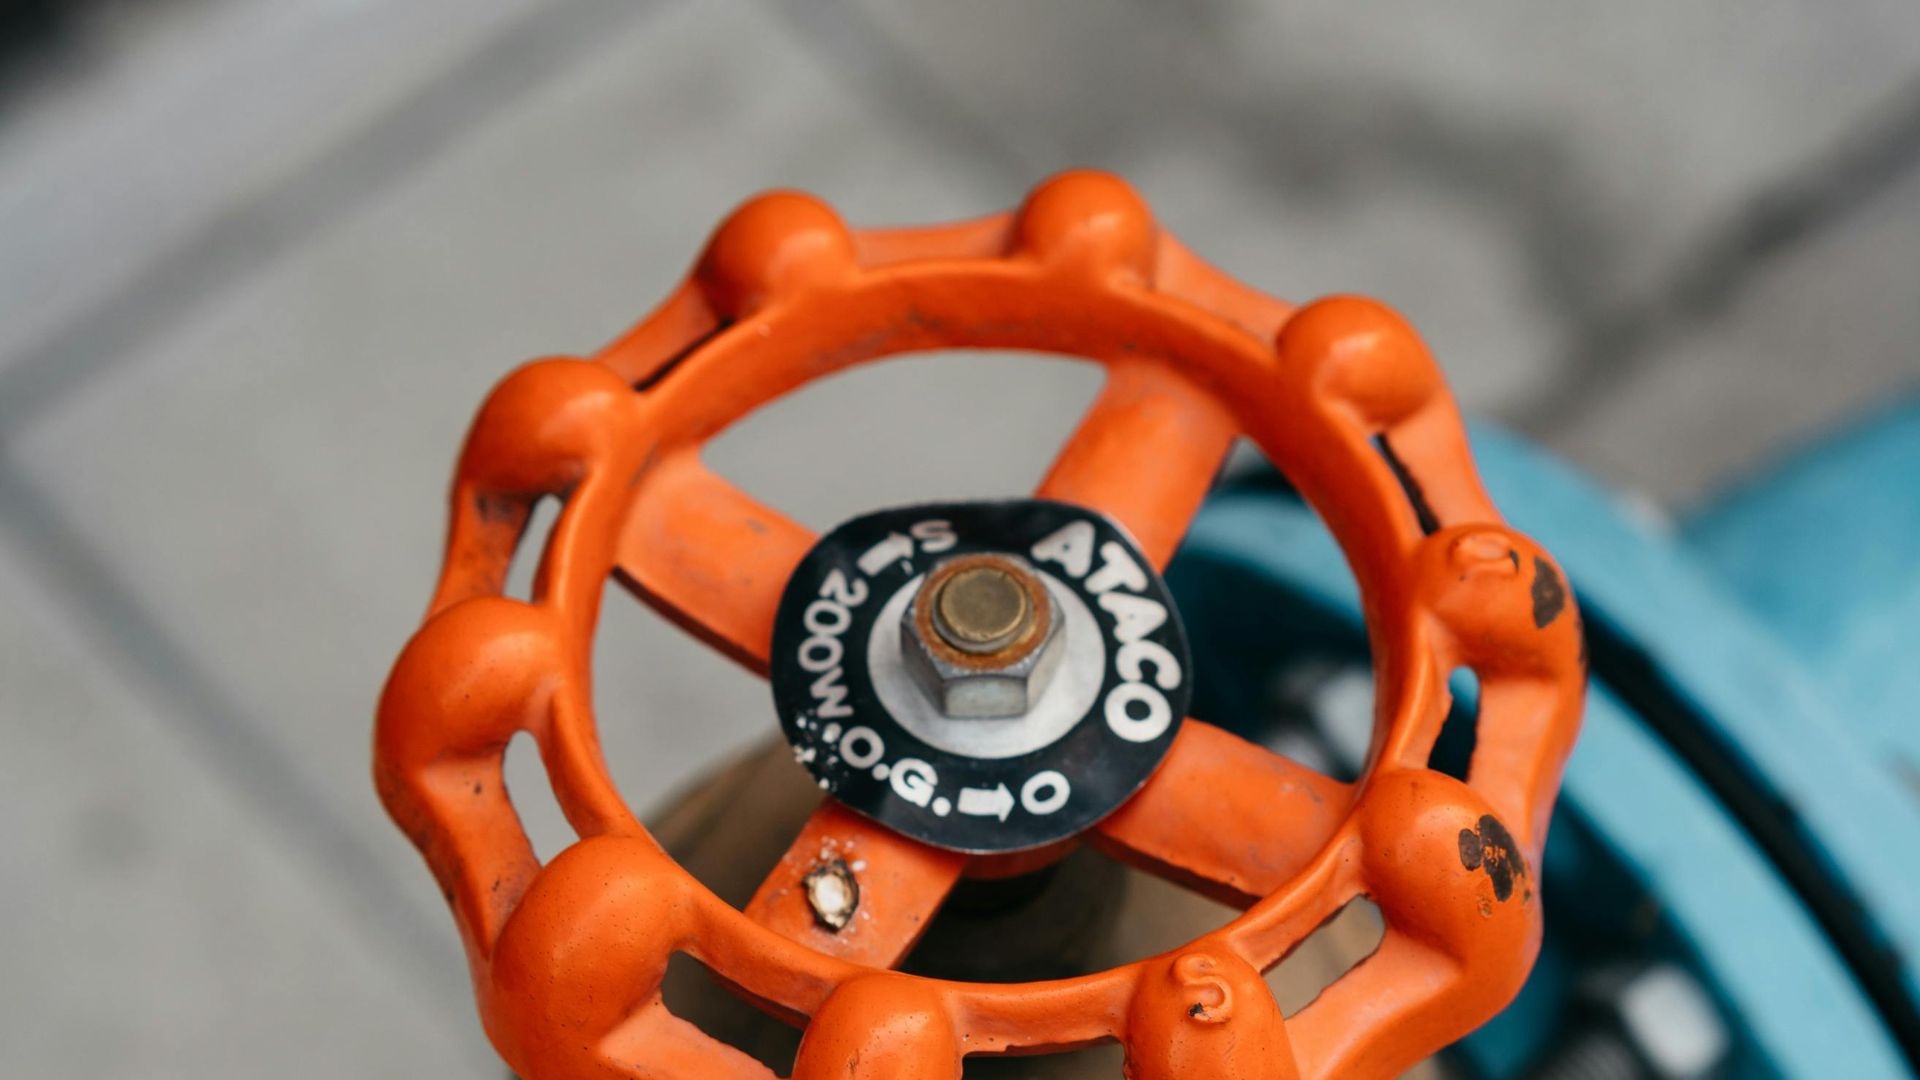
Firstly, it is essential to locate the main water shut-off valve in your property. This valve lets you stop the proper water flow to the entire building, preventing further damage from the burst pipe. Please familiarise yourself with the valve’s location beforehand, as it can vary depending on the property and where the pipes are located, especially if they run through exterior walls.
Once you’ve located it, shut off the water supply immediately to mitigate the damage. Next, open all faucets connected to the affected water line to drain pipes and release remaining pressure. This step helps reduce the amount of water leaking from the burst pipe. Allowing faucets to drip slightly also reduces pressure and can prevent freezing in vulnerable areas. Don’t forget to flush toilets and drain outdoor hoses to empty out any residual water.
It’s also advisable to protect outdoor pipes, particularly exposed outdoor pipes, using foam pipe insulation. This insulation retains warm air around the pipes and reduces the chance of freezing. Keeping indoor areas warm and allowing faucets to drip in cold weather are simple yet effective strategies to maintain proper water flow and protect your plumbing system.
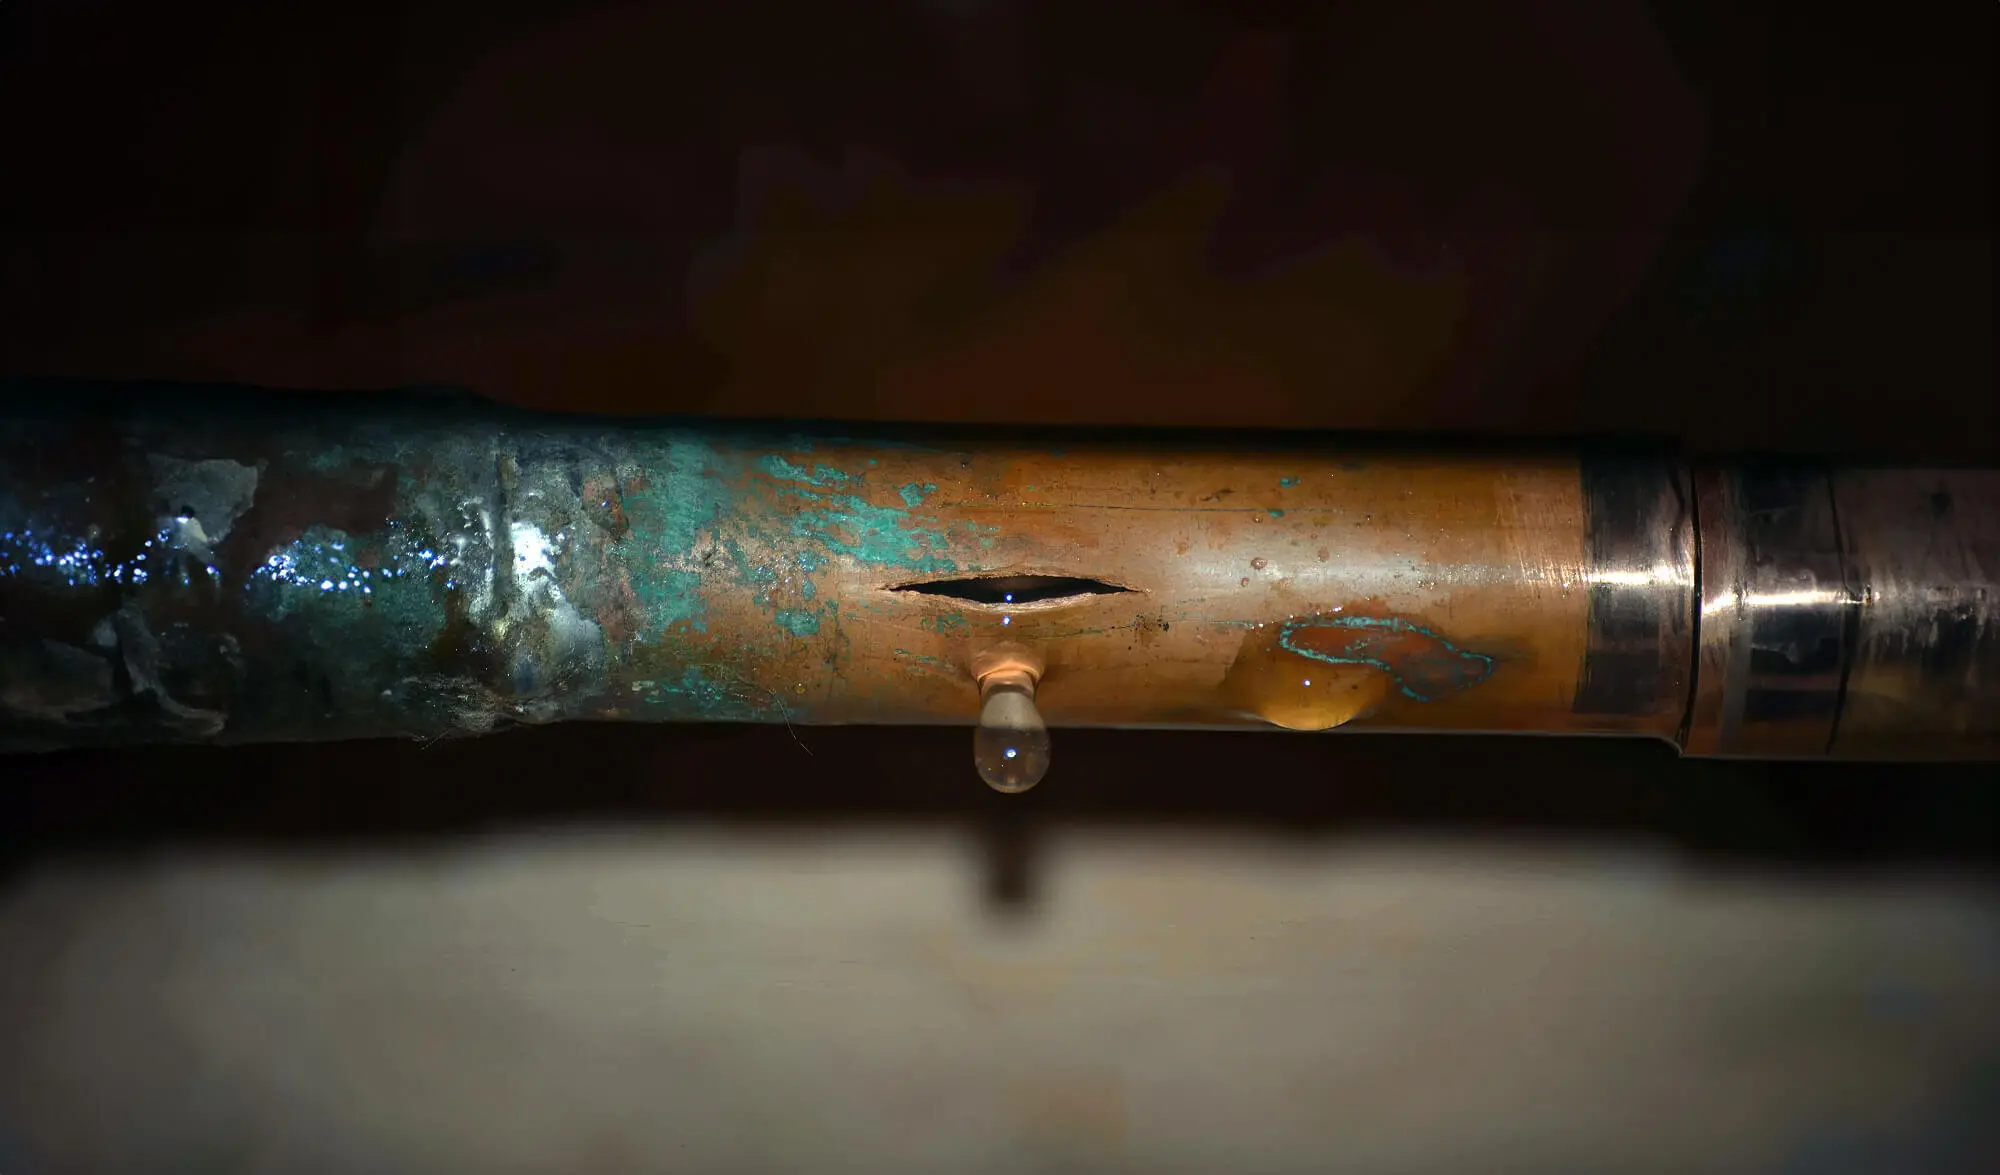
After taking these initial emergency response measures, it is crucial to contact a professional plumber. Burst pipes require professional repairs to ensure a thorough and long-lasting solution. A professional plumbing inspection may reveal vulnerabilities such as aging materials, poor installation, or lack of insulation.
When the plumber arrives, they will assess the extent of the damage and determine the appropriate repair method. Depending on the severity of the burst, repairs may involve replacing the damaged section or even a full replacement of the affected pipe. The plumber will use their expertise to identify the root cause of the issue—whether it’s poor insulation, mineral buildup, or pressure from frozen water—and provide recommendations to prevent future occurrences.
In cases where freezing has already occurred, a plumber can help thaw frozen pipes safely and restore your system. These preventative and responsive steps ensure your plumbing system remains secure and functional, giving you peace of mind throughout the colder months.
Insulating Your Plumbing: Methods and Materials
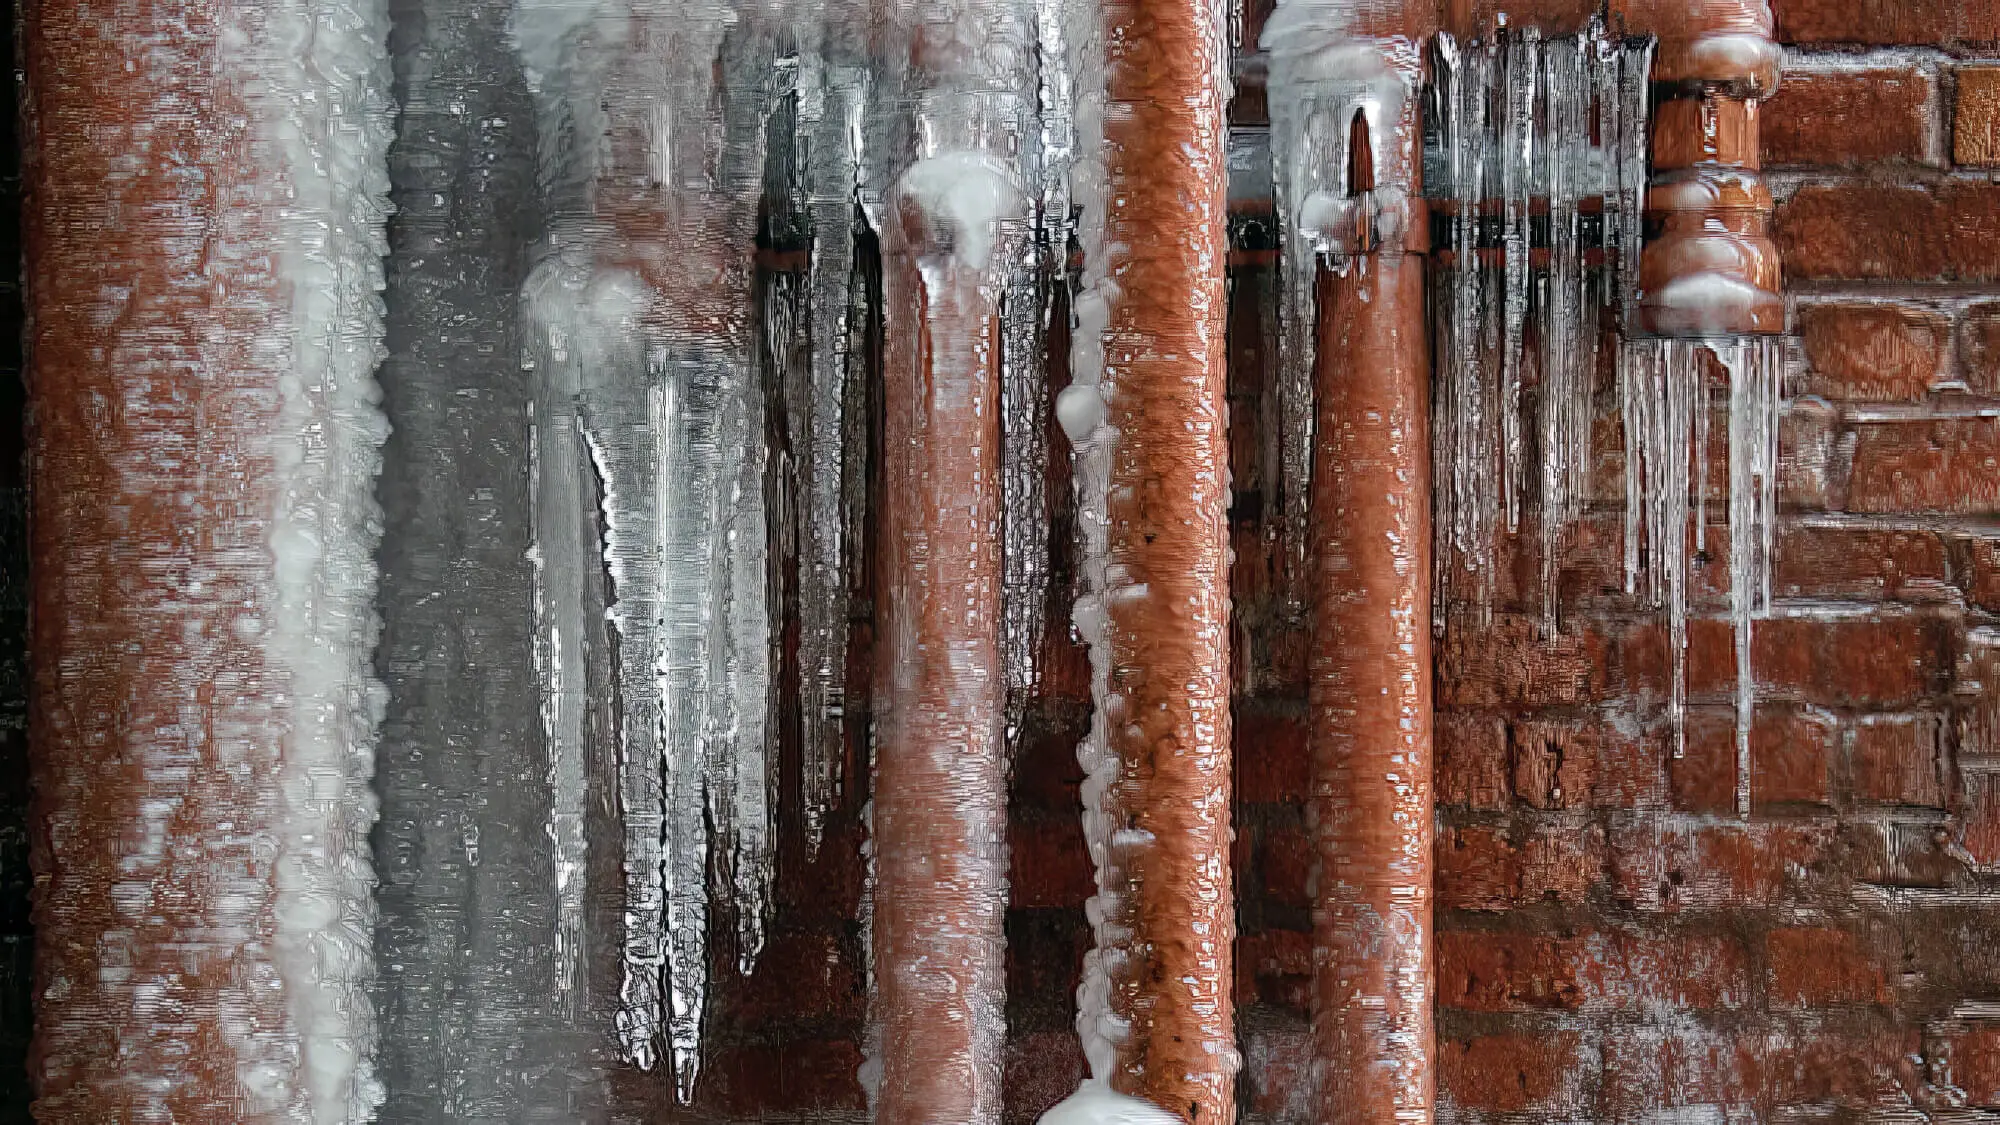
In regions with harsh winter climates, insulating your plumbing system is crucial to protect it from freezing temperatures. Proper insulation helps prevent frozen pipes and potential water damage.
This section will explore different methods and materials you can use to effectively insulate your plumbing system during winter.
1. Pipe Insulation
One of the most common methods of insulating your plumbing system is pipe insulation. Here are the steps to follow:
- Measure and Cut: Measure the length of the pipes you want to insulate and cut the pipe insulation material accordingly.
- Open the Insulation: Split the insulation lengthwise and open it to fit it around the pipe.
- Secure the Insulation: Use adhesive or tape to secure the insulation. Make sure there are no gaps or exposed areas.
- Repeat the Process: Repeat these steps for all the pipes that require insulation.
2. Heat Cables or Heat Tape
Heat cables or heat tape can provide additional warmth to vulnerable pipes. Follow these steps for their installation:
- Measure and Cut: Measure the length of the pipes that need heat cables or tape and cut the appropriate length.
- Wrap the Pipes: Wrap the heat cables or tape around the pipes, ensuring they are in close contact and evenly spaced.
- Secure and Connect: Use zip ties or tape to secure the cables or tape. Follow the manufacturer’s instructions for connecting and powering the heat cables.
3. Insulating Water Heaters and Tanks
Water heaters and tanks are susceptible to freezing during winter. Insulate them using the following steps:
- Insulation Blankets: Wrap the water heater or tank with an insulation blanket designed for this purpose. Ensure that the controls, valves, and access panels remain accessible.
- Pipe Insulation: Insulate the pipes connected to the water heater or tank using pipe insulation, as mentioned earlier.
4. Seal Air Leaks
Sealing air leaks around the pipes and openings in the walls or floors is essential to enhance insulation. Use caulk or insulation foam to seal gaps and cracks. This prevents cold air from reaching the pipes and minimises heat loss.
5. Additional Considerations
- Outdoor Faucets: Install insulated faucet covers on outdoor faucets to protect them from freezing.
- Crawl Spaces and Attics: Insulate crawl spaces and attics to prevent cold air from reaching the plumbing pipes.
- Heating Systems: Ensure that your heating system functions properly and maintains a consistent temperature throughout your home.
Outdoor Faucets and Hoses: Winter Protection and Maintenance
During winter, outdoor faucets and hoses are particularly vulnerable to freezing temperatures, leading to burst pipes and costly repairs. This section will discuss practical strategies for protecting and maintaining outdoor faucets and hoses during winter.
1. Disconnect and Drain Hoses
Before the freezing temperatures arrive, it’s crucial to disconnect and drain your hoses. Follow these steps:
- Turn Off the Water Supply: Locate the shut-off valve for the outdoor faucet and turn it off.
- Disconnect the Hose: Unscrew the hose from the faucet and allow any remaining water to drain completely.
- Store the Hose: Coil the hose neatly and store it in a dry place, such as a shed or garage, to prevent damage from freezing temperatures.
2. Insulate Outdoor Faucets
Insulating outdoor faucets is an effective measure to protect them from freezing. Here’s how you can do it:
- Faucet Covers: Install insulated faucet covers over each outdoor faucet. These covers act as a protective barrier against freezing temperatures.
- Secure the Covers: Ensure the covers are tightly secured, covering the faucet and any exposed pipes completely.
3. Install Frost-Free Faucets
Consider replacing standard outdoor faucets with frost-free faucets. These faucets have a built-in design that prevents freezing by protecting water from vulnerable parts. Hiring a professional plumber, like Fixed Today Plumbing, can ensure proper installation and functionality.
4. Regular Inspection and Maintenance
Perform regular inspections of your outdoor faucets and hoses throughout the winter season. Follow these maintenance practices:
- Check for Leaks: Inspect the faucets and connections for any signs of leaks. Promptly repair any leaks to prevent further damage.
- Clear Debris: Clear leaves, dirt, and debris from around the faucets to allow proper drainage and reduce the risk of blockages.
- Monitor Weather Conditions: Stay informed about upcoming weather conditions. Take proactive measures, such as covering the faucets with additional insulation during extreme cold spells.
5. Shut Off and Drain Outdoor Faucets
If you have a separate shut-off valve for your outdoor faucets, consider shutting off the water supply and draining the pipes during extended periods of freezing weather.
- Locate the Shut-Off Valve: Find the shut-off valve for your outdoor faucets and close it to stop the water flow.
- Open the Faucet: Open the outdoor faucet to allow any remaining water to drain completely.
Winter Plumbing Maintenance Checklist: Essential Tasks
To keep your plumbing system in top shape during winter and prevent potential issues, it’s crucial to perform essential maintenance tasks.
Following a winter plumbing maintenance checklist will help you identify and address potential problems before they escalate. Here are some essential tasks to include in your checklist:
1. Inspect and insulate exposed pipes: Check all exposed pipes in unheated areas of your home, such as basements, crawl spaces, and attics. Insulate them using foam sleeves or fibreglass wraps to prevent freezing.
2. Check seals and weatherstripping: Inspect the seals around doors and windows to ensure they are adequately sealed. Cold air drafts can impact the temperature inside your home and affect your plumbing system.
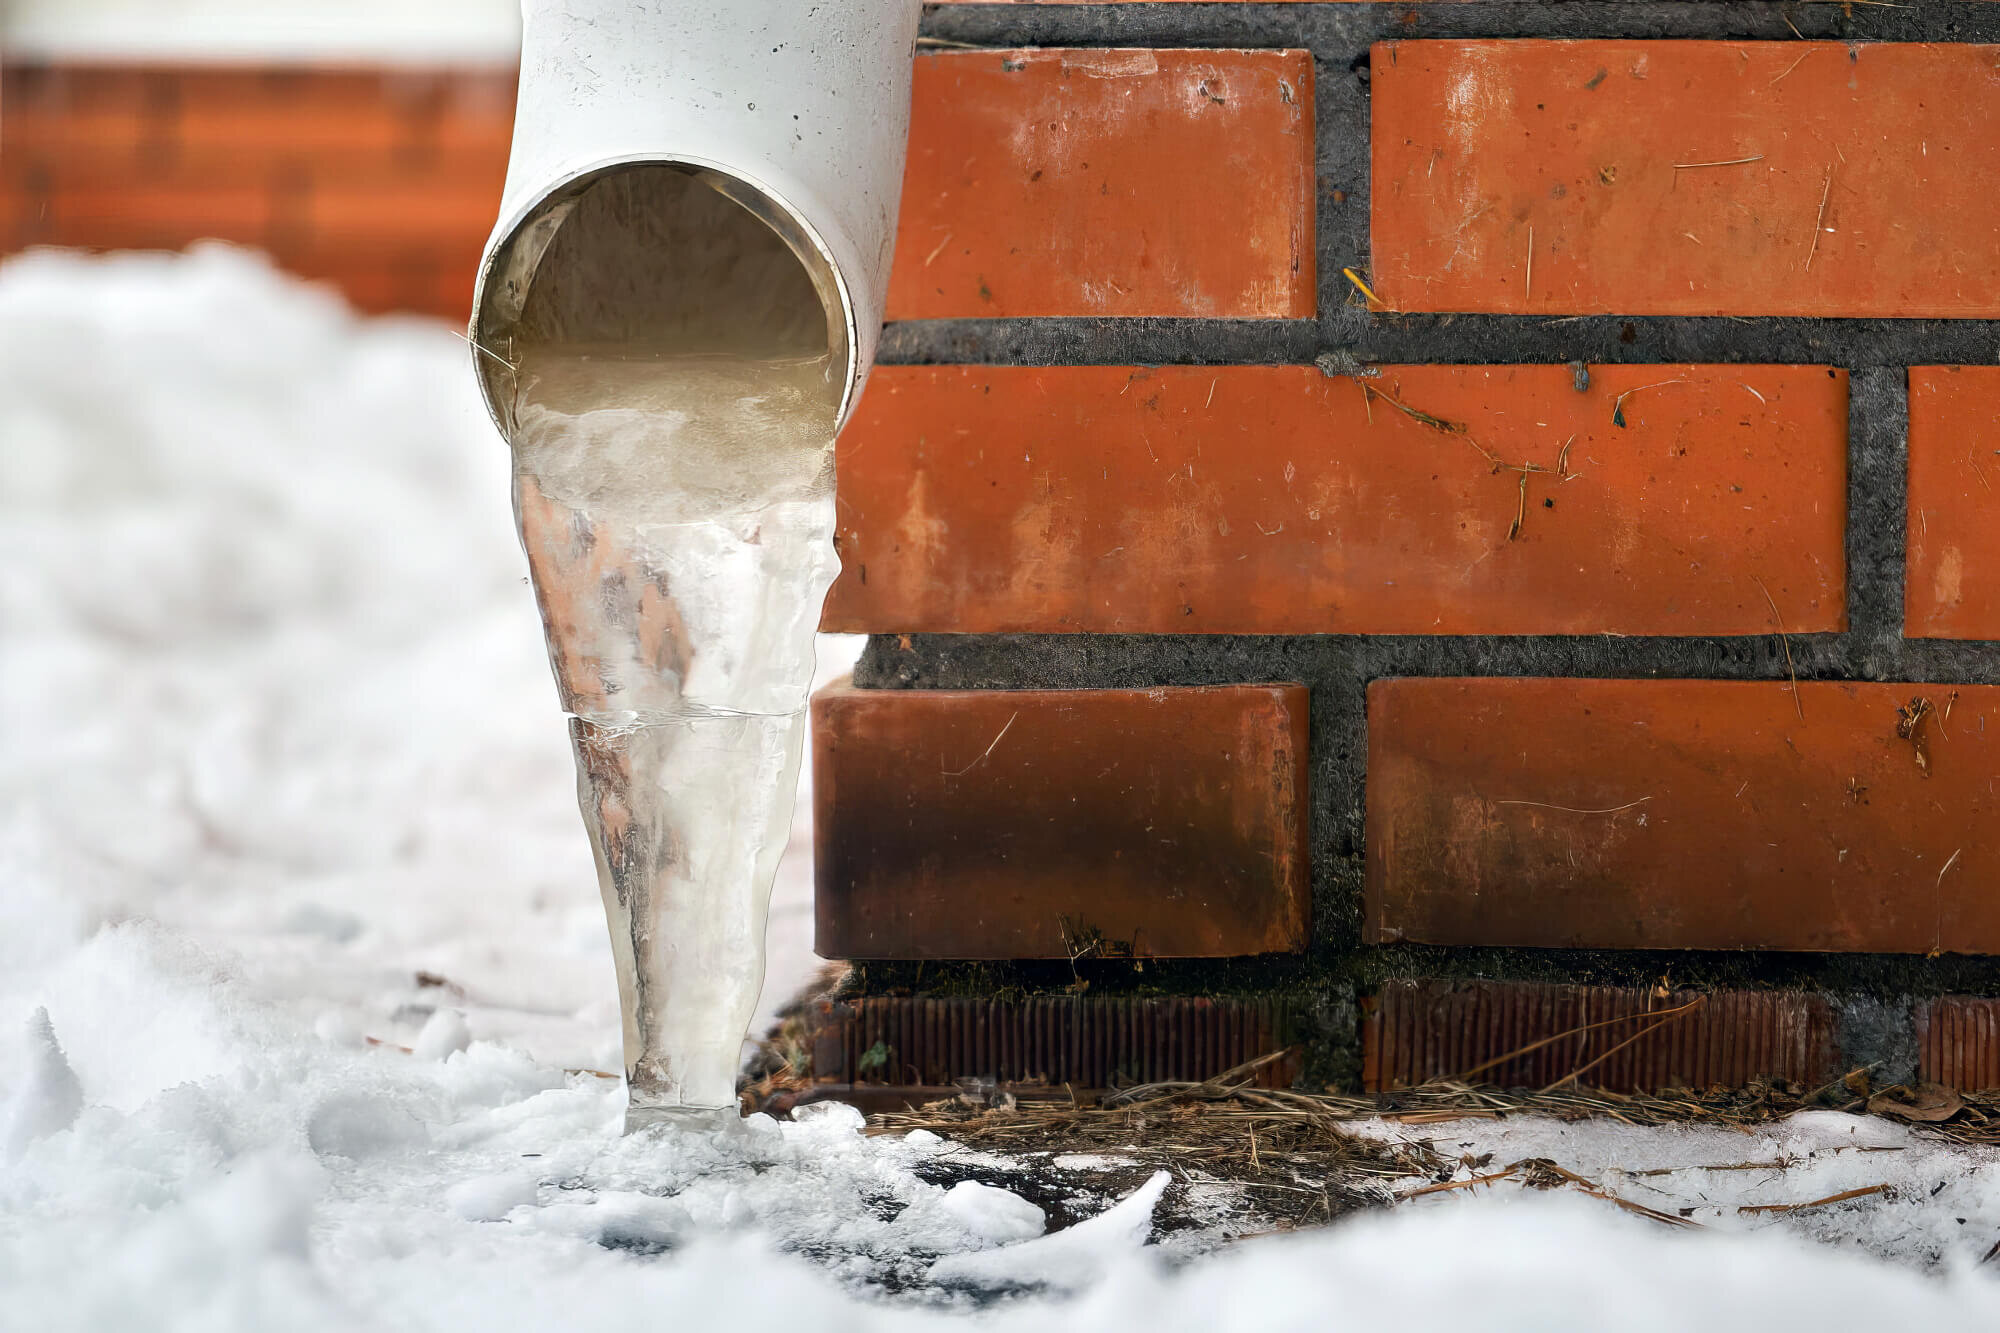
3. Clear gutters and downspouts: Remove leaves, debris, and ice build-up from gutters and downspouts. Clogged gutters can lead to water backups and potential damage to your plumbing system.
4. Test sump pump: If you have a sump pump, test it to ensure it’s functioning correctly. This will help prevent basement flooding during heavy rainfall or snowmelt.
5. Check water heater: Inspect your water heater for any signs of leaks, corrosion, or malfunction. Drain the tank to remove the sediment build-up, which can affect its efficiency.
6. Test shut-off valves: Locate and test the shut-off valves for your plumbing fixtures and appliances. Ensure they are working correctly in case of emergencies or repairs.
7. Clear outdoor drains: Remove debris and ensure proper drainage from outdoor drains, such as driveway or yard drains. This will prevent water pooling and potential pipe damage.
8. Check and adjust water pressure: Use a pressure gauge to test the water pressure in your plumbing system. Adjust it to the recommended range to avoid excessive pressure that can cause leaks or burst pipes.
9. Inspect faucets and fixtures: Check for leaks or drips in faucets, showerheads, and other fixtures. Repair or replace any faulty components to conserve water and prevent further damage.
10. Schedule a professional inspection: Consider hiring a professional plumber to inspect your plumbing system comprehensively. They can identify hidden issues, provide expert advice, and ensure your system is winter-ready.
Winter-Proof Your Pipes!
Taking proactive steps to winter-proof your plumbing system is essential to ensure its smooth functioning and prevent costly repairs. By understanding the risks associated with winter, implementing preventive measures, and performing regular maintenance, you can safeguard your plumbing system from common winter-related issues.
Remember, Fixed Today Plumbing in Sydney is here to help if you encounter any difficulties or require professional assistance.
Our team of experienced and reliable plumbers can address your winter plumbing needs with expertise and efficiency. Don’t hesitate to contact us for prompt and dependable service.

