Did you know that by swapping to a low-flow shower head, you can save about 178 gallons of water each month? That’s enough to fill a small bathtub! With increasing concerns about saving water, it’s crucial to look into efficient solutions we can incorporate into our daily routines, like upgrading to a low-flow showerhead.
This simple, budget-friendly DIY project not only helps the environment but also boosts your home’s sustainability. Let’s jump into how you can make this easy upgrade and start conserving water today.
Tools and Materials You’ll Need
Ready to swap out that shower head? Here’s what you’ll need to get started on this small upgrade.
Tools
- Adjustable Wrench: Helps to remove the current shower head and install the new one.
- Soft Jaw Pliers: Useful for gently gripping the connecting nut.
- Old Toothbrush: Perfect for removing mineral deposits from the shower arm.
- Soft Cloth Wire Brush: Ideal for cleaning the connecting pipe.
- Ladder: Handy if your shower head is high.
Materials
- New Shower Head: Choose from options like a combination shower head or a handheld shower head.
- Thread Tape (Teflon Tape): Ensures a proper seal to prevent water leaks.
- Damp Paper Towel: Wipe away excess dirt or gunk from the shower arm.
- Rubber Seal: Comes with most new fixtures to save water and prevent leaks.
- Soft Cloth: Protects the finish of your new fixtures during installation.
Preparation Steps
Ensure a smooth process when you replace a shower head by following these preliminary steps.
Turn Off the Water Supply
First, ensure the hot water flow is completely turned off to prevent leaks during the change. This will make a big difference in avoiding any mishaps.
Remove the Old Shower Head
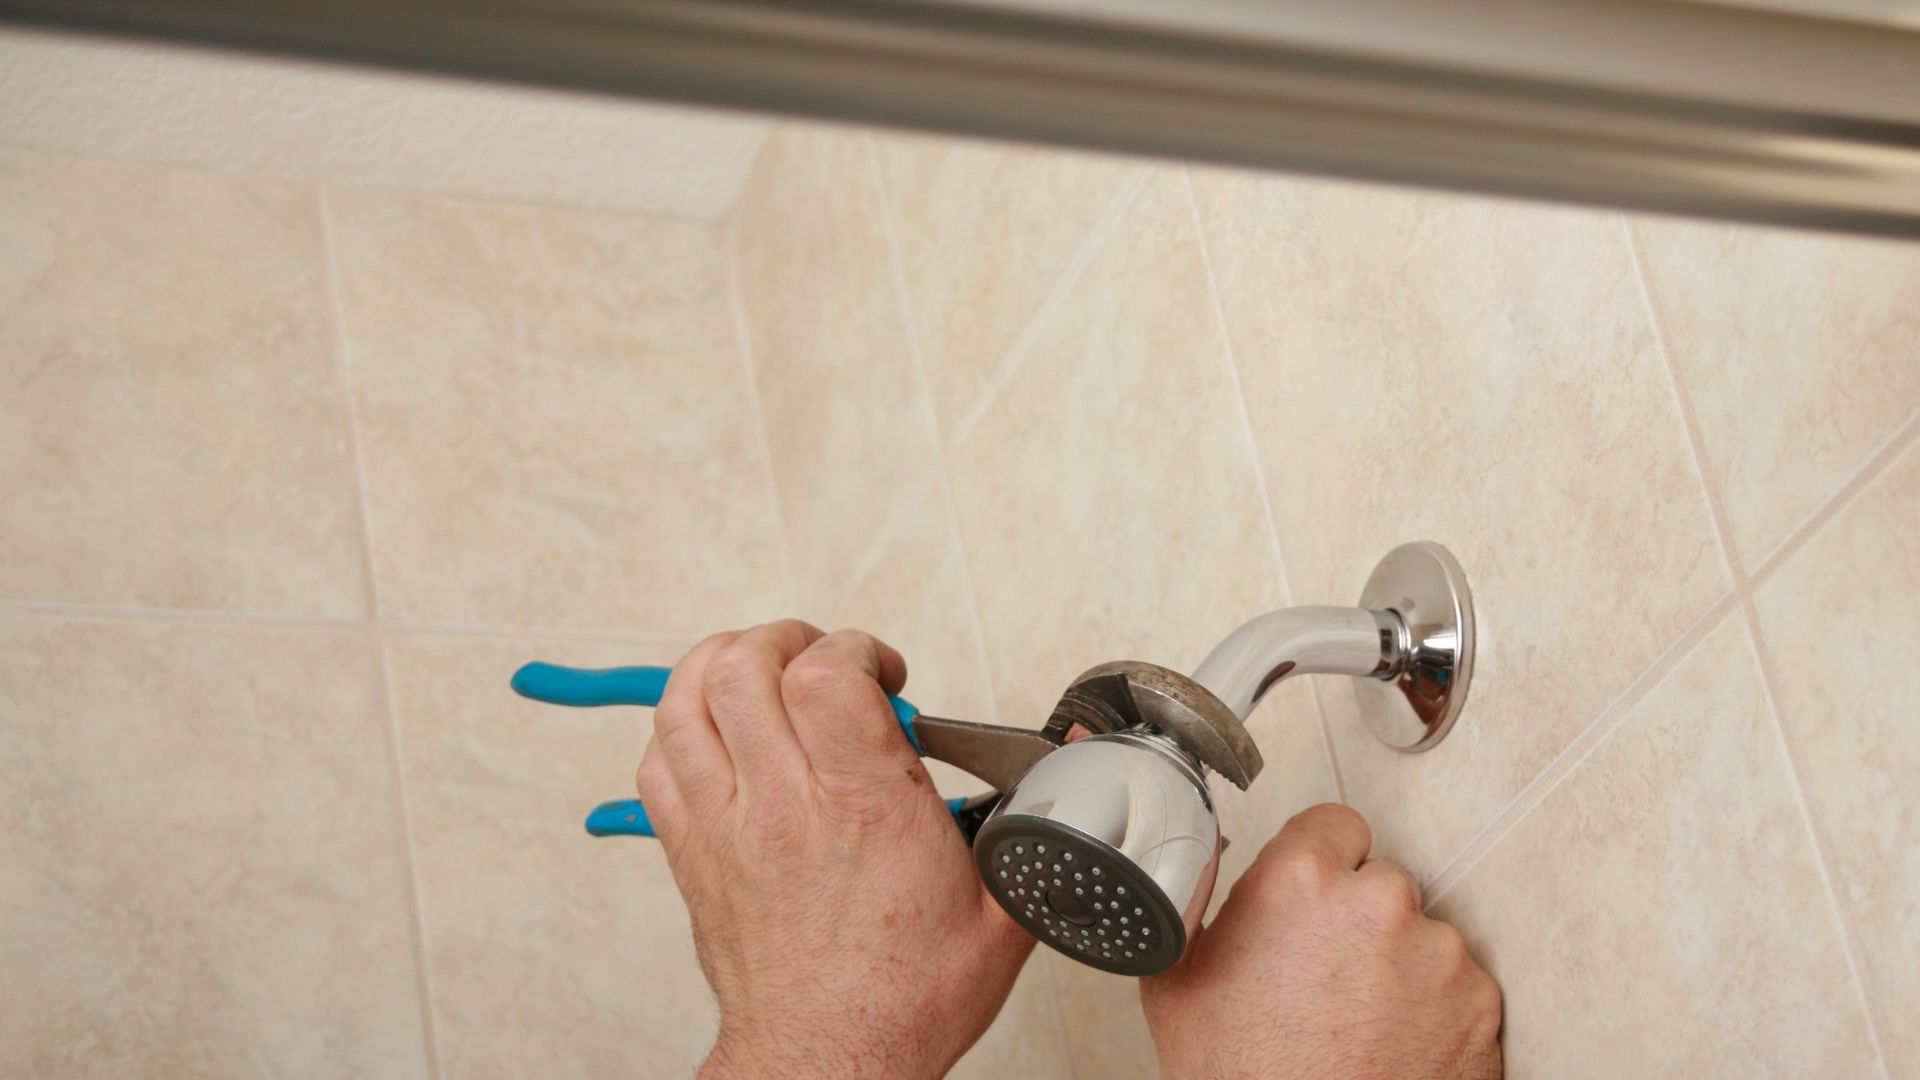
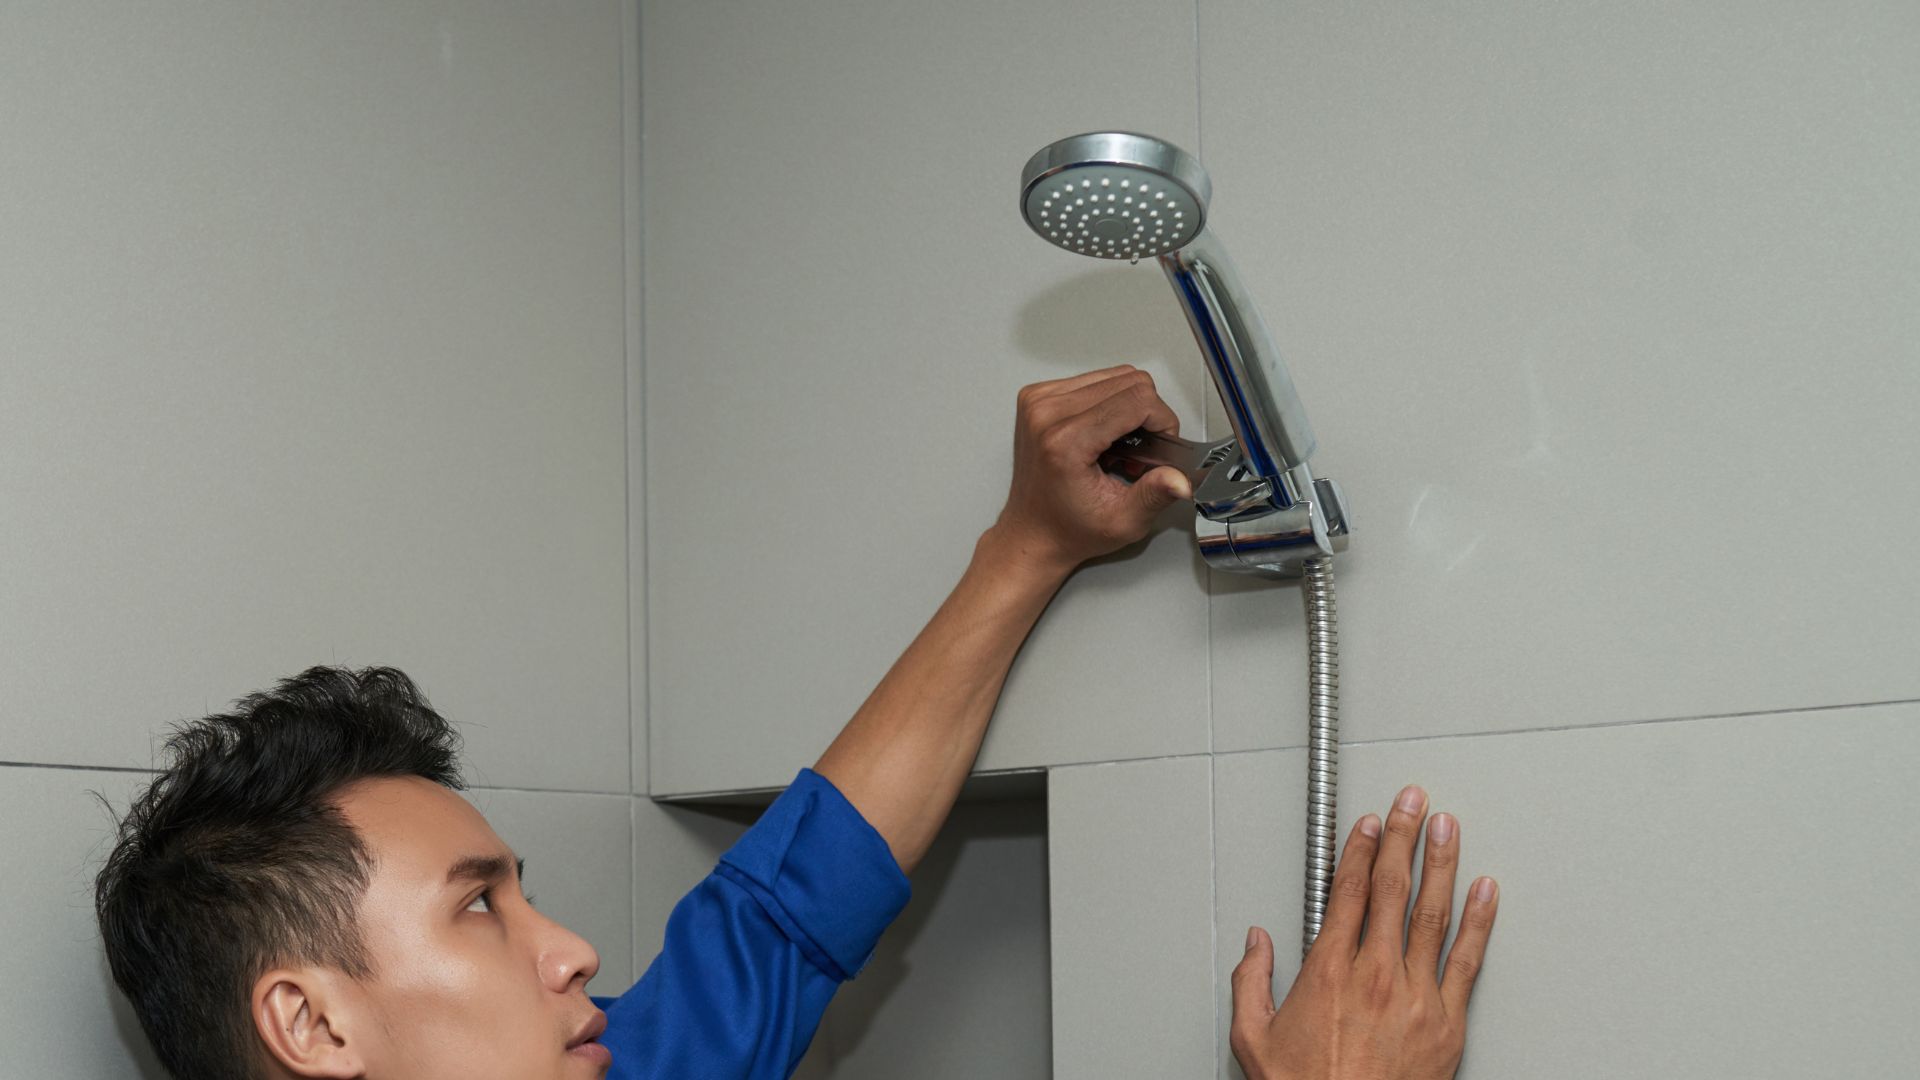
Carefully unscrew the existing shower head using an adjustable wrench or soft jaw pliers. If it appears damaged, be gentle to avoid breaking the shower arm.
Clean the Area
Take an old toothbrush and wire brush to scrub away gunk and mineral deposits on the shower arm. Wipe down the area with a damp paper towel to clean off the muck, then dry it with a regular paper towel.
Prepare New Shower Head
Wrap the threaded end of the shower pipe with thread-sealing tape. Ensure sufficient tape is applied in a clockwise direction, covering any previous layer.
Safety Precautions
Use a ladder adjustable wrench for high fixtures, and always follow the product’s instructions. Hand tighten the new shower head, then carefully tighten with a wrench or hand screw a quarter turn to ensure a proper seal.
How to Replace a Showerhead
Follow these steps to replace your shower head and enjoy a refreshing shower experience.
Removing the Old Shower Head
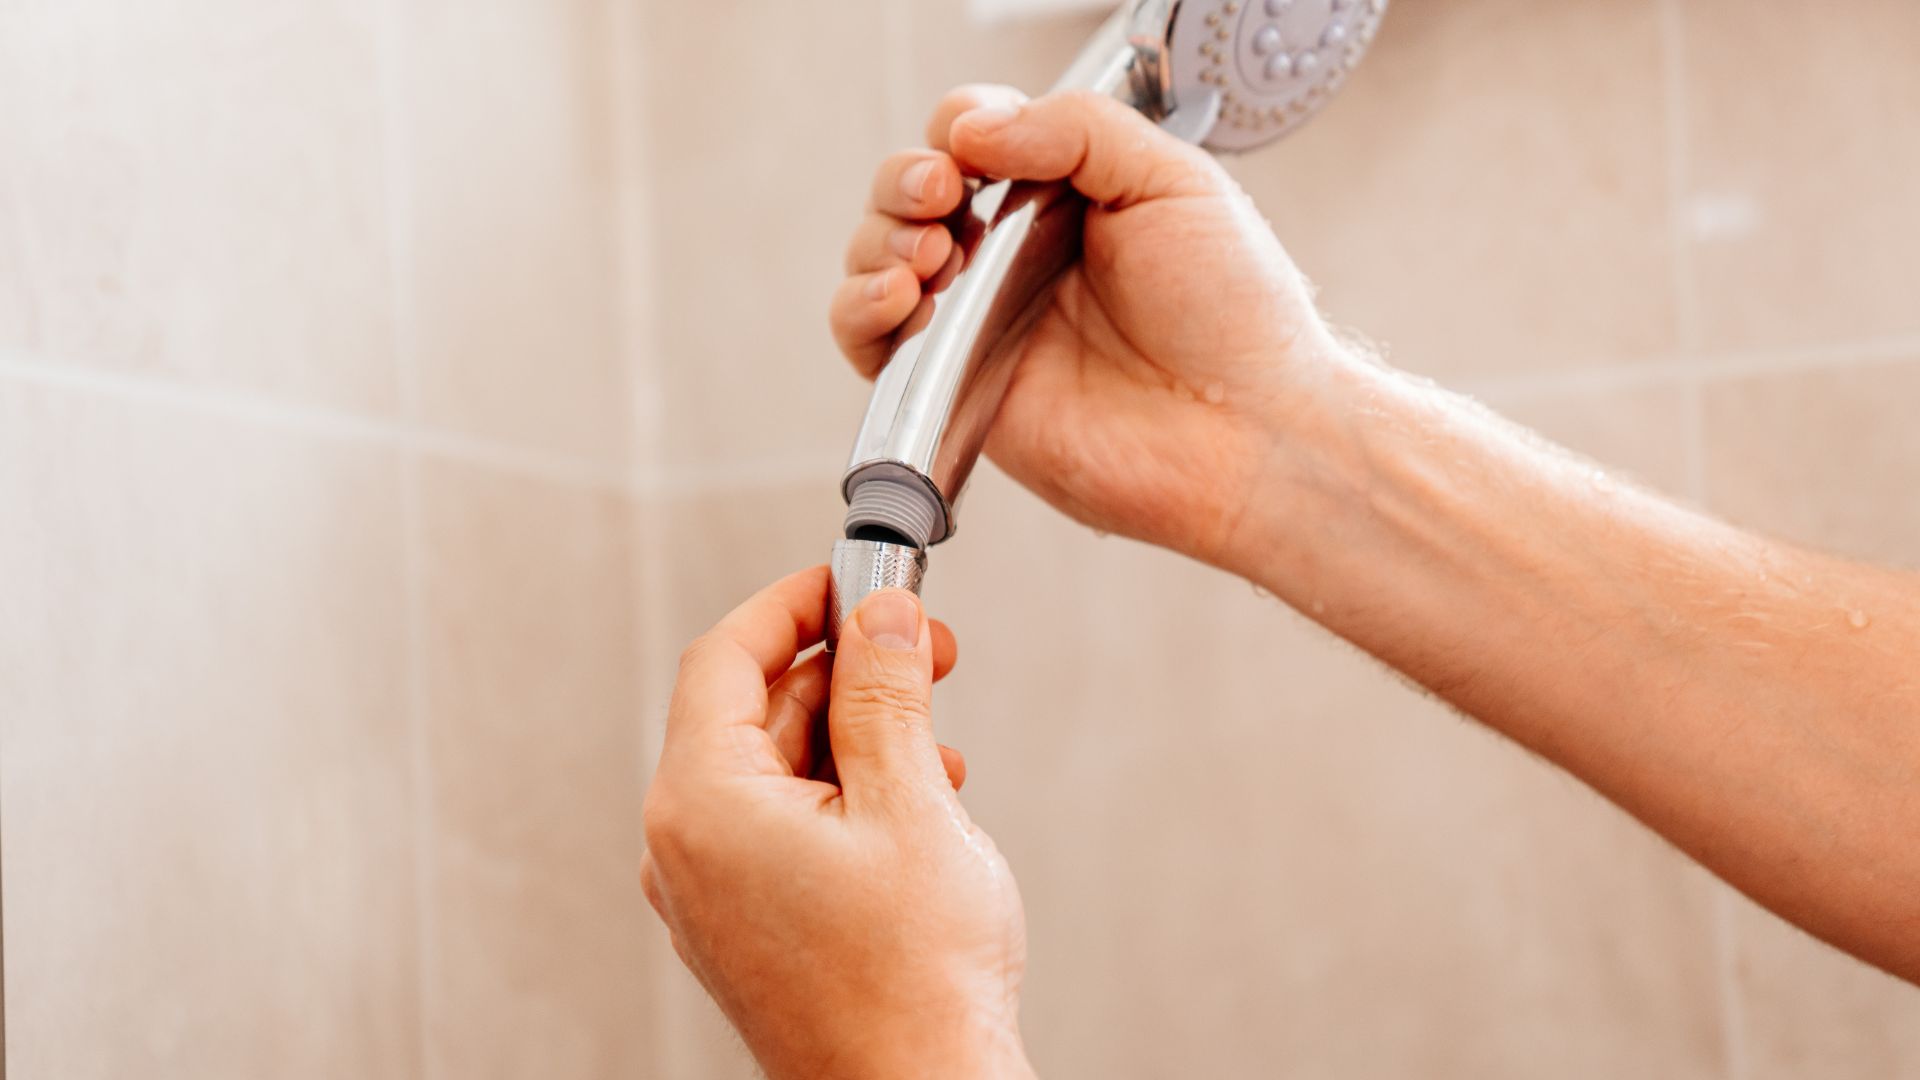
Start by unscrewing the existing shower head from the shower arm. Use your hand or a wrench if it’s tight. Be careful not to break the pipe or extension arm. If your shower head is attached to a main shower head or hand-held shower head, make sure to detach any connected hose.
Cleaning the Pipe Threads
Once the old shower head is removed, clean the pipe threads on the shower arm. Use a damp cloth to remove any debris. This ensures a smooth installation of the replacement shower head.
Applying Plumber’s Tape
Wrap thread-sealing tape around the pipe threads in a clockwise direction. Use sufficient tape to cover the threads completely. This helps create a proper seal and prevents leaks.
Installing the New Shower Head
Attach the new shower head by screwing it onto the prepared pipe threads. Follow the product’s instructions carefully. Hand-tighten the head initially, then use a wrench for a secure fit. Avoid over-tightening to prevent damage.
Checking for Leaks and Adjustments
Turn the shower head to test the water flow. Check for any leaks around the seal. If a leak is present, tighten the shower head slightly.
Adjust the angle of the shower head to your preference to ensure a comfortable showering experience. If the installation seems off or you encounter issues, consult a professional plumber for assistance.
By following these simple steps, you can easily replace a shower head in your bathroom, ensuring a seamless upgrade and optimal water flow.
Troubleshooting Common Issues
When you change a shower head, a few problems might arise. Here’s how to tackle them confidently.
Leaks
If your replacement shower head leaks, check the thread tape. Ensure you’ve wrapped it around the threads properly. A shower head turn in the wrong direction can also cause leaks. Tighten the head carefully to fix this.
Low Water Pressure
If water pressure seems low, remove the shower head and check for debris blocking the flow. Clean it thoroughly and reattach it, following the product’s instructions. Ensure the other end of the pipe is clear as well.
Fitting Problems
If a shower head doesn’t quite fit, check that all the connecting parts match up properly. You might need an adapter if they come up short. Double-check that everything sits snugly against the wall for a tight seal.
Benefits of Upgrading Your Shower Head
Upgrading to a replacement shower head offers numerous advantages.
Improved Water Efficiency
Modern shower heads are designed to use less water, making them more efficient. This not only conserves water but also reduces your household’s overall consumption.
Cost Savings
By using less water, you’ll see a decrease in your water bills. Over time, this can result in significant savings, making the investment in a new shower head worthwhile.
Enhanced Shower Experience
A new shower head can provide a more consistent and enjoyable water flow. Whether you choose a model with adjustable settings or a rainfall feature, the upgrade can transform your daily routine.
Environmental Benefits
Reducing water usage contributes to environmental conservation. By installing efficient shower heads, you’re playing a part in protecting vital water resources.
Maintenance Tips for Longevity
To keep your shower head in top condition, clean it regularly. Every month, soak the shower head in a mixture of equal parts vinegar and water for a few hours to dissolve mineral deposits. Use a soft brush to gently scrub away any remaining residue.
Check the shower head’s nozzles weekly for blockages and clear them as needed. Ensure all connections are tight to prevent leaks.
Replace thread tape periodically to maintain a proper seal. By following these simple steps, you’ll ensure optimal performance and extend the lifespan of your shower head.
Your Next Step: Enjoy Your New Shower Experience
Congrats on the new shower head! Now, you can look forward to a more efficient and invigorating shower every day. With better water flow and less consumption, you’re positively impacting both your wallet and the planet.
Embrace the confidence gained from this DIY project and consider tackling other home improvements. Each small change contributes to a more sustainable and comfortable living space.
If you encounter complex plumbing issues or need expert advice, reach out to Fixed Today. Our professional shower repair services ensure that any problem, big or small, is handled with expertise. With professional assistance, you can avoid potential mishaps and ensure everything functions perfectly.
Enjoy the benefits of your new shower setup, and keep exploring ways to enhance your home!

