Having a functional shower drain is crucial to avoiding floods and the potential health risks from mould and stagnant water. If you’ve recently bought a new property, the existing shower drain might need to be replaced.
The process isn’t overly complicated, but it’s wise to know a few details before starting. With these tips, the installation or replacement should take only a few hours.
This guide will cover all the essential points for your shower plumbing project. If it still seems daunting, don’t hesitate to call for professional help.
Let’s dive in!
Things To Know Before Installing A Shower Drain

1. Eliminate Any Pipe Size Issues
One key point to remember is that pipe sizes vary. Most drainpipes are around two inches in diameter, but some can be three inches. A drain that’s too small could lead to issues.
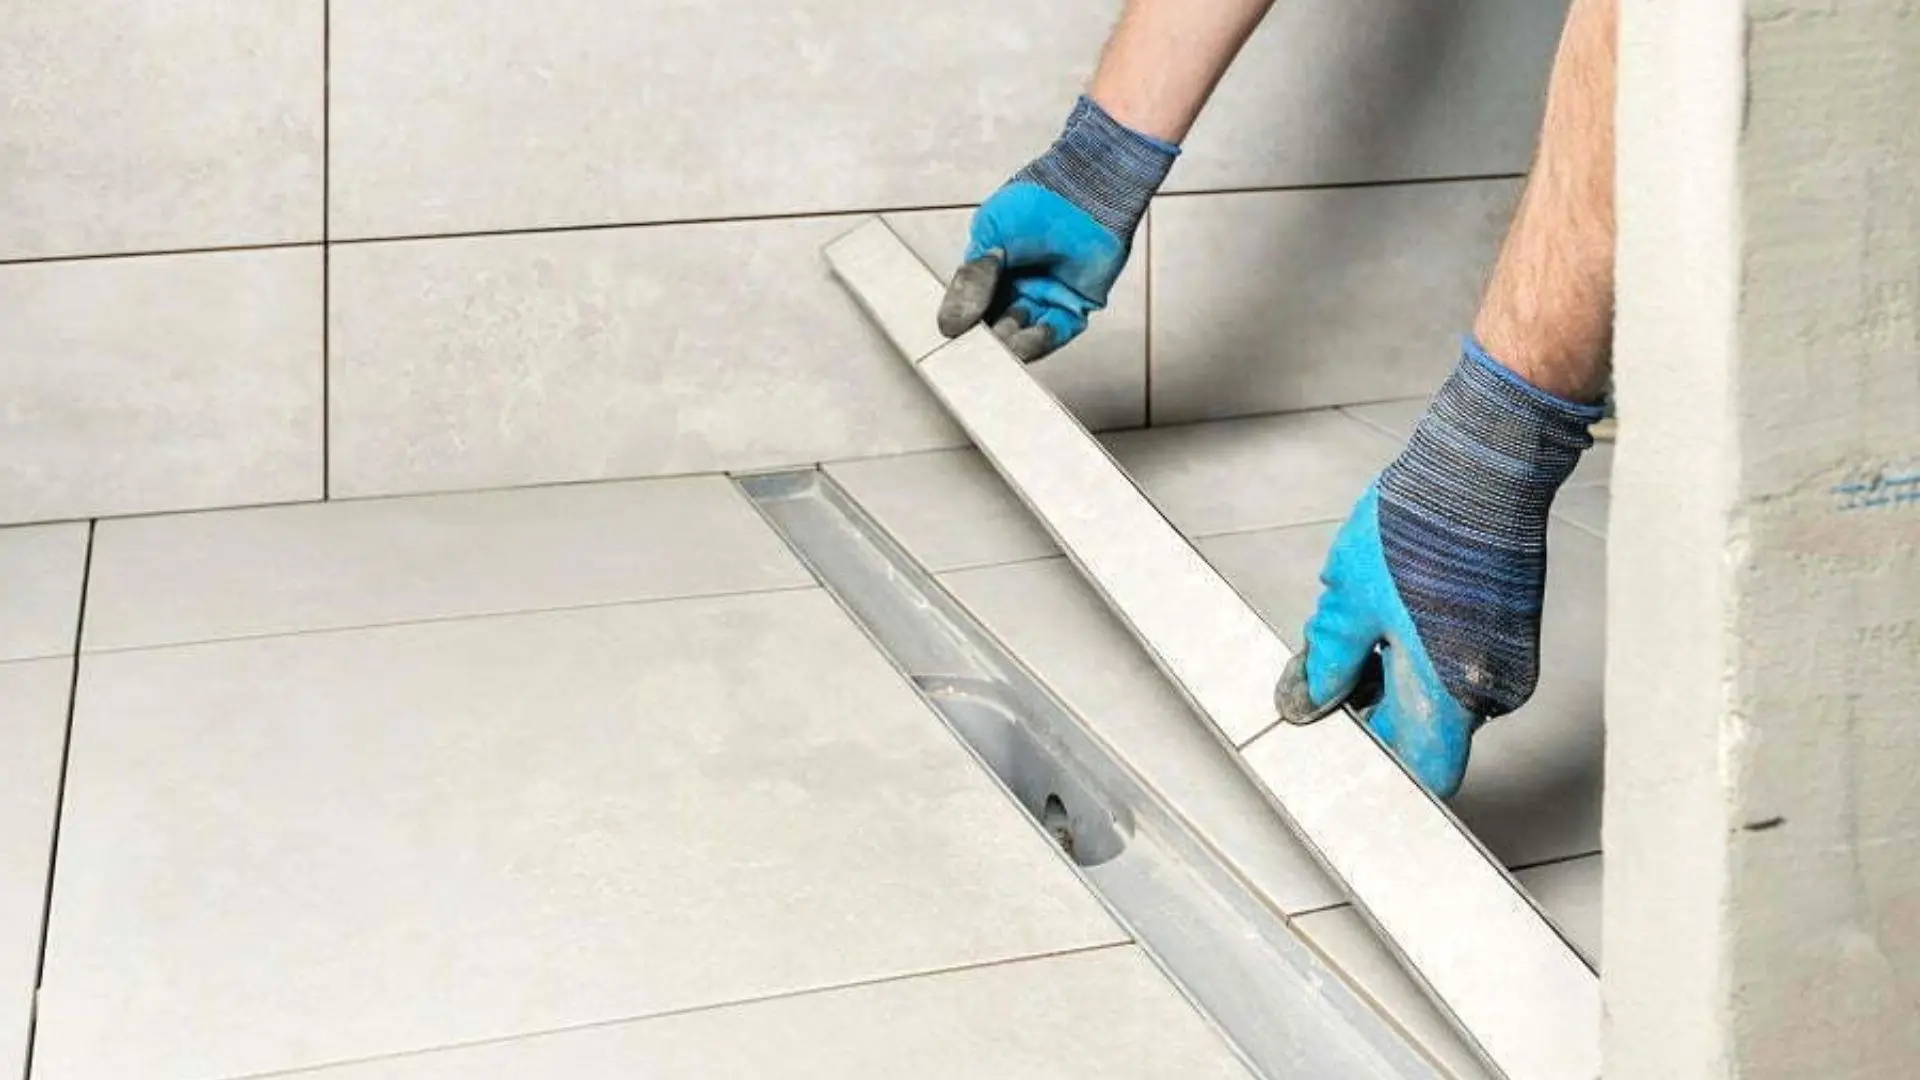
With various shower drains available, from linear shower drains to grates of all shapes and sizes, a larger shower drain diameter will prevent your shower from overflowing. So, getting a larger adjustable shower drain is the best idea. You will get weld-type options for two- and three-inch pipe sizes. If you consider Installing a linear shower drain and grate, this will give you a whole world of possibilities that go beyond functionality. But it’s essential to get the right shower drain for your home.
2. Working With Tight Spots
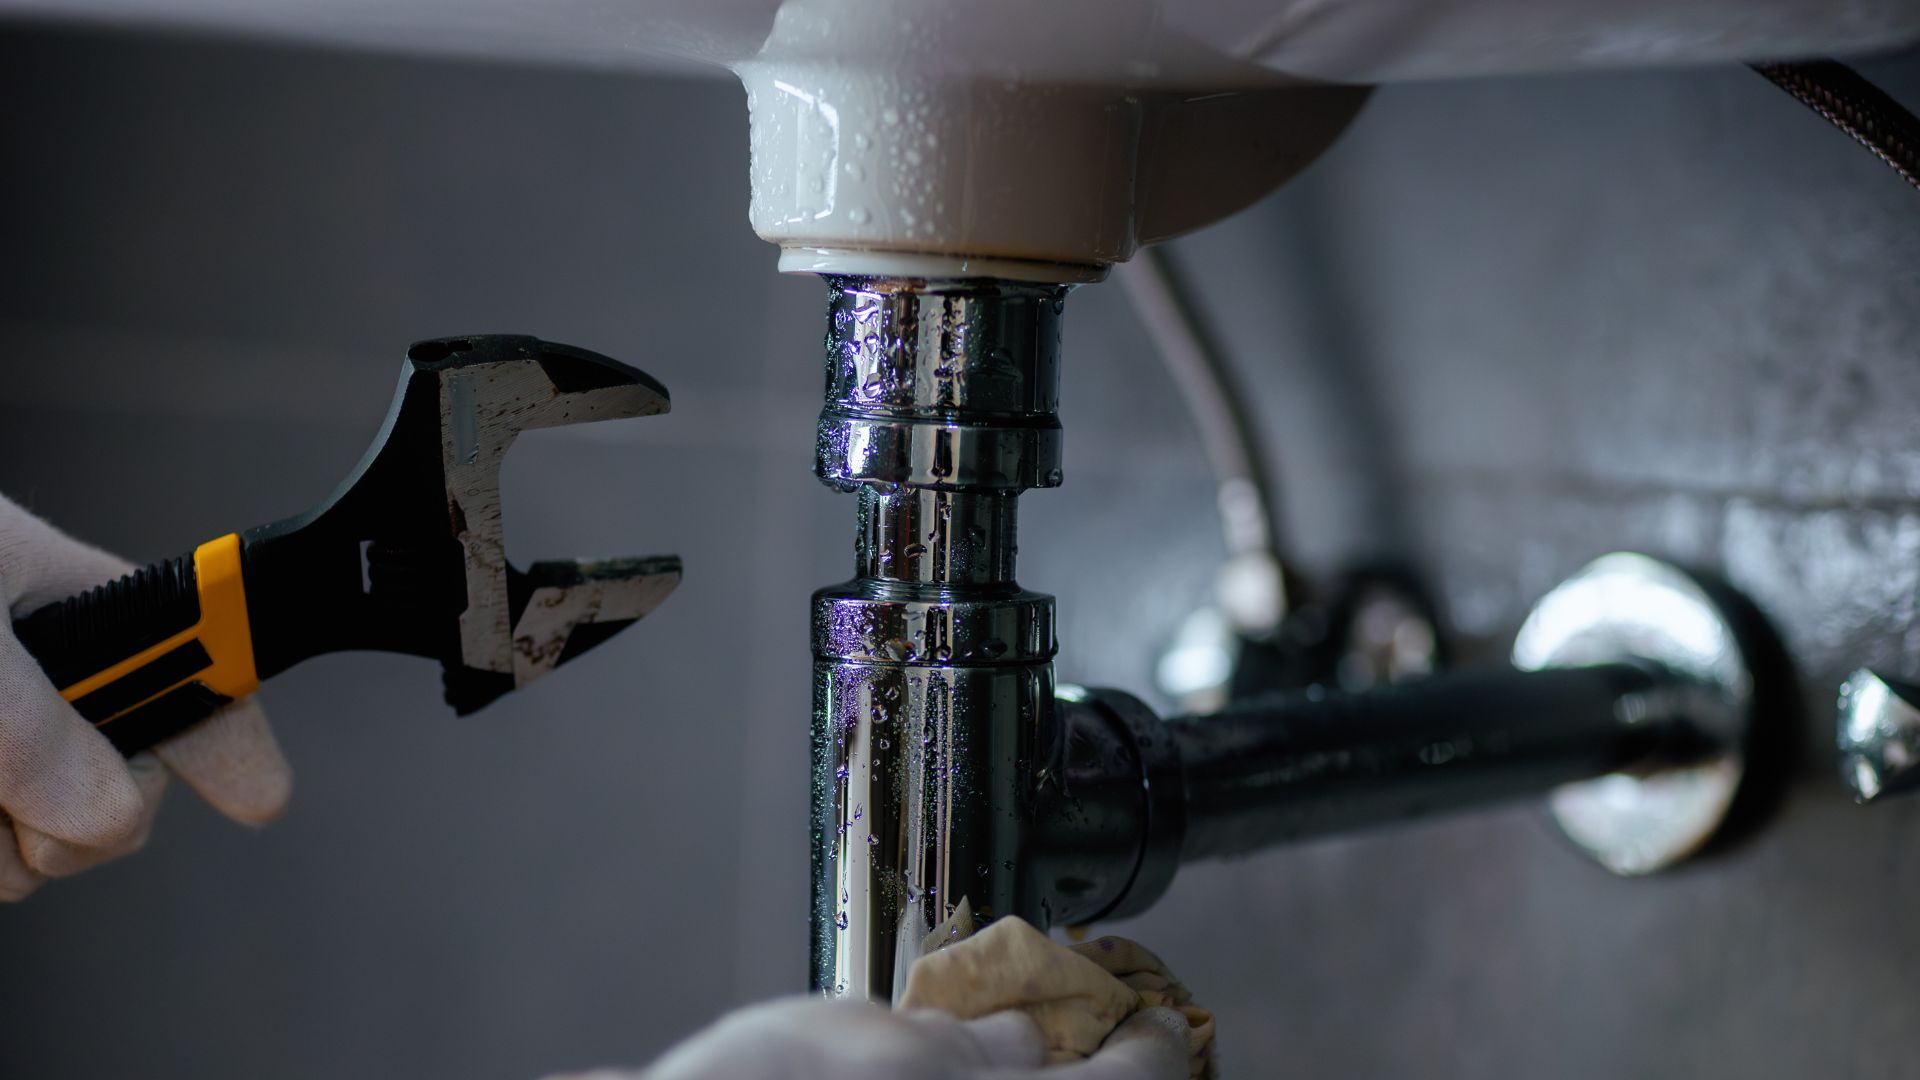
You might have difficulty using thick pliers in tight spots that might not have enough space to fit well. When working with a properly installed shower drain, the person might have to cut through the ceiling below the shower floor. There could be a lot of pipes and wires, making it difficult to use the water pliers on the nut that attaches to the pipes and drain flange.
So, if you cannot remove the nut or reach the drainpipe, you might have to pull up the entire shower base to get to the drain body. That would require a lot of plumbing work, making it time-consuming.
However, there is a way to prevent this from happening. You can permanently attach a lock nut-style drain, which can be put in place by jacking screws from the bottom with the help of a screwdriver; you will not need water pliers. The screwdriver will quickly enter tight spots and tighten the screws from underneath, securing the rubber sealing washer and rubber gasket effectively when you install a shower drain.
3. Cut Through The Ceiling
You might need to cut through the ceiling beneath the shower. If there’s any leakage, it might be necessary to remove and replace both the drain and the drywall underneath.
But replacing drywall should not be difficult as you must cut a small hole through the ceiling. This can be covered with an air grill that can be removed to access the plumbing.
You will not have to dig a hole in the ceiling if the shower base and the drain are replaced. Instead, remove the existing shower pan and then the installed drain. Next, attach the new shower pan with the latest drain before setting it.
We feel that “friction” or “compression” drains work the best for this job. They have a gasket inside the body of the drain, which should be removed and coated with a plumber’s soap. And after the shower base is put in place, you can slide the gasket back. The compression nut will need to be tightened to seal it, and you can do that with the help of a screwdriver.
4. Replacing The Trap
When installing a new shower drain, the old drain pipe must be cut to remove the old drain. This usually shortens the drain pipe a little, which needs to be extended later to install the new drain.
Sometimes, this process of extending may become difficult as well as time-consuming. Hence, many just cut the drain trap and replace it to simplify the process. Keep this in mind before you start working with the new shower drain.
5. Keep Weep Holes Open
If you have a tiled bathroom floor, replacing the shower drain could mean changing the entire flooring. After all, tiles are placed on a mortar bed on top of a waterproof membrane placed on another. In other words, the shower drain is cemented, making drain installation challenging.
Tiled floors pose another problem involving grouts, which can crack, causing water to leak. Holes must be in the middle to allow the water to pass through.
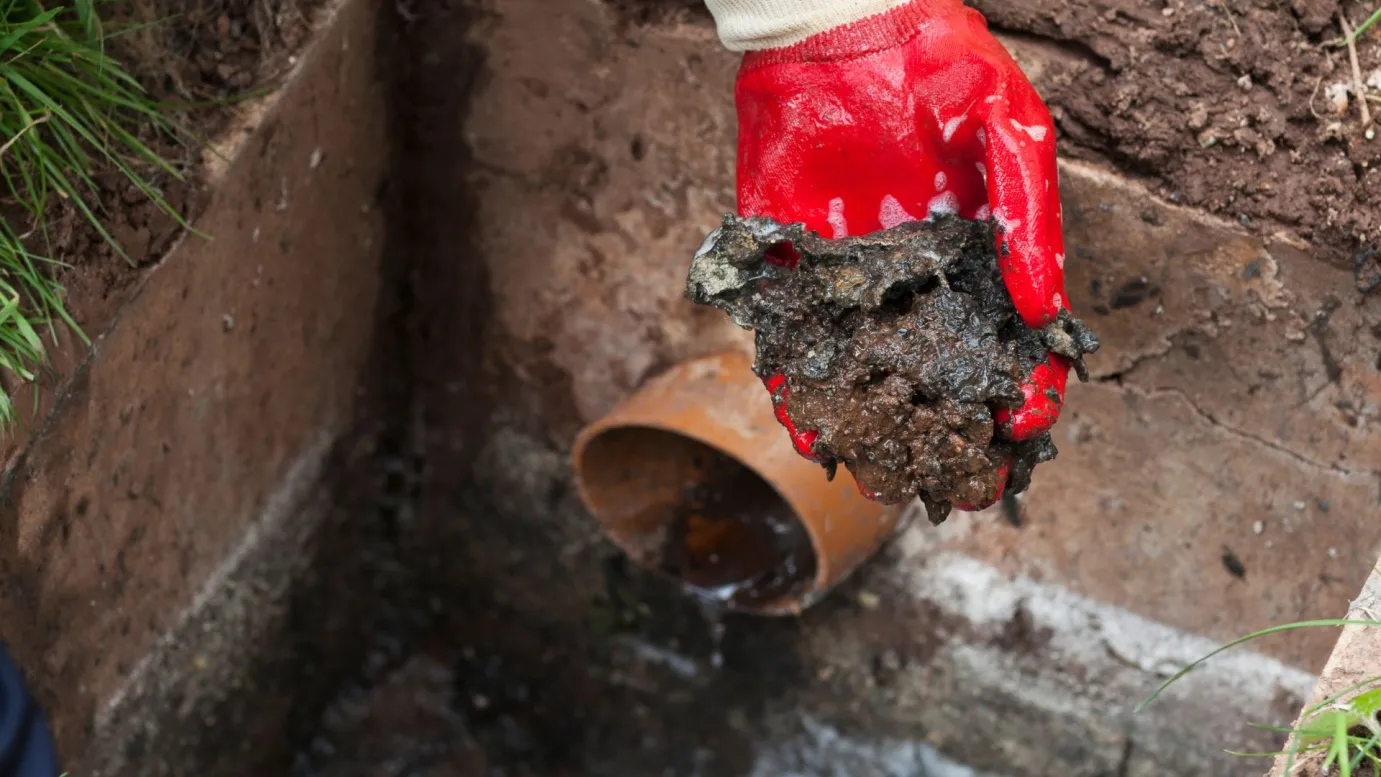
Just ensure that they do not get clogged in any way by mortar. You can add some pea gravel near the exposed base of the drain. And it would be best if you did this before adding another layer of mortar. If this step is done correctly, any water into the membrane will always go into the weep hole and leave rather than leak elsewhere.
Replacing Your Shower Drain
As shower drains age, replacing them becomes trickier. Metallic or stainless steel pipes can corrode, complicating removal. Plus, differences between old and new models can mean extra work. You might need to swap out rusted parts, like the top flange or drain assembly.
The tips above should help you remove older lines with minimal damage. We hope you’re now ready to install a new shower drain confidently. Remember to buy parts from trusted brands. For assistance in Sydney, contact the Fixed Today team.
Good luck!


