Plumber’s putty can help with many plumbing problems. It provides a waterproof seal around sink drains, taps, etc. The great thing is that it is easy to apply and remove.
Have you ever taken out a tap or a sink drain and found clay-like stuff under the faucet’s base? That’s likely plumber’s putty, or plumber sealant. It’s pretty normal to find dried putty in your sink drain, so knowing how to remove it is handy. This ensures you can replace fixtures neatly without layering new putty over the old.
Need a Plumbing Service?
Why Use Plumber’s Putty
Plumber’s putty is a staple in every good plumber’s toolkit, alongside a trusty putty knife. This putty stays soft for some time and forms a reliable, watertight seal, making it invaluable.
The benefit of using it over other kinds of caulk or silicone is that it is not adhesive. The good thing about that is that it makes it easier to remove later.
In contrast, you’ll find that silicone is harder to work with. It dries faster and is more liquid than a plumber’s putty. This makes it challenging to fill wider gaps with silicone. You are better off using a plumber’s putty instead.
Where to Use Plumber’s Putty
You’ll typically spot plumber’s putty around the edges of drains and taps. It’s especially handy for plumbers when sealing drain assemblies between a sink and garbage disposal. Applied beforehand, it helps keep fixtures like sink drains in place.
Generally, this watertight bond is hidden under an edge or lip that is not visible once the part is in place. Placing it in plain sight doesn’t give a smooth, professional finish.
What Is in Plumber’s Putty?
When purchasing a plumber’s putty, you will realise an array of blends available. Traditionally, the putty contains clay, linseed oil, mineral spirits, and fish oil. Many types will also possess some limestone.
Even if your brand doesn’t denote that it contains linseed oil, be aware that it still might. Paint thinner, mineral spirits, and linseed oil can stain porous surfaces. It would be best to never use a plumber’s putty on granite or marble.
Silicone is better when working with marble or granite sinks or utility drains. It will avoid staining.
How to Use Plumber’s Putty
Opening a tub of plumber’s putty reveals its soft, malleable texture—designed to make application a breeze.
Grab a ball of putty from the tub and roll it into a snake shape with your fingers. This snake should be long enough to fit around the part you are sealing. Using multiple shorter bits of putty can cause leaks later on.
Place this snake around the edge you’d like to seal, looping so the two ends meet. Press it into place gently. Please don’t push it flat, or it may not connect with the part you insert.
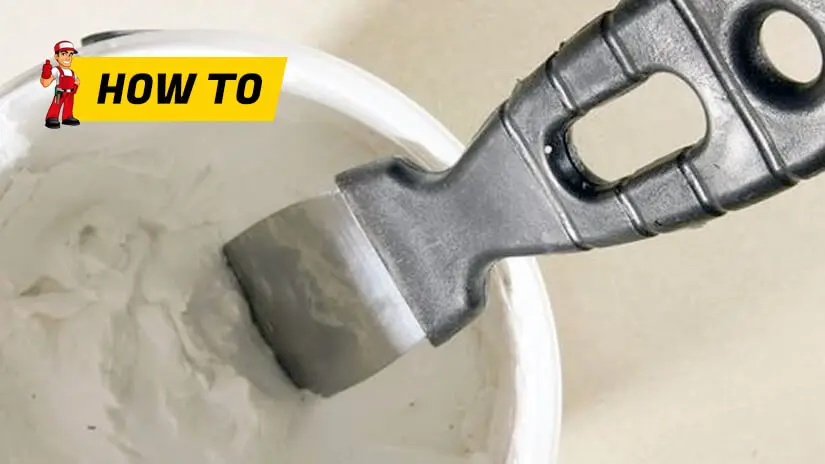
Using a plumber’s putty knife can help you make this job a little easier.
Then, install the part. When you tighten it, you may see some putty overflow around the edges. This is what you want. Just easily remove and wipe away any excess.
How to Remove Plumber’s Putty
If you want to know how to remove plumbers’ putty easily, doing it the right way the first time can save you a lot of time and mess.
One of the reasons that plumber’s putty is so popular is that it is easy to remove. Because it is not adhesive, it can come off parts much more accessible than some alternatives, such as silicone.
Once it’s dry, press down on a plumbing joint to crack the putty. This makes it easier to remove, and any remaining bits can be chipped away with a putty knife.

Remember to clean your hardened putty residue. A mineral spirit, paint thinner, or kitchen scrubber should do the trick. If you have trouble removing some extremely stubborn putty, sometimes heat can help. You can use a heat gun or a hairdryer to direct heat to the surface. This should soften the putty and make it easier to remove.
After this, you may see a ring of linseed oil left behind. This is also easy to remove. If scraping it off is ineffective, wash it off with soap and water. If that doesn’t trick, try mineral spirit or paint thinner. Wipe vigorously with a rag or cloth.
That’s the easy way to remove a plumber’s putty or silicone sealant using the easiest method.
That’s it – it’s as easy as that!
Plumber’s Putty Vs Silicone
Many people want to know the best option: plumber’s putty or silicone. Which situation is best for using each?
The plumber’s putty should be used when a permanent bond is not needed, but a watertight seal is desired. It can be a good option for a drain.
Silicone is commonly used and could be better if you seek a more permanent solution. For example, the silicone used to seal outdoor plumbing fixtures is more substantial. Silicone best serves marble, granite, and sinks with porous surfaces rather than plumber putty.
Need a Plumbing Service?
Plumber’s Putty Tips
Here is some advice for using a plumber’s putty to make it easier to use and remove.
- Sometimes, you need strong caulk adhesive for the fixtures. In this case, a plumber’s putty may not be your best bet, and you may prefer silicone or another adhesive; we recommend a good-quality putty knife for application.
- Plumber’s putty should feel soft and be easy to roll between your fingers. If it is flaky or complex, it is dried out. It would help if you did not use it—get a new bottle instead.
- Permanently seal the putty lid. This will prevent it from drying out, meaning you must purchase it less often.
- Clean the surface thoroughly before you start applying the putty. This will help it stick firmer to the surface. Otherwise, dirt and other particles can create tiny holes in the putty, leading to leakage.
Now that you know how easy it is to remove a plumber’s putty, perhaps you will use this waterproof seal more often. Simply chipping away at it and then using heat, if necessary, should work like a charm. Try it for yourself and see what you think.


