Redoing your kitchen? Of course, you’ll consider adding a new cooktop that fits the overall look. However, installing gas appliances like ranges, cooktops, ovens, or cookers isn’t as simple as it sounds.
Placing your natural gas stove or gas cooktop in the kitchen countertop in a precut opening from your old gas stove and attaching the new gas stove with the existing gas connection is quite simple and probably the easiest part of kitchen remodelling. But when it comes to gas stove installation, you must prepare the space on the countertop, like the minimum clearance from the exhaust fan, prepping your combustible surfaces and combustible materials, checking the gas lines, and planning the entire installation process. And these require some heavy-duty work.
You’ll need an in-depth understanding of different cooktops, their sizes, fire codes, and gas line setups. Clearance requirements are crucial too. Plus, getting a pro to check the gas lines helps prevent leaks—licensed gas fitters are your best bet. Let’s dig into what you need to consider when installing your new gas cooktop.
So, without any further ado, let’s get started!
What Are The Factors To Consider While Installing A Gas Cooktop?

1. Electric And Gas Requirements
Before installing a gas cooktop, check whether all the necessary gas and electrical lines are in place. You’ll need a half-inch gas line with a shutoff valve within 3 feet of the cooktop’s location.
Secondly, you must install a 15-ampere, breaker-protected electrical circuit with a grounded electrical receptacle. The receptacle must be mounted below the gas cooktop inside the cabinet space to power up the spark igniters.
If you’re just swapping out an old gas cooktop, the existing gas and electrical lines might be ready to go. But, if you’re setting up in a new kitchen or have fresh installations in mind, it’s a good idea to bring in professional experts for the electrical and gas lines.
2. Installation Styles And Cooktop Sizes
It’s best to always consider the dimensions of the cooktop and available space on your countertop before the installation. Generally, a cooktop’s length can vary from 30 to 36 inches, and its width can be 21 to 22 inches. If you choose any cooktop within this range, you can install it on a standard 24-inch countertop.
The front edge of your cooktop will lie parallel to the base cabinets and be placed between your countertop’s front edge and backsplash. Furthermore, the cooktops’ depth usually ranges from 3.5 to 14 inches. While shallower cooktops have control buttons on the top, deeper ones come with control buttons on the front face.
It’s wise to consider these dimensions when planning your cooktop installation. If the knobs are on top, they require a cutout between the counter’s front edge and backsplash. But, if the knobs are at the front, you’ll likely need to remove the full countertop’s front edge.
3. Planning The Clearances
A gas cooktop can heat the entire countertop while you’re using it. Planning the minimum clearances around the cooktop while installing it is essential to avoid fire damage to the cabinets and kitchen walls.
The clearances might vary based on the size of your cooktop and installation planning. If you install a 36-inch cooktop, maintain a 30-inch gap between the gas cooktop and the kitchen cabinet directly above it. You can also install a hood over your cooktop in this space to protect the cabinet surface from heat.
Also, make sure to keep a distance of 6 inches between the cooktop cutout and the sidewalls of your kitchen cabinets. You might also need to cut out the sidewalls to make the required clearance. Furthermore, there must be a gap of around 2-¼ inches between the back wall of the countertop and your newly installed gas cooktop.
4. Cutting The Countertop
Depending on the material of the countertop, you can prepare the cutout for the cooktop yourself or hire a professional. If the countertop is stone, call a professional immediately because there’s no point in getting into a hazardous situation by trying to cut it yourself.
If the countertop has solid surfacing, you can try to cut it using a powerful plunge router and a carbide blade. But, be careful and only do it yourself if you have enough experience. In contrast, cutting a countertop with a plastic laminate using a power drill and a saw is much easier.
Furthermore, if you want to prepare the cutout yourself, it’s always good to design a template first. You can use the dimensions and clearance specifications of the cooktop while preparing the template. Once you’ve organised the template, lay it on the countertop, draw the necessary cut lines, and start cutting.
Ensure you tightly secure the counter so the cutout doesn’t fall off while working on it. If you have a plastic laminate countertop, you can use masking tape to avoid excess chipping. Be careful and wear your protective gear while preparing the cutout for the cooktop.
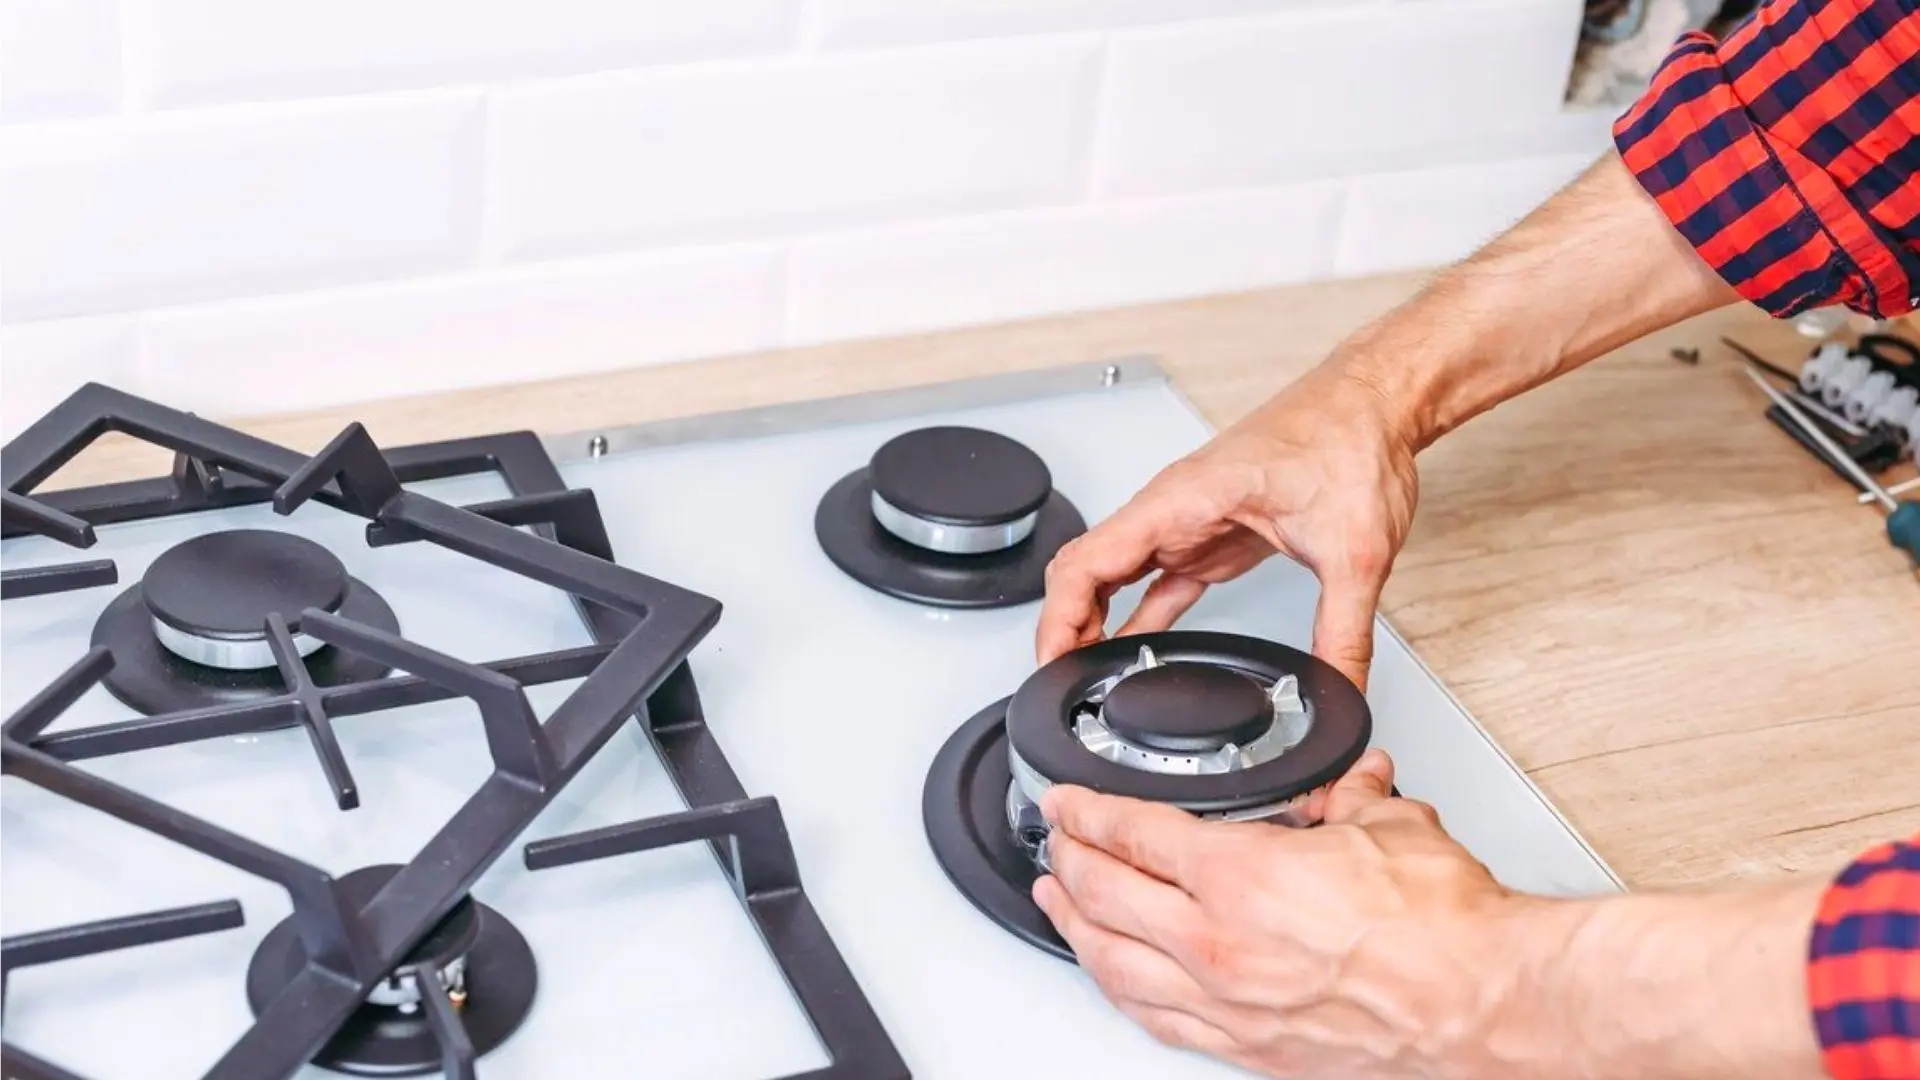
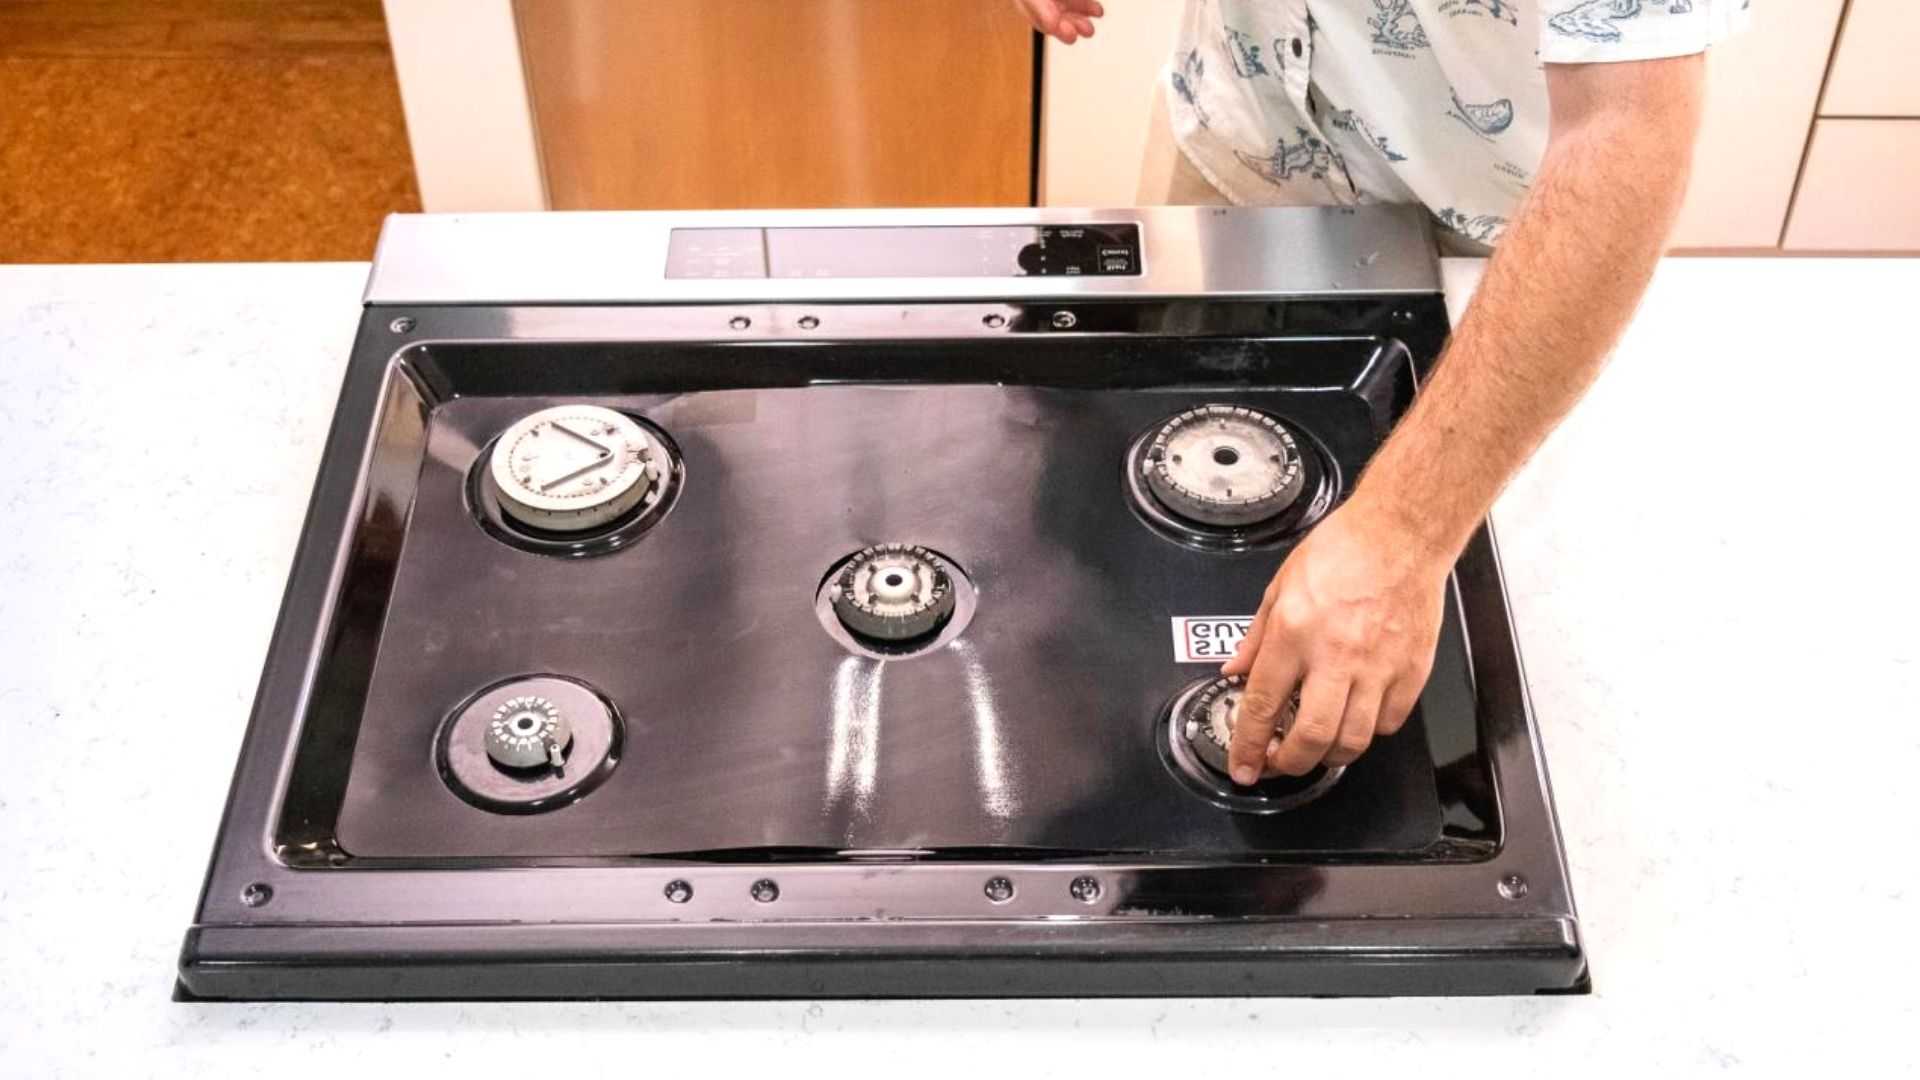
5. The Installation Process
Once the gas supply line is ready, you have prepared the countertop cutout and followed all the clearance specifications, and it’s time to install the gas cooktop. Unpack the cooktop and carefully read the instruction manual for installing it. Also, check all the supplies and parts you’ll need to hook the cooktop to the gas line.
Before popping in the cooktop, wrap the cutout’s inside edges with foil tape—this helps fend off heat damage. Then, connect all the necessary parts from the package to the cooktop’s pipe joint so it can link up with the gas line.
Once you’ve placed the cooktop into the cutout, it’s time to screw it up tightly to the countertop and secure the whole assembled unit. Be careful not to over-screw it because it might crack the countertop material.
6. Check Gas Connections
Before plugging the cooktop’s power cord into the gas outlet, check every gas joint for leaks. Make a solution of dishwashing soap and brush the frothy solution on the entire gas connection, covering every joint.
If the soapy solution bubbles up at any gas joint, you’ve got a leak. Once you’ve detected the leak, tighten those joints and test them again similarly.
Gas Cooktop Installation In Your Kitchen
That’s it for our guide on what to keep in mind when installing a gas cooktop. While gas installations can be tricky, we hope you’re now better prepared for the task.
For hassle-free gas cooktop installation in your kitchen, call Fixed Today’s licensed gas fitters. We can also perform regular gas leak inspections of your existing cooktop and gas supply to avoid burst gas pipes.
After installing the cooktop and hooking it up to the gas line, assemble and light the burners to check the flames. If all’s good, pop the grates in place, and you’re all set.


